Automatic Off-Site Home Assistant Backups: The 3-2-1 Setup I Run
Automatic off-site Home Assistant backups mean a full nightly archive that leaves your hub without you touching it — copied to a NAS and synced off the property. The way I actually run it is a scheduled full backup at night, pushed to a network share, then mirrored weekly to encrypted cloud storage. Set it up once and a dead SSD becomes a one-hour rebuild instead of a lost weekend.
I run Home Assistant as the brain of my whole house, and the backup that lives on the same disk as the hub is worthless the moment that disk fails. That’s the trap almost everyone falls into: they turn on backups, see the archives piling up in /backup, and feel safe — until the storage those backups sit on is exactly what dies. A backup you can’t reach after a failure isn’t a backup. It’s a museum exhibit.
This is the 3-2-1 setup I actually run, with the scheduler settings, the off-site targets, and the one encryption step that keeps your secrets safe when the archive leaves the house. It’s the first thing I configure on any new install, before a single automation.
What Does “Off-Site” Mean for a Home Hub?
Off-site means at least one copy of your backup lives somewhere that survives the death of the machine running Home Assistant — ideally somewhere that also survives the death of the room. For a home setup that’s a two-step ladder: off the hub’s own disk first, then off the property entirely. Most people never climb past the first rung, and that’s the rung that fails you in a fire.
The distinction matters because failures cluster. A power surge that fries your mini-PC can take out the NAS on the same circuit. A leak in the workshop can reach both. A burglar takes the whole shelf. Each of those is a scenario I’ve either lived near or planned around, and the only defense is physical distance for at least one copy. My off-property copy is encrypted cloud storage, refreshed weekly — enough that even a total loss of the room costs me at most a week of automation tweaks.
This all sits inside the broader maintenance strategy I lay out in the complete Home Assistant backup and maintenance guide, but off-site backups are the load-bearing wall. Everything else — recorder tuning, UPS, clean migrations — assumes you have a good archive to fall back on.
The 3-2-1 Rule for Home Assistant
The 3-2-1 rule means three copies of your data, on two different types of media, with one copy off-site. Applied to a home hub: the live install on your SSD (copy one), a nightly archive on your NAS or a network share (copy two, different medium), and a weekly sync of that archive to the cloud or a drive at another location (copy three, off-site). It’s the same discipline enterprises use, sized for a shelf.
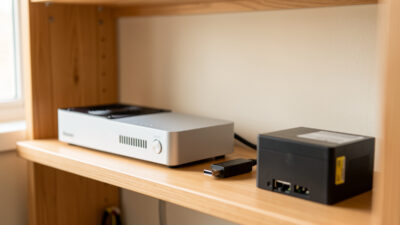
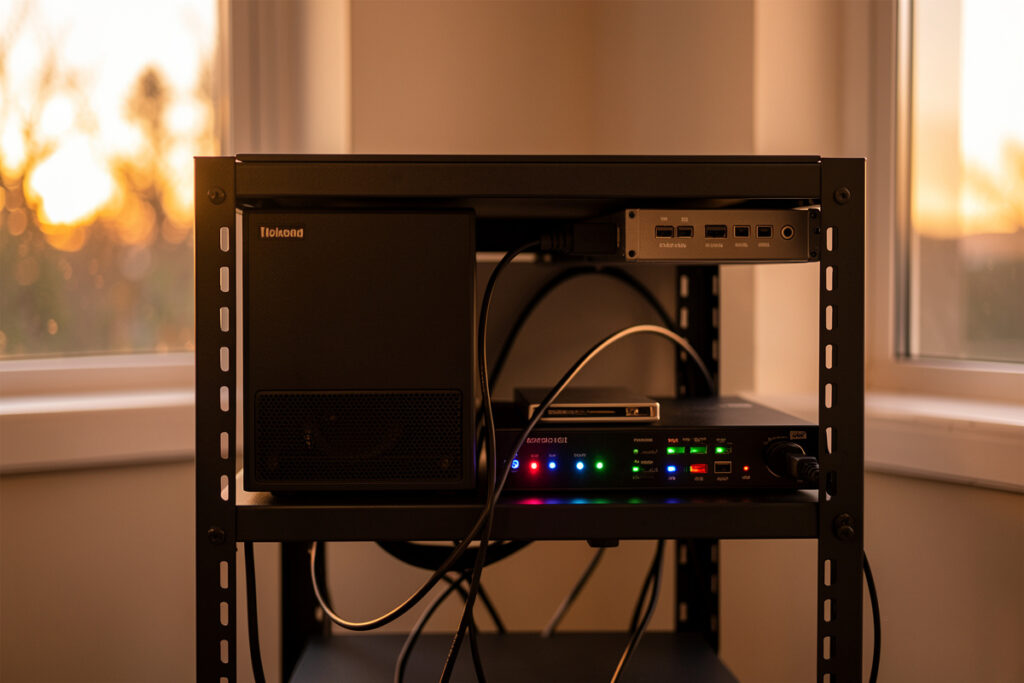
Here’s the exact mapping in my house. The running Home Assistant lives on the NVMe SSD in my Intel N100 mini-PC — copy one, and the one I never count as a backup because it’s the thing being backed up. Every night the full archive lands on my NAS over an SMB share — copy two, on spinning disks in a different box on a different shelf. Once a week that same archive syncs up to encrypted cloud storage — copy three, and the only one that survives losing the whole room.
Notice what each copy defends against. Copy two beats a dead mini-PC or a failed SSD. Copy three beats fire, flood, and theft. Copy one beats nothing — it is the risk. Miss any of the three and you’ve left a common failure mode uncovered, which is exactly why “I have backups” and “I have a 3-2-1 backup” are different sentences.
How Do You Schedule Automatic Backups in Home Assistant?
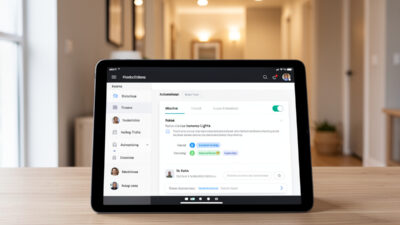
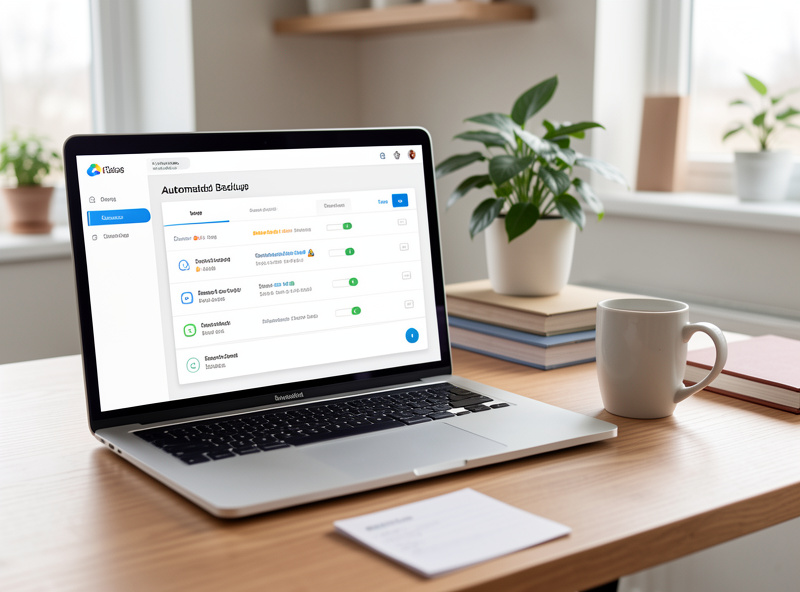
You schedule automatic backups from the Home Assistant settings under the backup section, where you set a time, a retention count, and one or more backup locations. Newer Home Assistant versions build this in natively: pick a nightly time, tell it how many copies to keep, and add network or cloud locations as destinations. The scheduler then creates and distributes the archive with no further input from you.
My settings are deliberately dull. Full backup, once a night, at a time when nothing else is hammering the disk. Retention set so I keep the last several daily archives plus a monthly — enough history to recover from a mistake I didn’t notice for a week, without hoarding gigabytes forever. I let the backup password protection stay on so every archive is encrypted before it moves. The official Home Assistant OS common tasks documentation shows the exact menu and where the location and retention options live, and the Backup integration reference spells out exactly which files and folders each backup type includes.
The single most important toggle here is where the backup goes. A schedule that writes to the hub’s own /backup folder and nowhere else is automating the wrong half of the job. You want the schedule to push the archive to a location that isn’t the hub — a network share or a cloud backup agent — so the automation and the off-site copy happen in one motion. That’s the difference between a backup that exists and a backup that helps.
Getting the Backup Onto a NAS
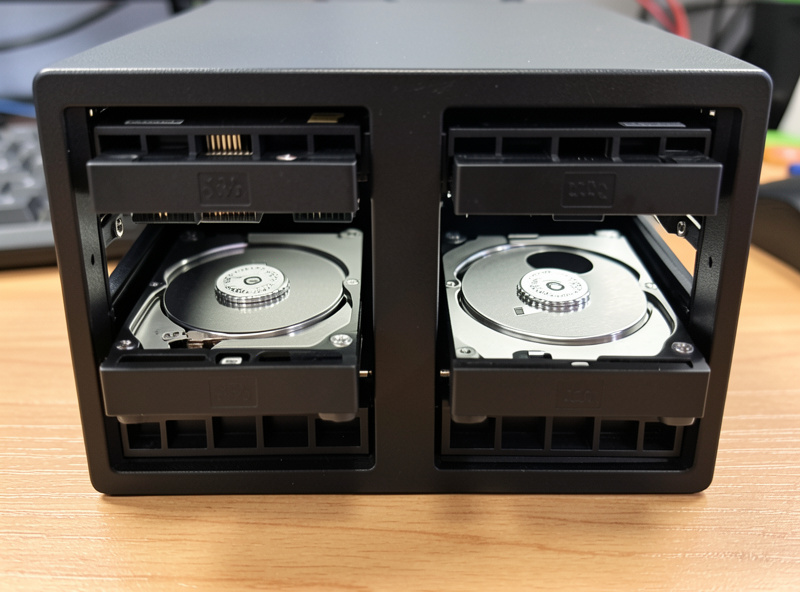
The cleanest way to get a Home Assistant backup onto a NAS is to mount the NAS as a network storage location inside Home Assistant, then point the scheduled backup at it. Home Assistant OS supports adding network storage over SMB, after which it shows up as a backup target you can select. No scripts, no cron jobs on the NAS side — the hub writes the archive straight across the network.
I mount my NAS share read-write for the Home Assistant backup user only, on my IoT VLAN so the hub reaches the NAS without the chatty devices touching my laptops. There’s a specific satisfaction in the first restore drill working — the fan on the spare box spins down, the dashboard loads with every entity exactly where you left it, and the low hum of the NAS in the corner is the only reminder any of this is happening. That segmentation is a habit from running dozens of devices — you don’t want your automation hub and your work machines on the same flat network — and it applies just as cleanly to where backups travel. Once the share is mounted, the scheduled backup treats it like any other location, and the nightly archive lands on the NAS automatically.
One mistake I made early: I pointed backups at a NAS folder that a nightly cleanup script also touched, and the two fought over the same files. The lesson — give backups their own dedicated folder that nothing else writes to, and let retention, not a stray script, manage deletion. If your NAS itself dies someday, restoring the hub is the same clean procedure I cover in the migration walkthrough: fresh install, restore from backup, move the radio sticks.
The Off-Property Copy: Cloud Done Right
The off-property copy should be encrypted before it leaves your house and stored somewhere geographically separate — cloud object storage or a drive you keep elsewhere. Home Assistant backups can be password-protected, which encrypts the archive, so the cloud provider only ever holds ciphertext. That single step is what makes off-site cloud backup safe for a file that contains your secrets and access tokens.
I sync my weekly archive to encrypted cloud storage, and I treat the backup password as a real secret: it lives in my password manager, not inside Home Assistant, because a lost hub would take an internally-stored password down with it. Store the key inside the thing you’re protecting and you’ve built a lock with the key welded to the door. Keep it separate and even a total loss of the house leaves you able to restore from the cloud copy onto brand-new hardware.
You don’t need a cloud provider to satisfy the off-site rung. A USB drive you refresh monthly and keep at a relative’s house counts, as long as the archive on it is encrypted and reasonably current. The principle is what matters — one copy that a local disaster can’t touch. What you must not do is skip the encryption, because an off-site copy of an unprotected backup is an off-site copy of every credential your house uses.
How Do You Know Your Backups Actually Work?
You know a backup works by restoring it — onto a spare drive or a throwaway virtual machine — and watching Home Assistant come back up with your automations, dashboards, and integrations intact. An untested backup is an assumption, and assumptions have a way of collapsing at the exact moment you need them. I run a restore drill a few times a year, and it has caught a problem more than once.
The first drill I ever ran taught me the lesson that made me stop being clever: I’d been running partial backups that excluded an add-on I actually depended on, and the restore came up missing it. Had my hardware failed that week, my “backup” would have had a hole exactly where it hurt. I switched to full backups that night. The drill itself is quick — flash Home Assistant OS to a spare disk, boot, choose restore during onboarding, upload the latest archive, confirm everything appears. You throw the copy away afterward; you were testing the archive, not migrating.
Do this once and the abstract fear of “what if my backups are bad” turns into a concrete, verified fact. It’s the cheapest insurance in the whole setup, and it’s the step nearly everyone skips.
As an Amazon Associate I earn from qualifying purchases. A basic two-bay two-bay NAS enclosure is plenty for hosting hub backups alongside your other files, and it’s the piece that turns “backups on the hub” into a real off-box copy.
Where do Home Assistant backups get stored by default?
By default, backups are written to the hub’s own backup folder on the same disk that runs Home Assistant. That is fine as a working copy but useless if the disk or machine fails, so you should add a network or cloud location and have the schedule push archives off the hub automatically.
Are Home Assistant backups encrypted?
They can be. Home Assistant lets you set a password on backups, which encrypts the archive before it is stored or moved. Always enable this for any copy that leaves your house, because a backup contains your secrets file and access tokens. Keep the password in a separate password manager, not inside Home Assistant.
Can Home Assistant back up directly to a NAS?
Yes. Add your NAS as a network storage location over SMB inside Home Assistant, then select it as a target for the scheduled backup. The hub writes the archive across the network automatically each night, with no scripts needed on the NAS side.
How many backups should I keep?
Keep at least seven daily backups plus one monthly. That covers the common case of breaking something and only noticing days later, without letting archives pile up indefinitely. Use the retention setting so old backups are pruned automatically rather than by hand.