The Home Assistant Backup & Maintenance Guide
A working Home Assistant backup is a full snapshot of your configuration, database, and add-ons that you can restore onto fresh hardware in under an hour. In my setup that means a nightly full backup, kept in three places, tested by actually restoring it — not just assumed. If you only do one thing after reading this, turn on scheduled backups tonight.
I have run Home Assistant as the brain of my house for years, and the single most expensive lesson I learned wasn’t about a fancy integration or an mmWave sensor. It was about the boring stuff: the hub itself. A corrupt database, a failed SD card, a bad update, a power blip at the wrong moment — any one of them can wipe months of tuning in seconds. The automations that run my grow lights, the curing-chamber compressor, and the sauna pre-heat all hang off one rule engine, and when that engine dies, the whole workshop goes dumb.
This guide is the maintenance playbook I wish someone had handed me on day one. It covers what a real backup strategy looks like, how to move to new hardware without re-pairing forty Zigbee devices, how to stop the database from eating your disk, and how to survive an update that breaks things. Every section links to a deeper walkthrough where the details matter.
What Should a Home Assistant Backup Actually Contain?
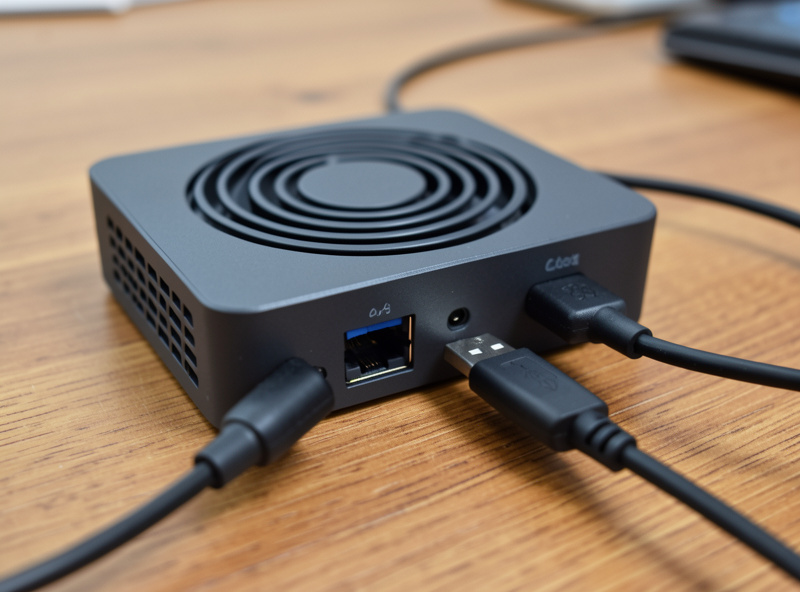
A complete Home Assistant backup contains your configuration YAML, the SQLite or MariaDB recorder database, the .storage folder (where entity registries, device pairings, and secrets live), your add-ons, and their data. Miss the .storage folder and you keep your dashboards but lose every device relationship — which is the difference between a five-minute restore and a weekend of re-pairing.
The built-in backup in Home Assistant OS handles all of this for you as a single .tar archive. That’s the important part people miss: a “backup” that’s just a copy of configuration.yaml is not a backup. Your Zigbee network coordinator database, your Z-Wave controller cache, your long-lived access tokens, and your automation states all live outside that one file. When I audit a friend’s setup and they tell me they “back up their config to GitHub,” I ask them to restore it — and every time, the devices come back unpaired.
Home Assistant distinguishes between full and partial backups. A full backup grabs everything, including add-ons. A partial lets you pick — useful if your database has ballooned to several gigabytes and you don’t want to haul it around. In my routine I run a full backup nightly and keep partials off, because disk is cheap and a half-backup is the kind of thing you regret at 2 a.m. The official Home Assistant OS common tasks documentation walks through the exact backup menu if you’re on HA OS or Supervised.
How Often Should You Back Up Home Assistant?
Back up nightly, automatically, and keep at least the last seven days plus one monthly. A daily cadence means the most you can ever lose is a day of changes, and seven days of history covers the “I broke something last Tuesday and only noticed now” case. Manual backups don’t count — you will forget, usually right before you need one.
The reason I insist on automatic is human nature. Early on I backed up “whenever I made a big change.” Then I made a hundred small changes over three months, never a single “big” one, and when my SD card died I restored a snapshot from twelve weeks earlier. Forty automations gone. That night I set up a scheduled backup and never looked back. Home Assistant added native scheduled backups with retention, so there’s no excuse anymore — but where those backups land is the part that actually saves you.
A backup sitting on the same disk as Home Assistant is not a backup; it’s a copy that dies with the hardware. That’s the whole point of getting the archive off the box. I cover the exact scheduler settings and off-site targets I use in Automatic Off-Site Home Assistant Backups: The 3-2-1 Setup I Run — it’s the first thing I’d set up on any new install.
The 3-2-1 Rule Applied to Your Hub
The 3-2-1 backup rule means three copies of your data, on two different media, with one copy off-site. For a home hub that translates to: the live install, a nightly archive on a NAS or network share, and one copy off the property — cloud storage or a drive at another location. It’s the same discipline data centers use, shrunk to fit a shelf in a workshop.
Here’s how I map it in practice. Copy one is the running Home Assistant on my mini-PC’s SSD. Copy two is the nightly .tar pushed to my NAS over the network — different physical medium, different box. Copy three is a weekly sync of that archive to encrypted cloud storage, so a fire or a theft doesn’t take my house’s brain with it. None of this is exotic; it’s three destinations and a schedule.
| Failure mode | What it kills | What protects you | Deeper guide |
|---|---|---|---|
| SD card wears out | Whole install, no warning | Move to SSD; nightly off-box backup | SD vs SSD |
| Database corruption | History, sometimes boot | Recorder tuning; nightly backup | Database too large |
| Bad update | Integrations, add-ons | Pre-update backup; rollback | Update broke setup |
| Power loss mid-write | Corrupt DB, unbootable card | UPS + graceful shutdown | UPS power loss |
| Hardware dies | Everything on the box | Off-site backup; clean migration | Migrate to new hardware |
| Disk fills up | Hub freezes, DB won’t write | Recorder purge; bigger disk | Database too large |
Read that table as a threat model. Every row is a way I have personally watched a home hub die or come close, and every “what protects you” column is something you can set up in an afternoon. The rest of this guide is those columns in detail.
Why the Storage Medium Under Your Hub Matters
The medium you run Home Assistant on is the single biggest reliability variable, and SD cards are the weakest link by a wide margin. A cheap microSD card in a Raspberry Pi will handle the constant small writes of the recorder database for months, then fail suddenly and completely, usually without a warning in the logs. An SSD in the same role runs for years.
The mechanism is simple: the recorder writes state changes to disk constantly — every sensor update, every automation trigger. On my Zigbee mesh alone there are dozens of temperature and presence sensors chattering, and each one is a tiny write. SD cards have limited write-endurance, and that firehose of small writes chews through their cells. When I moved my install off a Pi’s SD card onto an SSD, the phantom slowdowns and the occasional overnight freeze simply stopped. I go into the endurance numbers and the exact migration steps in SD Card vs SSD for Home Assistant: Why I Stopped Trusting SD.
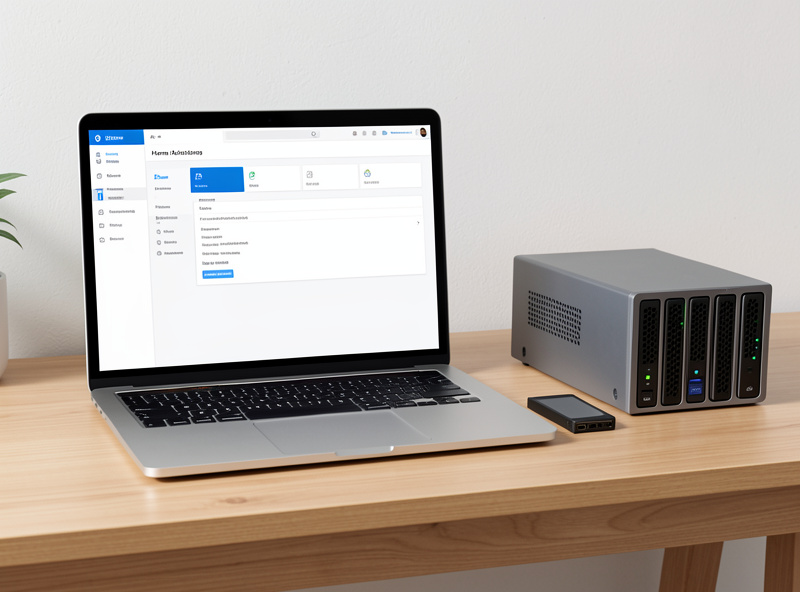
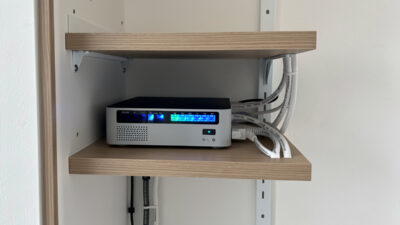
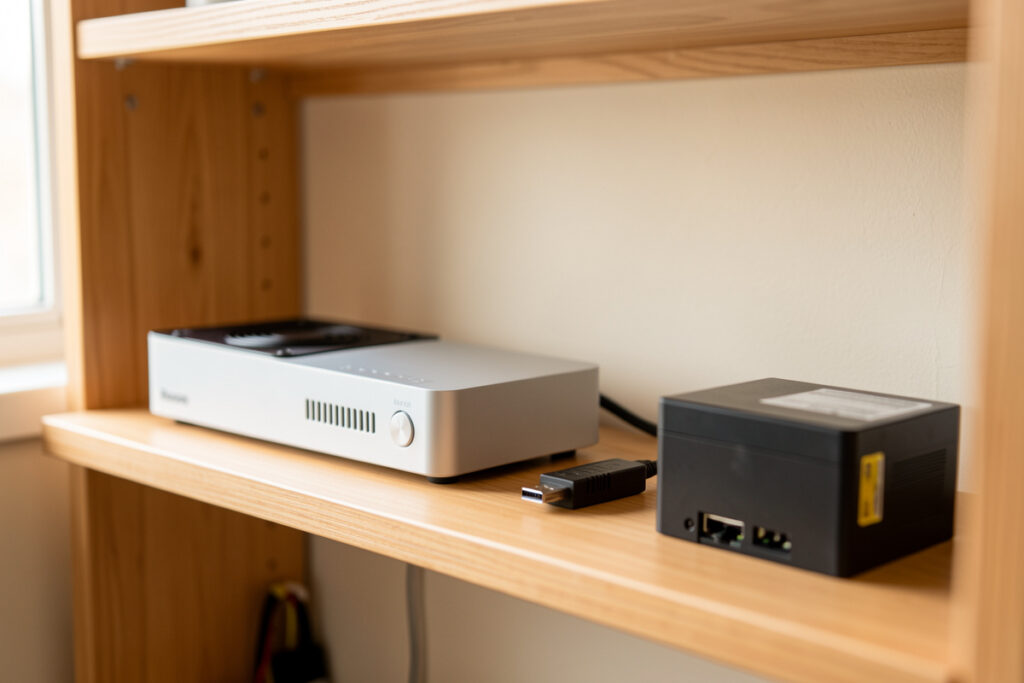
If you’re building or rebuilding a hub, the hardware choice is worth getting right once. I run Home Assistant OS on a small fanless Intel N100 box with a proper SATA or NVMe SSD — no moving parts, low idle power, and enough headroom to run Frigate object detection on my local cameras without breaking a sweat. It’s boring, and boring is exactly what you want under a system that has to run for years. My shortlist of boxes I’d actually buy is in Best Mini PCs for Home Assistant: N100 Boxes I’d Actually Buy.
How Do You Move Home Assistant to New Hardware?
You move Home Assistant to new hardware by restoring a full backup onto a fresh install — not by re-pairing devices. Install Home Assistant OS on the new box, boot it, choose “restore from backup” during onboarding, upload your latest .tar, and let it rebuild. Done right, your Zigbee and Z-Wave devices come back exactly as they were because the coordinator databases travel inside the backup.
The catch that trips people up is the radio coordinators. Your Zigbee network’s pairing table lives in the Zigbee2MQTT or ZHA database, and your Z-Wave network lives in the controller stick itself plus its cached database. If you physically move the same USB coordinator sticks to the new box and restore the backup, the mesh comes back intact — no walking around re-pairing forty bulbs and sensors. If you swap to a different coordinator, you’re re-pairing. I learned that the hard way the first time I “upgraded” my Zigbee stick without migrating its network, and I still wince thinking about it. The full, tested procedure — including the coordinator-migration gotchas — is in Migrating Home Assistant to New Hardware Without Re-Pairing Everything.
Keeping the Recorder Database From Eating Your Disk
The recorder database grows without limit by default, and left alone it will swell to several gigabytes and slow your whole hub down. Home Assistant’s recorder keeps a full history of every entity’s state changes, and with a couple hundred entities that adds up fast. The fix is to tell the recorder what to keep and what to ignore — not to let it hoard everything forever.
In my setup the recorder purge_keep_days is set to ten, and I explicitly exclude the noisy, useless entities: the ones that update every few seconds and that I will never look at historically, like signal-strength sensors and per-second power readings I’ve already aggregated elsewhere. That one change took my database from over four gigabytes down to a few hundred megabytes and made the history graphs snappy again. For anything I genuinely want long-term — energy totals, temperature trends — I let long-term statistics handle it, which stores hourly summaries instead of raw states. The recorder integration documentation lists every filter option, and I walk through the exact include/exclude config I run in Home Assistant Database Too Large? Recorder Tuning That Works.
If your database has already grown huge, purging it is one of the highest-impact half-hours you can spend on your hub. A bloated SQLite database is also far more likely to corrupt during a power loss, because there’s simply more of it in flight at any moment — which ties the database problem straight back to the power problem below.
What Happens When an Update Breaks Your Setup?
When a Home Assistant update breaks something, the fix is almost always to roll back — either restore the pre-update backup or downgrade the specific component. Home Assistant ships frequent updates, and while most are smooth, a breaking change to an integration or a core version bump can knock a device or an add-on offline. The calm response is a rollback; the panicked response is editing YAML at midnight.
My rule is simple: I take a full backup immediately before any core update, every time, no exceptions. It’s built into the update flow now, but I still confirm it happened. When something does break, I have a known-good state to return to instead of reverse-engineering what changed. I’ve had a minor version bump silently drop a custom integration, and because I had the pre-update snapshot, the recovery was fifteen minutes, not a lost evening. The whole calm-rollback procedure — restoring a backup, downgrading core, and pinning a problem integration — is in When a Home Assistant Update Breaks Things: Roll Back Calmly.
The discipline here is the same one that runs through this entire guide: the backup is what turns a disaster into an inconvenience. Everything else is just knowing which button to press.
Why Your Hub Belongs on a UPS
A hub on a UPS survives power blips that would otherwise corrupt its database, and — configured properly — shuts itself down gracefully during a longer outage instead of dying mid-write. A home automation controller writes to disk constantly, so a power cut at the wrong microsecond can leave the database or the whole SD card corrupt and unbootable. A small UPS plus a shutdown automation removes that risk almost entirely.
I run my mini-PC, my network switch, and my router on one modest consumer UPS. It’s not there to keep the house running for hours; it’s there to ride out the brief brownouts that are common where I live and to give the hub two clean minutes to flush its database and power down when the outage is real. Home Assistant can read the UPS status over USB and trigger a graceful shutdown automatically. The wiring, the NUT integration, and the shutdown automation are all in Putting Your Hub on a UPS: Graceful Shutdown Beats a Corrupt DB.
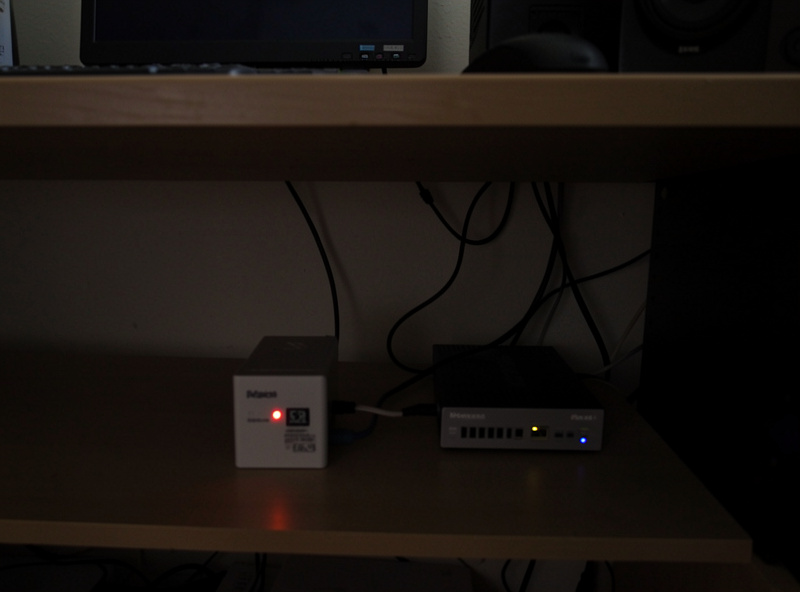
Pair a UPS with a tuned database and off-box backups and you’ve closed the three most common ways a home hub dies: worn storage, a corrupt database, and a bad power event. That’s most of the risk gone for the price of a UPS and an afternoon.
Where Should Your Backups Actually Live?
Your backups should live somewhere that survives the death of the hub — a NAS, a network share, and one copy off the property. Home Assistant’s newer backup system lets you define multiple backup locations and push the same archive to each on a schedule, which is exactly what the 3-2-1 rule asks for. The trick is picking destinations that fail independently.
In my setup the primary off-box target is my NAS over a network share. It sits on a different shelf, on a different power circuit, and it has its own redundancy. That covers the “mini-PC died” and “SSD gave up” cases. But a NAS in the same room doesn’t help against fire, flood, or theft — which is why the third copy leaves the building entirely. I sync the weekly archive to encrypted cloud storage, and because Home Assistant backups can be password-protected before they ever leave the box, I’m not handing a cloud provider a plaintext copy of my house’s secrets and access tokens.
That encryption detail matters more than people think. A Home Assistant backup contains your secrets.yaml, your long-lived tokens, and in some cases credentials for every integrated service. Shipping that unencrypted to a random cloud bucket is the kind of thing that feels convenient right up until it isn’t. Set a backup password, store it in your actual password manager — not inside Home Assistant, where a lost hub would take it with you — and now the off-site copy is safe to keep anywhere. I keep a segmented IoT VLAN precisely so the chatty devices never touch my laptops, and the same instinct applies here: assume the copy that leaves the house could be read by someone, and encrypt accordingly.
Testing a Restore: The Step Everyone Skips
An untested backup is a hope, not a plan. The only way to know a backup works is to restore it — onto a spare box, a virtual machine, or a fresh install — and watch it come up. I do this a few times a year, and every single time I’ve learned something I wouldn’t have known until the real emergency, which is the worst possible moment to discover your archive was half-empty.
The first time I ran a restore drill, I found that an add-on I depended on hadn’t been included in my partial backups because I’d fenced them too tightly. Had my hardware died that week, I’d have restored a “backup” with a hole in it. That’s the whole reason I switched to full backups and stopped being clever about excluding things to save a few hundred megabytes. Disk is cheaper than the panic of a failed restore.
A restore drill is simple. Flash Home Assistant OS to a spare drive or spin up a throwaway virtual machine, boot it, choose “restore from backup” during onboarding, upload your latest archive, and confirm your dashboards, automations, and integrations all appear. You don’t need to keep the restored copy — you’re testing the archive, not migrating. Do it once and you’ll trust your backups in a way that reading about them can never give you. And if you’re restoring onto genuinely new hardware for real, the coordinator-migration details in the migration walkthrough are what keep your Zigbee mesh from scattering.
The Maintenance Nobody Talks About: Naming and Add-on Hygiene
The quiet half of hub maintenance isn’t backups at all — it’s keeping the install itself sane so that when you do restore, you inherit order instead of chaos. The two things that bite hardest over years are inconsistent entity naming and add-on sprawl, and both compound silently until a migration or a rebuild forces you to face them.
Entity naming is the one I paid for. Early on I named entities however the integration suggested — sensor.0x00158d0001abcd_temperature here, Living Room Temp there, a mix of conventions across forty devices. Then I tried to write an automation that looped over “all temperature sensors” and discovered my own house was a naming junkyard. Now I run a strict convention: area first, then device, then measurement, lowercase and consistent, so that sensor.workshop_curing_chamber_temperature tells me exactly what it is at a glance. When I migrate to new hardware, that discipline travels with me, and the automations that run the grow lights and the curing-chamber compressor stay readable.
Add-on hygiene is the other. Every add-on you install is another thing that can break on update, another thing in your backup, another attack surface if it’s exposed. Every few months I prune the ones I stopped using. A lean hub restores faster, updates more predictably, and gives a bad update fewer places to go wrong — which loops right back to the calm-rollback discipline. Fewer moving parts is the same philosophy as local-first control: the less that can fail, the less that will.
Why Local-First Is What Makes This Worth Doing
All of this maintenance only pays off because the hub is local-first in the first place. If your “smart home” is really forty cloud apps talking to forty vendors’ servers, there’s nothing on your box worth backing up — the intelligence lives on someone else’s computer, and it vanishes the day a vendor sunsets a product or changes their terms. A local Home Assistant install is the opposite: the automations, the history, the device relationships, the rules that run your house are all yours, on hardware you own.
That’s precisely why the backup matters so much. When the value lives on your box, protecting your box is protecting your smart home. The same conviction that makes me put an IoT VLAN between my devices and my laptops, run local-recording cameras instead of a cloud subscription, and de-cloud a robot vacuum so it stops phoning home — that same conviction is what makes a nightly encrypted off-site backup non-negotiable. You went to the trouble of owning your automations. Own their safety net too.
A Maintenance Rhythm You’ll Actually Keep
The best maintenance schedule is the one that runs without you thinking about it. In my setup, nightly backups and recorder purges are automated, so the daily work is nothing. Once a month I glance at disk usage and confirm a backup actually restored on a spare box; once or twice a year I review whether my hardware still has headroom. That’s the whole rhythm.
The mistake I see most — and made myself — is treating the hub as “set and forget” until it forces the issue. A home automation system is infrastructure. It runs the lights when it’s dark and the family’s asleep, and nobody notices it until it stops. Build the safety net once: SSD under the hub, recorder tuned, nightly off-site backups, a UPS on the wall. Then you get to spend your time on the fun part — the automations — instead of rebuilding from scratch.
If you’re setting all this up from zero, do it in this order: move to solid storage, turn on automatic off-site backups, tune the recorder, then add the UPS. Each step stands on its own, and by the end your hub is the most reliable thing in the house.
Does a Home Assistant backup include Zigbee and Z-Wave device pairings?
Yes, if you use a full backup. The coordinator databases for Zigbee and the Z-Wave controller cache live inside the backup archive, so restoring it onto new hardware brings your paired devices back without re-pairing, as long as you keep the same physical USB coordinator sticks.
How often should I back up Home Assistant?
Nightly and automatically. A daily schedule means the most you can lose is one day of changes. Keep at least seven daily backups plus one monthly, and store at least one copy off the hub itself so a hardware failure does not take your only backup with it.
Can I restore a Home Assistant backup onto different hardware?
Yes. Install Home Assistant OS on the new machine, and during onboarding choose to restore from backup and upload your latest archive. Devices and automations return as they were. Move your USB radio coordinators to the new box so the Zigbee and Z-Wave meshes stay intact.
Why does my Home Assistant database keep growing?
The recorder integration stores every state change of every entity by default. With a few hundred entities that grows to several gigabytes. Set purge_keep_days to around ten and exclude noisy sensors you never review historically to keep the database small and fast.
Do I really need a UPS for Home Assistant?
A UPS is one of the cheapest reliability upgrades you can make. A home hub writes to disk constantly, so a power cut at the wrong moment can corrupt the database or the storage card. A small UPS plus a graceful-shutdown automation removes almost all of that risk.
Keep Building
- Automatic Off-Site Home Assistant Backups: The 3-2-1 Setup I Run
- Migrating Home Assistant to New Hardware Without Re-Pairing Everything
- Home Assistant Database Too Large? Recorder Tuning That Works
- SD Card vs SSD for Home Assistant: Why I Stopped Trusting SD
- Best Mini PCs for Home Assistant: N100 Boxes I’d Actually Buy
- When a Home Assistant Update Breaks Things: Roll Back Calmly
- Putting Your Hub on a UPS: Graceful Shutdown Beats a Corrupt DB