Home Assistant Automation Examples: Building a Local-First Rule Engine
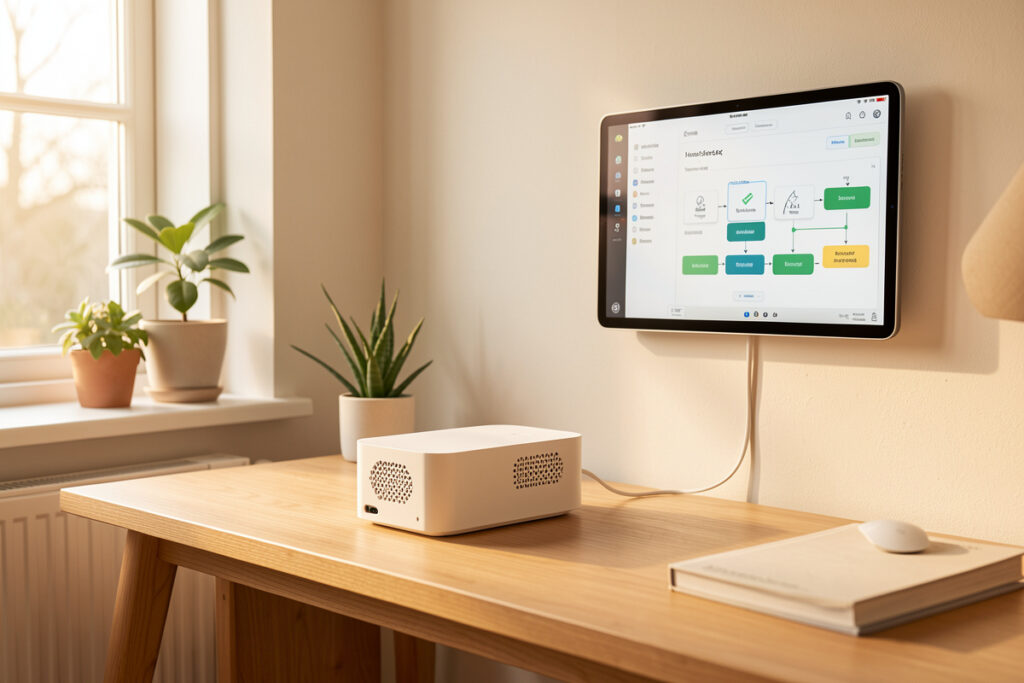
Most “smart home” tours show you the gadgets. The part that actually earns its keep is the rule engine underneath — the layer that decides when the lights come on, whether the heat should drop, and what happens when nobody is home. In my setup, a single Home Assistant install runs roughly 140 automations across Zigbee, Z-Wave, and Matter-over-Thread, and the ones I’d never give up are boring: lights that follow presence, heat that backs off when a window opens, a leak sensor that kills a valve in under a second. This is the playbook for building that engine the way I run it — local-first, so the rules keep working when the internet doesn’t.
Below you’ll find concrete automation examples plus a map of every tool the rule engine gives you — triggers, conditions, scenes, scripts, helpers, template sensors, blueprints, and Node-RED — and, just as important, when not to reach for each one. Every linked guide goes deep on one piece; this hub is how they fit together.
What “Automation” Actually Means in Home Assistant
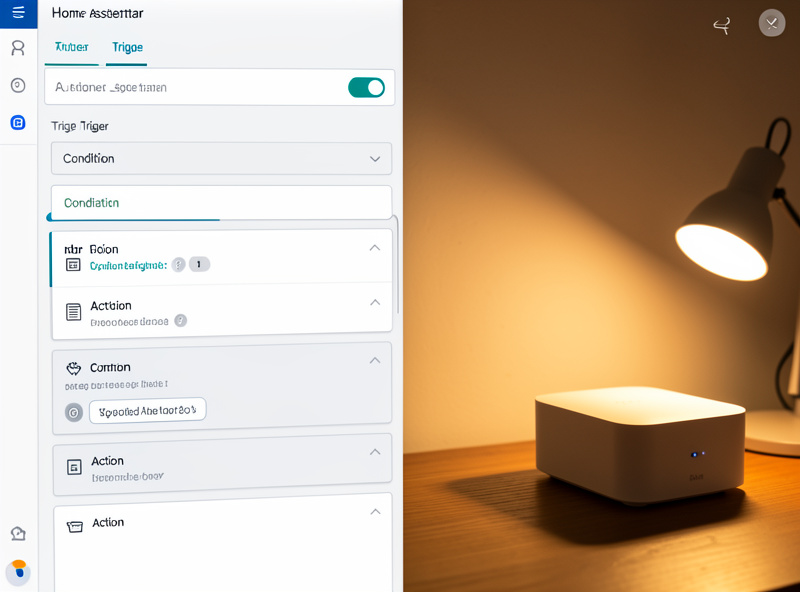
An automation in Home Assistant is a single rule with three parts: a trigger (what starts it), optional conditions (whether it’s allowed to run), and actions (what it does). That’s the whole model. A motion sensor turning on a light is one automation with one trigger and one action. The reliability you feel — or don’t — comes almost entirely from how carefully you write the trigger and the conditions, not from the action.
The mistake almost everyone makes early is treating the trigger as “the thing happened” when what you actually want is “the thing happened and stayed that way.” A motion trigger that fires the instant a sensor flickers will turn your hallway light on at 3 a.m. when a sensor glitches. The fix is a for: duration on the trigger or a state condition — which is exactly the difference between an automation that feels magic and one your household quietly disables. I cover that trigger discipline in depth in the guide on automation conditions.
Five Automations Worth Building First
If you want automations that survive the “is this actually useful?” test rather than the YouTube-tour test, start here. Each of these runs locally in my house and has earned its place over years. None of them need a cloud account to fire.
1. Presence-Aware Lighting
Trigger on an mmWave presence sensor (not a phone joining Wi-Fi), condition on illuminance below a lux threshold so it doesn’t fire in daylight, and add a for: timeout before turning the light back off so a still person in the room doesn’t go dark. This single pattern — presence + lux + timeout — is the backbone of half my house. The difference between PIR and mmWave here is enormous: PIR sees motion, mmWave sees a body sitting still, and that’s the whole reason people get plunged into darkness while reading.
2. Window-Open Heat Setback
A door/window contact triggers a climate setback: when any window in a room opens, drop the TRV radiator valve to a frost-protect setpoint; when it closes for two minutes, restore the schedule. This is the automation that pays for itself. The two-minute for: on the close event stops a draughty contact from thrashing the valve every time someone walks past.
3. Leak Sensor Kills the Valve
A leak sensor under the dishwasher triggers a smart valve or a relay-controlled shutoff, immediately, with no conditions and no delay — and sends a notification. This is the one automation where I want zero cleverness: detect water, cut water, tell me. It’s also the clearest argument for local control, because a one-second local response beats a round-trip to someone’s cloud every single time.
4. “Everyone Left” Routine
When the last presence entity goes not_home for five minutes, run a scene that drops the heat, turns off the lights, arms the local cameras, and starts the robot vacuum. The five-minute buffer is doing real work — it stops the house shutting down because someone stepped out to the bin. This is a textbook case for a scene rather than a script, and I explain why below.
5. Restart-Safe Notifications
A “battery low” automation that re-evaluates after a reboot without spamming you ten alerts the moment Home Assistant comes back up. If you’ve ever had every automation in the house fire at once after an update, you’ve hit the restart-trigger trap — and there’s a clean fix using for: and trigger IDs that I walk through in why your automations fire on restart.
The Tools the Rule Engine Gives You
Home Assistant hands you more than one way to express logic, and choosing the wrong tool is why people’s configs turn into spaghetti. Here’s the honest breakdown of what each piece is actually for, and the dedicated guide for each.
| Tool | What it’s for | Holds state? | Reach for it when |
|---|---|---|---|
| Scene | A snapshot of how devices should be right now | No (declarative) | You want “make the room look like this” in one call |
| Script | An ordered sequence of steps with delays/logic | No | You need “do A, wait, then B” reusable on demand |
| Automation | Trigger → condition → action, runs itself | No | Something in the house should react to an event |
| Helper | A toggle, counter, timer, or input you create | Yes | You need a variable the UI and automations share |
| Template sensor | A new entity derived from raw state | Derived | Raw data needs math/logic before it’s a useful trigger |
| Blueprint | A reusable automation template with inputs | No | You’re copy-pasting the same automation per room |
| Node-RED | Visual flows for complex branching logic | Via context | A YAML automation has become unreadable |
If you only remember one row: scenes describe a state, scripts describe a sequence, automations describe a reaction. Everything else — helpers, templates, blueprints, Node-RED — is plumbing that makes those three cleaner.
Triggers: Where Reliability Is Won or Lost
The trigger is the single most-edited line in any automation I’ve ever debugged. Home Assistant gives you state triggers, numeric-state triggers, time triggers, sun triggers, zone triggers, event triggers, and template triggers. The skill isn’t knowing they exist — it’s knowing that a raw state change is almost never what you want. You want a state that has held for a duration, or a numeric value that has crossed a threshold and stayed there.
This is also where the “fires on every restart” headache comes from: a state trigger with no for: re-evaluates as soon as entities reload after a reboot, and suddenly every rule in the house decides its condition is freshly true. The durable pattern is to add a short for: duration and gate on the trigger ID so a restart doesn’t masquerade as a real event. The full fix lives in the restart-trigger guide.
Conditions: The Off-Switch for Bad Timing
Conditions are how you stop a rule from firing at the wrong moment without rewriting the trigger. A motion automation that should only run after dark gets a sun condition; one that should respect a “guests over” mode gets a condition on an input boolean helper. Conditions are cheap, readable, and the first thing I add when an automation is technically correct but socially annoying.
The pattern I lean on hardest is the template condition combined with a template sensor: instead of cramming logic into the condition, I compute a clean true/false in a template sensor and let the automation just check it. It keeps the automation readable and means the logic is reusable across rules. The conditions guide goes through AND/OR/NOT nesting and the gotchas that quietly break numeric_state checks.
Helpers and Template Sensors: Giving the Engine Memory
Out of the box, automations are stateless — they react and forget. Helpers are how you give the system memory: an input boolean for a “vacation mode” toggle, an input number for a brightness target the family can change without editing YAML, a counter for “how many times did the door open today,” a timer for “keep the fan on 20 minutes after humidity drops.” I treat helpers as the variables of my smart home.
Template sensors are the other half: they turn raw, awkward state into something an automation can actually trigger on. A power-clamp that reports 4.2 W when the washing machine is idle and 380 W when it’s running becomes a clean binary “washer running” sensor via a template — and now I can trigger a “laundry done” notification off a real event instead of a noisy number. This pairing, helper plus template sensor, is what separates a config that scales from one that becomes unmaintainable at fifty entities.
Blueprints: Stop Copy-Pasting the Same Rule
The moment you’ve written the same motion-light automation for the hallway, the bathroom, and the landing, you’ve outgrown copy-paste. Blueprints let you define the automation once with inputs — pick the sensor, pick the light, pick the timeout — and stamp out instances. I run a single motion-lighting blueprint across nine rooms; when I improve the logic, I fix it in one place and every room inherits it. That’s not just tidy, it’s the difference between a config you can reason about and one you’re afraid to touch.
Node-RED: When the Visual Flow Earns Its Keep
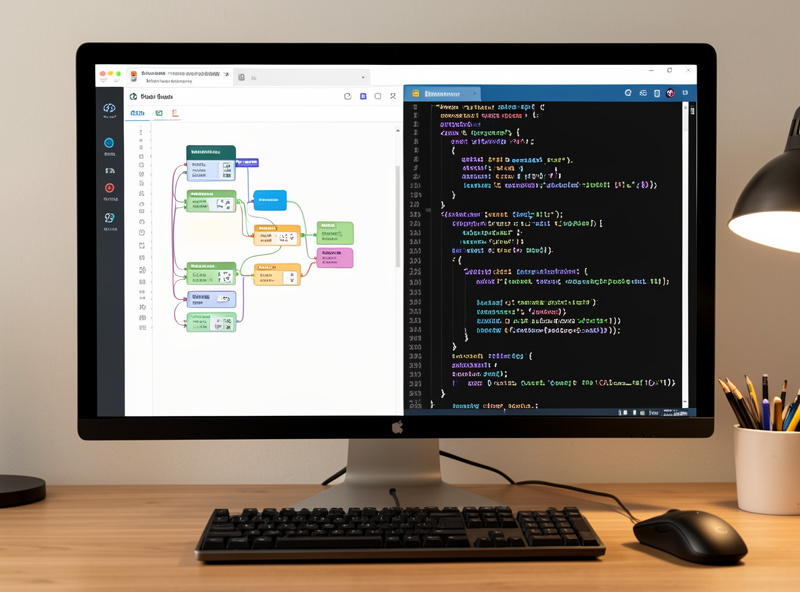
I resisted Node-RED for a long time, and for most rules I still write plain automations — they’re version-controllable, restart-safe, and live with the rest of my config. But there’s a point where branching logic (“if this, unless that, but only when the other thing, and remember the previous state”) becomes genuinely hard to read in YAML, and a visual flow wins. The honest comparison — performance, restart behaviour, what’s easier to debug at 11 p.m. — is in Node-RED vs Home Assistant automations. Short version: native automations for 90% of rules, Node-RED for the gnarly stateful 10%.
Why Local-First Changes Every One of These Decisions
Everything above assumes the rule engine runs in my house, not someone else’s data centre. That’s deliberate. A leak-shutoff automation that has to round-trip to a cloud is a leak-shutoff automation that fails exactly when the internet does. Presence lighting that depends on a vendor’s server goes dark during an outage. In my setup the hub is Home Assistant OS on a dedicated mini-PC with an SSD, the radios are local coordinators, and the cloud is the exception — used for the odd integration, never load-bearing in a core rule.
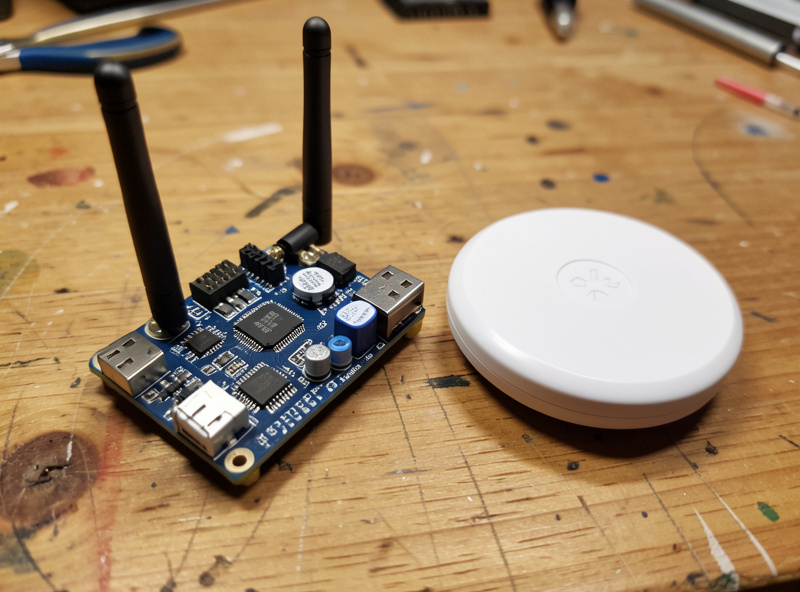
That conviction shapes hardware choices too. A dedicated Zigbee coordinator stick with the antenna kept away from USB-3 noise gives me a mesh I control, rather than a hub that phones home. As an Amazon Associate I earn from qualifying purchases. If a device can only be automated through an app and a login, it doesn’t go into a core automation — it goes on the “nice to have” pile, where an outage costs me nothing.
How to Grow the Engine Without It Growing You
The trap at scale isn’t the number of devices — it’s inconsistent naming and tangled logic. I name entities by area and function (binary_sensor.kitchen_motion, not binary_sensor.0x00124b002), keep one blueprint per repeated pattern, push reusable logic into template sensors, and gate behaviour with helpers I can flip from a dashboard. Do that and forty automations stay legible. Skip it and you’ll be afraid to touch your own house. Start with the five examples above, lean on the linked guides for each tool, and add rules only when they solve a real annoyance — not because they look good in a screenshot.
Anatomy of a Reliable Automation, Annotated
It helps to see the model in one concrete rule. Here’s the structure of my kitchen presence-lighting automation, described in plain terms. The trigger is the mmWave sensor in the kitchen changing to on, plus a second trigger on it changing to off with a for: of two minutes. The conditions are two: illuminance below 40 lux, and a “lighting automations enabled” input boolean that I can flip off when I’m cleaning and don’t want lights chasing me. The actions branch on which trigger fired — the on trigger ramps the light to a warm preset, the delayed off trigger fades it out.
Three things make that rule trustworthy. First, the two-minute for: on the off-trigger means a brief mmWave dropout doesn’t kill the light mid-task. Second, the lux condition stops it firing pointlessly in daylight, which is both wasteful and the kind of “why did that just happen” moment that erodes household trust in the system. Third, the helper gate gives a human override without editing YAML. That’s the shape every good automation converges on: a trigger that means what you think it means, conditions that encode “but only when it’s appropriate,” and actions that stay simple. When a rule misbehaves, it’s almost always the trigger or a missing condition — not the action.
Debugging: Traces Tell You Exactly What Happened
The feature that changed how I build automations is the built-in trace. Every time an automation runs, Home Assistant records a step-by-step trace — which trigger fired, whether each condition passed or failed, and what each action did, with timestamps. When a rule “didn’t work,” I don’t guess; I open the trace and watch where it stopped. Nine times out of ten the trace shows a condition that quietly evaluated false, or a trigger that fired off the wrong entity.
The traces also expose the restart problem vividly: after a reboot you’ll see a cluster of automations all triggering within the same second, which is the fingerprint of state triggers re-evaluating on reload. Once you’ve seen that pattern in a trace, the for/trigger fix stops being abstract. I treat traces as the first stop in any debugging session, before I touch a single line of config — it turns “my smart home is haunted” into “this condition on this entity returned false at 18:42,” which is a problem you can actually solve.
Common Automation Mistakes I Keep Seeing
After years of helping people untangle their configs, the same handful of mistakes come up over and over. Triggering on raw motion instead of held presence is the big one — it’s why lights flicker and rooms go dark on stationary people. Forgetting a mode setting is the next: by default a re-triggered automation restarts or queues, and a motion light that keeps re-triggering can stack actions in ways you didn’t intend; setting mode: restart on a “turn off after delay” rule is usually what you want.
Putting logic in the action instead of the condition makes rules unreadable — if you’re writing a long template inside an action to decide whether to do anything, that logic belongs in a condition or a template sensor. Hard-coding values that should be helpers is another: a brightness or a setpoint buried in YAML is a value only you can change, whereas an input number helper puts it on a dashboard for the whole household. And building ten near-identical rules by hand when a blueprint would do is how configs become unmaintainable. Every one of these is a five-minute fix early and a weekend rebuild late.
Building the Engine in the Right Order
If you’re starting from a fresh hub, build in this order and you’ll avoid most of the pain. First, get your template sensors right so your raw data is clean and triggerable. Second, create the helpers that represent your house’s modes — vacation, guests, night. Third, write a few automations by hand to learn the trigger/condition/action rhythm and lean on conditions to make them well-behaved. Fourth, once you spot a repeated pattern, convert it to a blueprint. Finally, when a single rule’s logic gets genuinely branchy, evaluate whether Node-RED earns its place for that one flow. Decide between a scene, a script, or an automation on every new behaviour, because picking the wrong container is the most common reason a config feels heavier than it should.
Frequently Asked Questions
What is the difference between a scene, a script, and an automation in Home Assistant?
A scene is a saved snapshot of device states you apply on demand. A script is an ordered sequence of steps you trigger manually or from elsewhere. An automation runs itself: a trigger fires, optional conditions are checked, then actions run. Scenes describe a state, scripts describe a sequence, automations describe a reaction.
Do Home Assistant automations work without internet?
Yes, if your devices and hub are local. Automations triggered by Zigbee, Z-Wave, Thread, or local sensors run entirely on the hub and keep working during an internet outage. Only automations that depend on a cloud-connected device or cloud-based service stop when the connection drops, which is why local-first design matters.
Why do my automations all fire when Home Assistant restarts?
State triggers re-evaluate as entities reload after a restart, so any rule whose condition is freshly true fires at once. Add a short for: duration to the trigger so a momentary reload does not count as a real event, and gate actions on trigger IDs. This is the standard restart-trigger fix.
Should I use Node-RED or native Home Assistant automations?
Use native automations for the vast majority of rules. They are version-controllable, restart-safe, and live with your config. Reach for Node-RED only when branching, stateful logic becomes genuinely hard to read in YAML. In practice that is roughly 10 percent of rules, with native automations handling the rest.
What is a template sensor used for?
A template sensor derives a new entity from raw state using a small expression. It turns awkward data into a clean trigger, for example converting a noisy power reading into a simple running or idle binary, so an automation can trigger on a real event instead of a fluctuating number.
When should I create a blueprint instead of an automation?
Create a blueprint the moment you find yourself copy-pasting the same automation for different rooms or devices. A blueprint defines the logic once with inputs you fill in per instance, so improving it in one place updates every room that uses it.
Related Guides
- Node-RED vs Home Assistant Automations: When the Visual Flow Wins
- Home Assistant Blueprints: Reusable Automations Without the Copy-Paste
- Home Assistant Template Sensors: Turn Raw State Into Useful Triggers
- Home Assistant Helpers Explained: Toggles, Counters, and Timers
- Scenes vs Scripts vs Automations: Which One the Job Actually Needs
- Automation Conditions: Stop Your Rules From Firing at the Wrong Time
- Why Your Automations Fire on Restart and the for/trigger Fix