DIY Smart Blind Conversion: Motorize Your Own Blinds
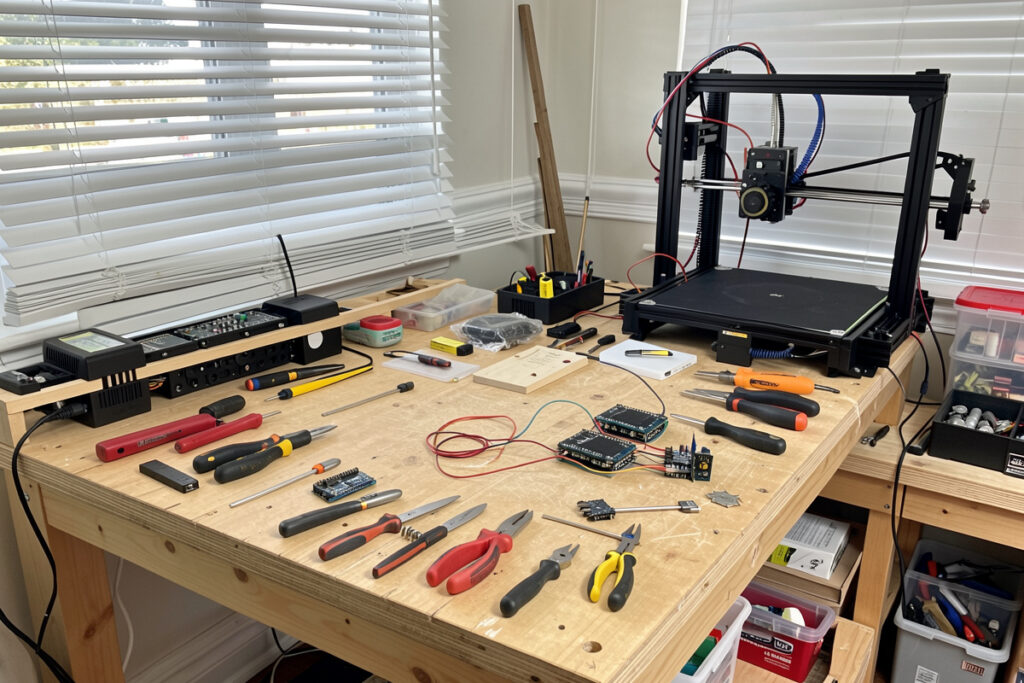
A DIY smart blind conversion turns blinds you already own into hub-controlled, fully local shades for a fraction of retail — usually the cost of a motor, a microcontroller, and a printed bracket, often $15-20 in parts versus $150 or more for a finished retail motorized blind. In my setup, some of my favourite shades are converted ones, because an ESPHome build is local by definition: there is no cloud anywhere in the loop, just the ESP32 talking straight to my hub. That is the most reliable a smart shade can be.
This is the hands-on build companion to the smart blinds guide. I will walk through the two realistic conversion paths — a bolt-in retrofit motor and a full ESP32-plus-stepper build — the parts, and the gotchas. If you would rather buy something finished, the best smart blinds roundup is the other road; this one is for people who like a soldering iron.
Two ways to convert a dumb blind
There are two honest paths and they suit different people. The retrofit motor path is buy-and-bolt: a tubular retrofit drive drops into an existing roller tube, or a clip-on motor grabs the bead chain or tilt rod, and it pairs to your hub over Zigbee or Matter. Minimal tools, an hour of work, done. The full DIY path is an ESP32 (or ESP8266) driving a stepper or geared DC motor, flashed with ESPHome, on a 3D-printed bracket you mount yourself. More effort, more satisfaction, and total local control with zero cloud.
I run both. The retrofit path is what I recommend for a first conversion because the risk is low; the ESPHome path is what I reach for when I want a shade that is exactly local, infinitely tweakable, and integrated into the hub natively. Half the brackets holding motors and sensors in my house came off my own printer, which is the polymath crossover this site runs on — the same printer, hub, and rule engine serve every project.
The retrofit motor path (easiest)
If your shade is a roller, a tubular retrofit motor is the cleanest conversion there is: slide it into the tube, set the limits, pair it to the hub. For venetian blinds, a clip-on tilt motor drives the wand and exposes tilt as its own entity — my favourite cheap entry point because slat tilt is genuinely useful for bouncing daylight. Both are battery or solar powered, so there is no wiring. Size the motor above the shade weight, the same rule from the motorized shades guide, or it will stall on a heavy blackout.
The retrofit path keeps you out of firmware entirely while still landing you on a local protocol. That is the right call if you want the result without the build. The only real decision is which radio — pick the one your hub already runs, per the protocol comparison.
The ESPHome path (cheapest and most local)
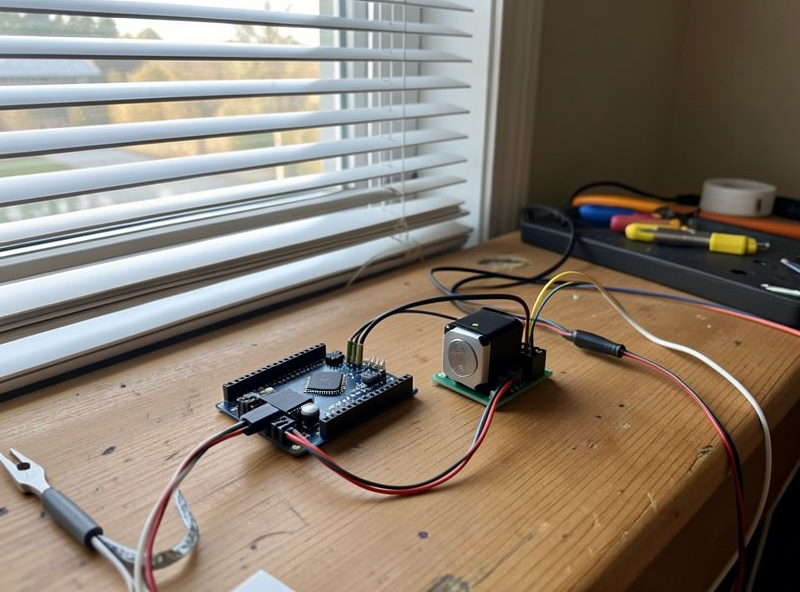
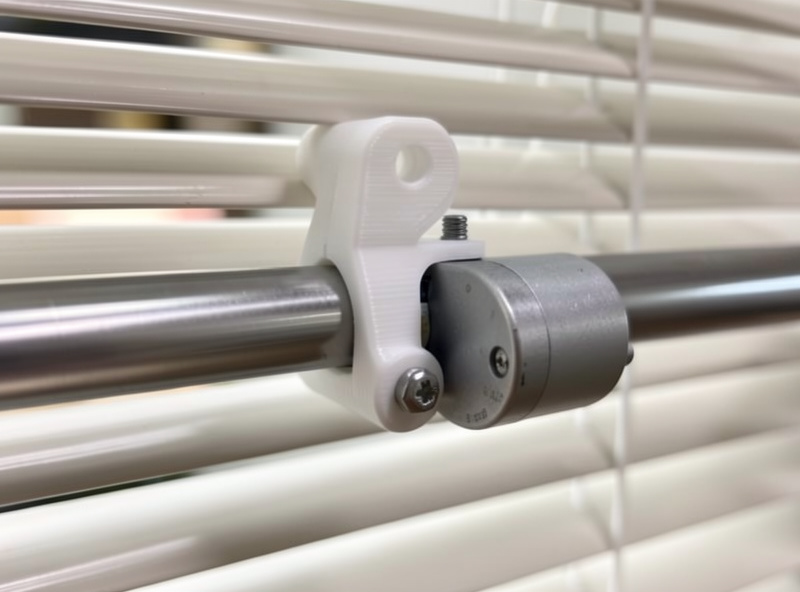
The full DIY build is where the cost drops and the control goes total. The recipe I run: an ESP32, a stepper motor (NEMA-17 for heavier shades, a small 28BYJ-48 for light roller or tilt duty) with its driver, a 3D-printed coupler and bracket, and ESPHome firmware exposing the shade as a cover entity. The ESP32 joins your network, your Home Assistant hub sees a native cover with open, close, and position, and there is no cloud in the path at all. When the internet is down, nothing about the shade changes, because the internet was never involved.
The build steps in order: print the bracket and coupler, mount the motor to the tilt rod or roller tube, wire the stepper to its driver and the driver to the ESP32, flash ESPHome with a cover component and your end-stop limits, then add the device in your hub and calibrate the open and closed positions. Budget an evening for your first one and an hour for each after. The trickiest part is mechanical — a coupler that does not slip — not the code.
Parts you will actually need
For the ESPHome build, the shopping list is short and cheap. An ESP32 board is the brain; a stepper motor and driver matched to your shade weight do the work; a USB power supply or a wired 5V/12V feed keeps it running. Add a roll of filament for the printed bracket and a few jumper wires. The whole bill of materials for a tilt conversion lands well under what a single retail motorized blind costs, and you can reuse the design across every window. This is the cheapest route to a genuinely local shade I know.
As an Amazon Associate I earn from qualifying purchases.
Gotchas I learned the hard way
Three things will trip up a first build. First, the coupler: a printed coupler that slips under load means the shade loses its position calibration constantly — print it tight, add a set screw or a keyed shaft. Second, power: a stepper holding position draws current and gets warm, so either use a driver that idles the coils between moves or design the mechanism so gravity does not fight the motor at rest. Third, end stops: set firm position limits in ESPHome so the motor cannot drive the shade past its travel and strip the mechanism.
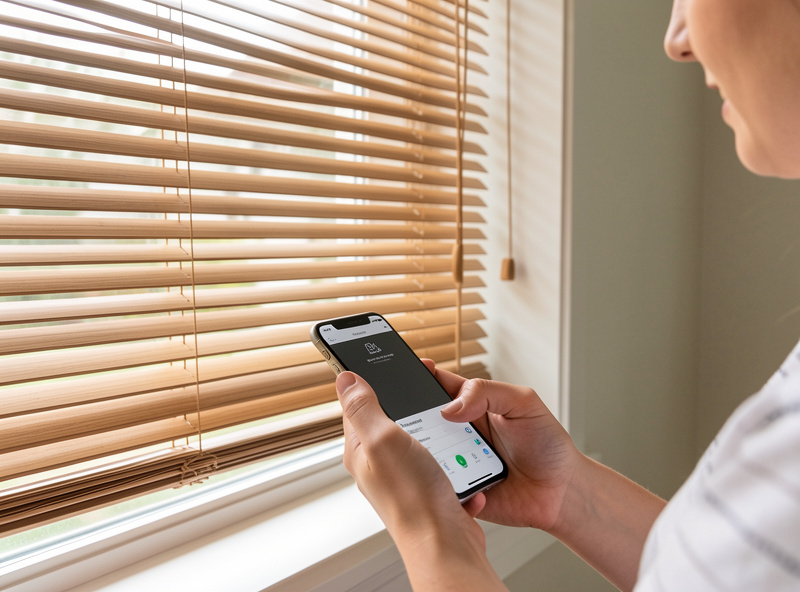
Once it works, the reward is a shade that is yours end to end. Tie it into the real automations — sun-load, scheduled privacy, wake light — from the scenes guide, and add window-state sensing from the window sensors guide so the shade reacts to the house, not just the clock. For curtains rather than blinds, the track-motor build is in the curtain automation guide.
Frequently Asked Questions
Is a DIY smart blind conversion worth it?
Yes, if you want local control and low cost. A retrofit motor or an ESP32-and-stepper ESPHome build converts blinds you already own for a fraction of retail, and an ESPHome conversion has no cloud dependency at all. It is the most reliable and cheapest path to a smart shade for anyone comfortable with basic electronics.
What parts do I need to motorize a blind myself?
For an ESPHome build: an ESP32 board, a stepper motor and driver sized to the shade weight, a 3D-printed bracket and coupler, a power supply, and jumper wires. For the easier route, a single tubular retrofit motor or a clip-on tilt motor needs no electronics work at all.
Do I need to know how to code to convert a blind?
No. ESPHome uses a simple YAML configuration with a ready-made cover component, so you fill in pins and limits rather than write code. The hardest part of a DIY conversion is mechanical, a coupler that does not slip, not the firmware, which is largely copy, edit, and flash.
Will a converted blind work without internet?
Yes. An ESP32 running ESPHome talks directly to your local hub with no cloud in the loop, so the shade and its schedules keep working during an internet outage. That total local control is the main reason to build one rather than buy a cloud-dependent shade.
What motor should I use for a DIY blind?
A small 28BYJ-48 stepper handles light roller or venetian tilt duty; a NEMA-17 stepper or a geared DC motor suits heavier shades. Match the torque to the rolled-up weight of the covering and add headroom, since an underpowered motor stalls partway and loses calibration.