ESP32 and ESPHome DIY Sensors: Build Your Own
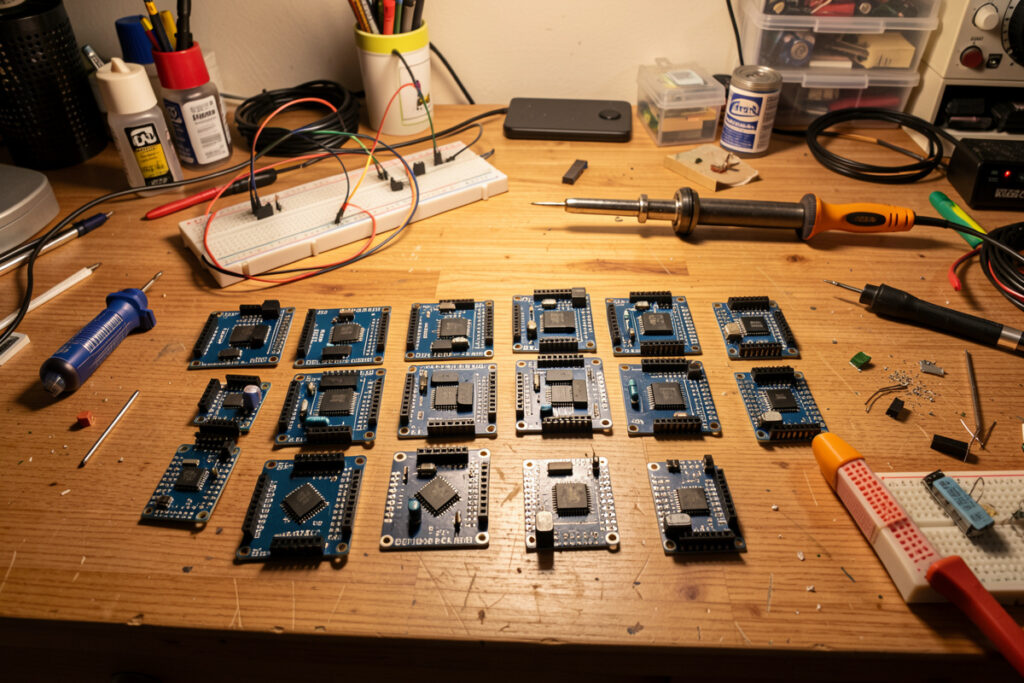
An ESP32 flashed with ESPHome is the best-value sensor in a DIY smart home — a few dollars of hardware that reports straight to your hub with no cloud, no subscription, and no app. Wire a temperature, humidity, motion, or light sensor to the board, write a short YAML config, and ESPHome compiles and flashes the firmware for you. The first one takes an afternoon to figure out; after that you can build a new sensor in twenty minutes. This is the project where DIY genuinely beats commercial gear, and it’s the one I tell every beginner to build right after the hub.
If you haven’t stood up a local hub yet, do that first — these sensors report to it. My walkthrough on Home Assistant on a Raspberry Pi covers the brain; this is the first thing you hang off it. It’s also the workhorse layer of the whole DIY smart home projects system, because once you can build your own sensors, you stop being limited by what manufacturers decide to sell.
Why ESP32 and ESPHome instead of buying sensors?
Three reasons: ownership, cost, and flexibility. A commercial sensor is a sealed black box that talks to a cloud you don’t control and gets abandoned when the vendor moves on. An ESP32 you flash is yours — it reports over local MQTT or the native ESPHome API, it keeps working when the internet is down, and it lives as long as the silicon does. The $40 cloud sensor that quietly dies two years in costs more, in the end, than the $4 board that outlives it.
ESPHome is the piece that makes this approachable for people who aren’t embedded developers. You don’t write C++ or wrangle Arduino sketches — you describe the sensor in a short YAML file: which pins, which sensor type, how often to report. ESPHome compiles that into firmware and flashes it over USB the first time, then over-the-air after that. The barrier that used to keep DIY sensors in the domain of tinkerers is gone; if you can edit a config file, you can build one.
What you need for your first ESP32 sensor
The parts list is short and cheap. You need an ESP32 development board (buy a multi-pack — they’re inexpensive and you’ll want spares), a sensor to wire to it, a solderless breadboard and jumper wires for prototyping, and a USB cable to flash it. For a first build, a BME280 (temperature, humidity, pressure) is the perfect sensor: it’s reliable, well-supported in ESPHome, and useful in every room. An ESP32 development board multi-pack plus a BME280 sensor module is the whole shopping list for sensor number one. As an Amazon Associate I earn from qualifying purchases.
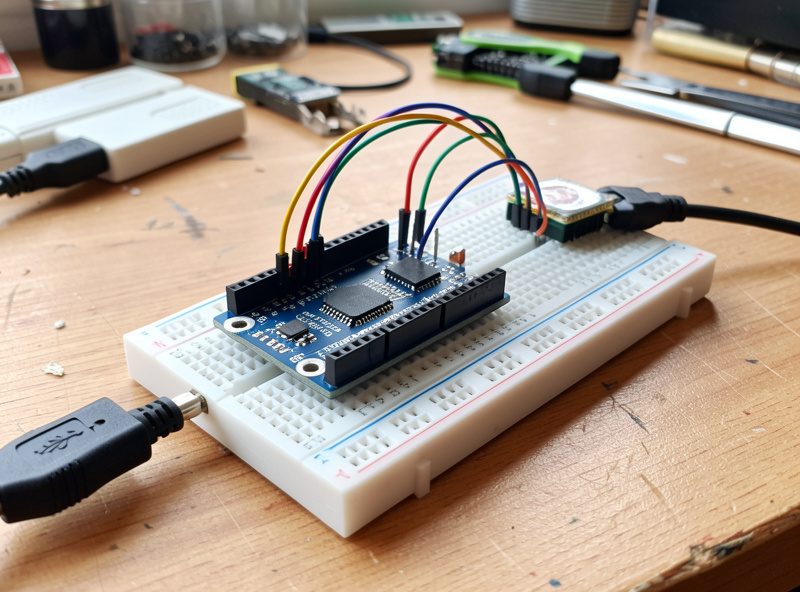
Buy boards in a multi-pack for a practical reason beyond cost: cheap ESP32 boards vary in quality, and a flaky board with a weak voltage regulator is far easier to swap out than to debug. When a build misbehaves, the first troubleshooting step is often “try a different board,” and you want a spare on hand. Treat the boards as consumable; the value is in the pattern you build, not any single chip.
The ESPHome workflow, step by step
Install the ESPHome add-on in Home Assistant — it gives you a web dashboard for building and flashing firmware. Create a new device, and ESPHome generates a starter YAML with the Wi-Fi credentials and API key already filled in. You add a few lines describing your sensor: the I2C bus pins for the BME280, the sensor platform, and an update interval. Save, click install, and for the first flash you connect the board by USB to the machine running ESPHome (or use the browser-based flasher).
Once that first firmware is on the board, every future change flashes over-the-air — you never touch the USB cable again. Edit the YAML, click install, and the board pulls the new firmware over Wi-Fi. The sensor appears in Home Assistant automatically through the native ESPHome integration, no manual entity setup required. From there it’s just another entity you can graph, alert on, and trigger automations from, exactly like a commercial device but fully local and fully yours.
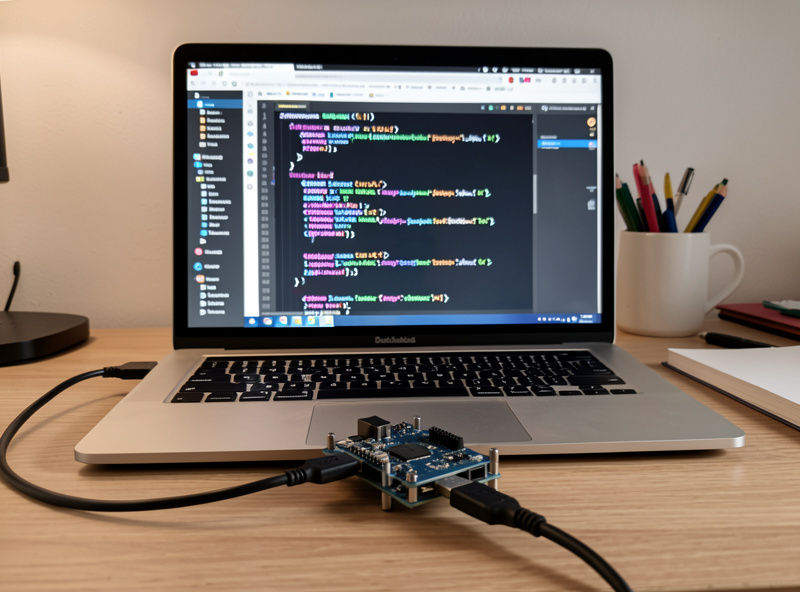
The gotchas that trip up beginners
Two problems account for most first-build frustration. The first is brownouts on cheap boards — when a sensor or the Wi-Fi radio draws current, an underpowered board’s voltage sags and it reboots in a loop. The fix is a decent USB power supply and cable, and sometimes a better board; if you see “Brownout detector was triggered” in the logs, that’s your culprit, not your code. Power quality matters more than people expect on these little boards.
The second is USB 3 and analog noise. If you’re reading an analog sensor on the ESP32’s ADC and the values jump around, suspect electrical noise — keep analog sensor wiring short, away from the Wi-Fi antenna and switching power supplies, and add a small smoothing capacitor or a software filter in the YAML. Digital sensors like the BME280 over I2C sidestep this entirely, which is another reason it’s the right first sensor. Start digital, graduate to analog once you understand the platform.
Where DIY sensors pay off across the whole house
The reason to learn this pattern once is that it applies everywhere. The same ESP32-and-ESPHome recipe that reports living-room temperature also drives the rest of my workshop: the grow-light schedules on my hydroponics, soil-moisture nodes that feed the automated nutrient dosing, and temperature monitoring on a curing setup — one sensor pattern, one rule engine, applied to every project that uses electricity. That cross-domain reach is exactly what a single-niche reviewer buying off-the-shelf sensors can’t replicate.
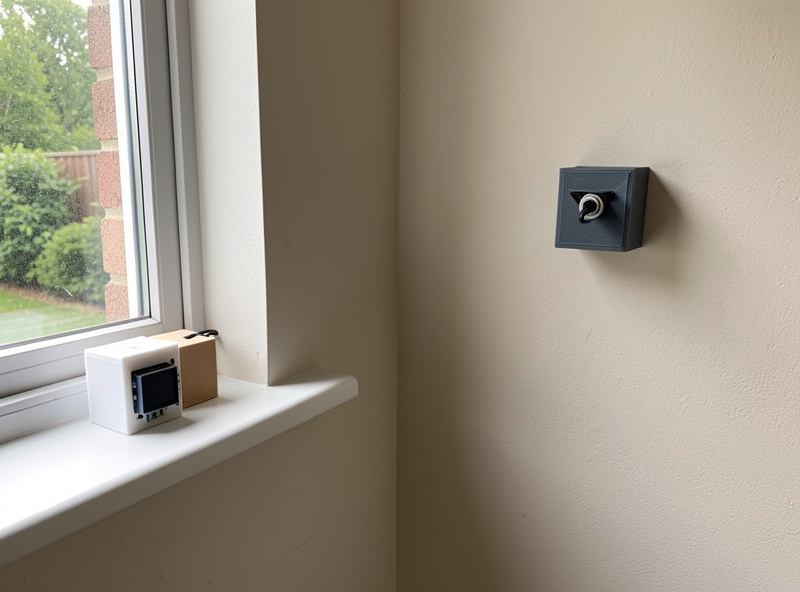
Once you have a few sensors reporting, the next DIY project is presence detection — an mmWave radar module on an ESP32 that knows a room is occupied, not just that something moved. And if you want the polished commercial sensors for spots where building isn’t worth it, the best smart home sensors roundup covers those. The smart home automation guide ties the sensor data into automations that actually run your house.
Frequently Asked Questions
Do I need to know how to program to use ESPHome?
No. ESPHome uses short YAML configuration files where you describe pins, sensor type and update interval. It compiles and flashes the firmware for you. If you can edit a config file, you can build an ESP32 sensor.
What is the best first sensor to build with an ESP32?
A BME280 measuring temperature, humidity and pressure over I2C. It is reliable, well-supported in ESPHome, avoids analog noise issues, and is useful in every room, making it the ideal first DIY sensor build.
How much does a DIY ESP32 sensor cost?
A few dollars. An ESP32 board bought in a multi-pack runs a couple of dollars each, and a BME280 module is similarly cheap. The whole first build, including a breadboard and wires, costs a fraction of one commercial sensor.
Does an ESP32 sensor work without internet?
Yes. Flashed with ESPHome, the sensor reports to your local Home Assistant hub over your own network using MQTT or the native ESPHome API. It keeps working during an internet outage with no cloud dependency.
Why does my ESP32 keep rebooting?
Usually a brownout from an underpowered board or cable. If the logs show the brownout detector triggering, use a better USB power supply and cable, or try a different board. Power quality matters more than the code.
Do I have to flash over USB every time I change something?
Only the first flash needs USB. After that, ESPHome updates the board over-the-air via Wi-Fi. You edit the YAML, click install, and the board pulls the new firmware itself with no cable.