DIY Smart Home Projects: Build Your Own Local-First System
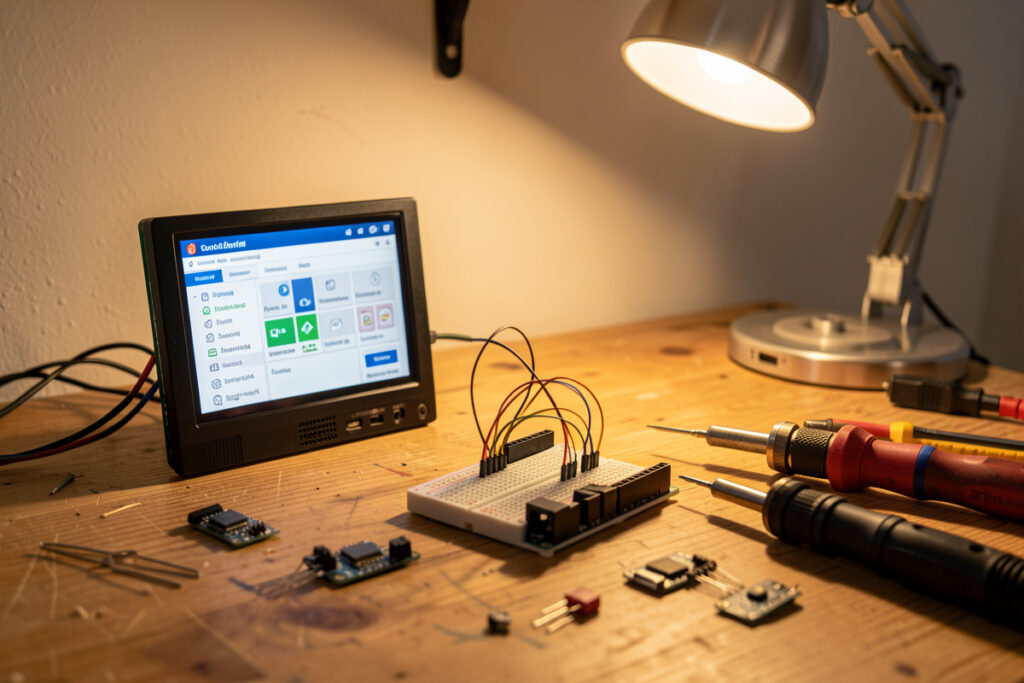
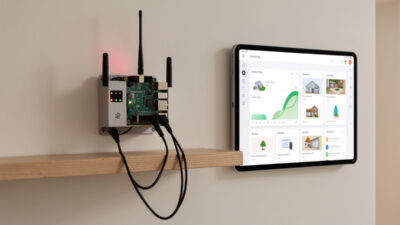
DIY smart home projects are the fastest way to break free of the app-per-device trap. Instead of buying another cloud gadget that stops working when a server in another country goes down, you build the brains yourself: a local hub on a Raspberry Pi, your own ESP32 sensors flashed with open firmware, presence detection that actually knows a room is occupied, and 3D-printed mounts that hold it all together. In my own setup every one of these projects earns its keep — and none of them phones home. This guide is the map: where to start, what to build first, and how each project connects into one rule engine that keeps running when the internet doesn’t.
I’ve been running a local-first home automation system for years, and the single biggest lesson is that the gear you build yourself is the gear you trust most. A $4 ESP32 with a temperature sensor and ESPHome firmware outlives the $40 cloud sensor that gets abandoned by its manufacturer two years in. The way I have it wired, the DIY layer is the foundation and the off-the-shelf devices hang off it as conveniences — not the other way around.
Why build it yourself instead of buying smart gadgets?
The honest answer: control, longevity, and cost — in that order. A DIY smart home node you flash and own keeps doing its job for as long as the silicon lasts. A cloud device’s lifespan is whatever the vendor decides, and the day they sunset the app, your “smart” plug becomes a dumb plug with a wasted radio inside it. I’ve watched that happen across the network of gear I test, and it’s why my core automations never depend on a cloud account.
There’s a reliability argument too. When an automation runs locally — on your own hub, triggered by your own sensor — the latency is measured in milliseconds and it works during an internet outage. A cloud automation has to round-trip to a data center and back. For a light that’s a mild annoyance; for a door lock or a leak shutoff, that round trip is a liability. The framing I keep coming back to: does it still work when the cloud is down? DIY projects almost always pass that test, and that’s the whole point.
Cost compounds the case. Commercial presence sensors run $30–$60 each; an ESP32 with an mmWave module costs a fraction of that and you can build a dozen. If you want the polished commercial route too, my roundup of the best smart home sensors for 2026 covers the buy-it-instead options, and the complete smart home automation guide shows how the off-the-shelf and DIY layers coexist. This page is for when you want to build.
Start with the hub: Home Assistant on a Raspberry Pi
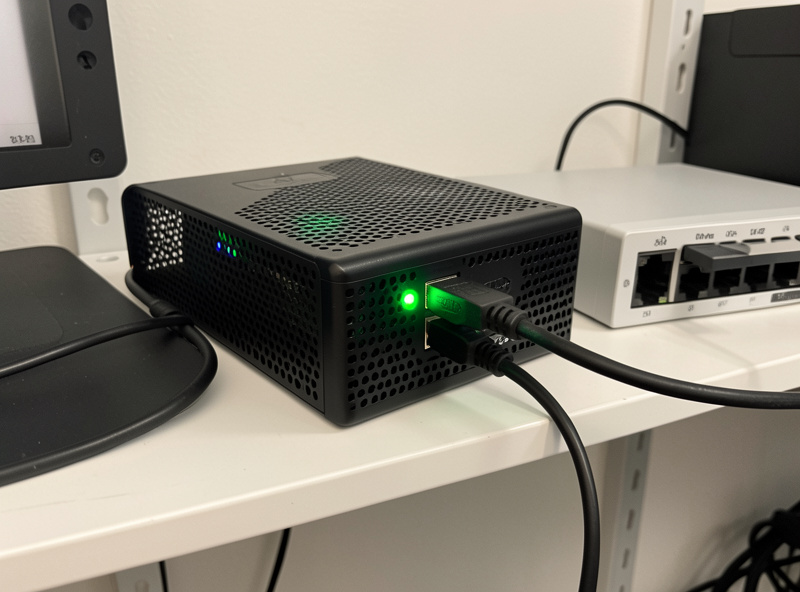
Every DIY smart home needs a brain, and for most people that brain is Home Assistant running on a Raspberry Pi. It’s local, free, open source, and it speaks to nearly everything — Zigbee, Z-Wave, Matter, MQTT, and your DIY ESPHome nodes all live under one roof. Before you flash a single sensor, get the hub running, because the hub is what turns a pile of devices into a system. My full walkthrough on building automations that survive an outage assumes you have a local hub; here’s how to stand one up.
The Pi is the entry point, but be honest about its limits. A Pi 4 or Pi 5 with an SSD (never a bare microSD card for the database — they die) handles a typical home of fifty to a hundred entities comfortably. Push past a few hundred entities, add a camera pipeline with object detection, and you’ll want to graduate to a mini-PC. Start on the Pi, learn the system, migrate when you outgrow it. The detailed Home Assistant on a Raspberry Pi setup spoke covers the SSD-boot, backup, and supervisor decisions that keep a Pi hub stable for years instead of corrupting itself in six months.
One non-negotiable: put your IoT devices on their own network segment. Dozens of chatty DIY nodes on the same flat network as your laptops is how a smart home turns flaky and insecure. I run mine on a dedicated VLAN — the smart home VLAN guide walks through it, and the separate Wi-Fi network for IoT piece is the lighter-weight version if you don’t have a managed switch yet.
The real workhorse: DIY sensors with ESP32 and ESPHome
Here’s where DIY genuinely beats commercial gear. An ESP32 flashed with ESPHome is a sensor platform you fully own: temperature, humidity, motion, light level, soil moisture, energy — whatever you wire to it, reported straight to your hub over local MQTT or the native ESPHome API. No cloud, no subscription, no app. The first one takes an afternoon; after that you can build a new sensor in twenty minutes.
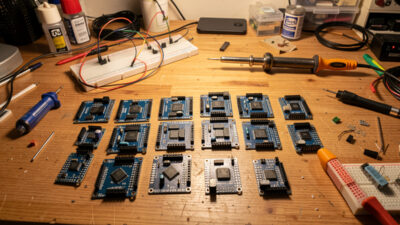
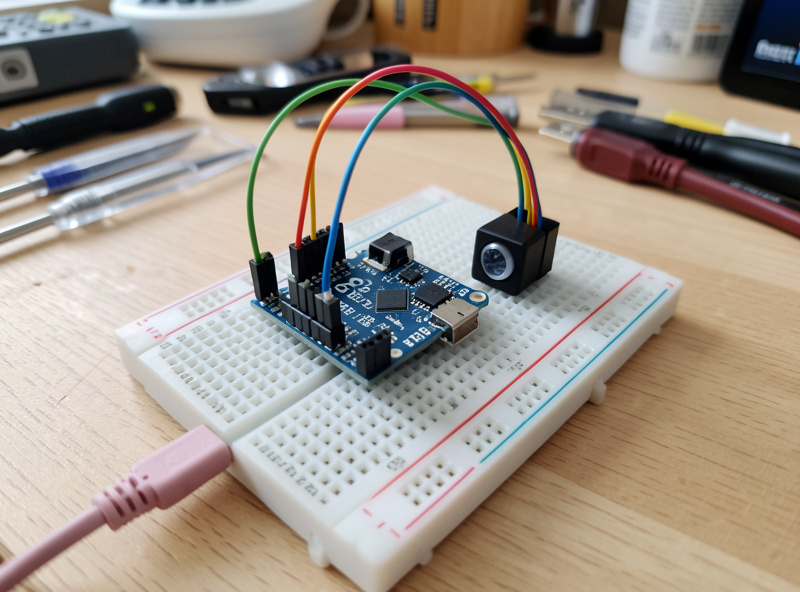
ESPHome is what makes this approachable. You describe the sensor in a short YAML config — pins, sensor type, update interval — and it compiles and flashes firmware over USB or over-the-air. No C++, no Arduino sketch wrangling. The ESP32 and ESPHome DIY sensors spoke is the hands-on build: parts list, wiring, the YAML, and the gotchas (USB-3 noise wrecking the ADC readings, brownouts on cheap boards). It’s the project I tell every beginner to start with, because once one ESP32 is reporting to your hub, the whole concept clicks.
The DIY sensor layer is also where the polymath crossover shows up in my own house. The same ESP32 pattern that reports room temperature also runs the grow-light schedules and feeds the automated nutrient dosing on my hydroponics — one rule engine, one sensor pattern, applied across every project that uses electricity. That’s the thing a single-niche smart-home reviewer can’t replicate.
Replace cloud firmware: flashing Tasmota
Not every device starts as a DIY board. A huge number of cheap Wi-Fi plugs, bulbs, and switches ship with an ESP chip inside running locked cloud firmware. Flashing Tasmota (or ESPHome) onto them de-clouds the device entirely — it stops phoning home and starts answering to your hub over local MQTT. This is the single highest-leverage DIY move for anyone with a drawer of cloud gadgets they no longer trust.
The catch is that flashing got harder as manufacturers locked bootloaders and swapped the ESP8266 for chips that resist OTA flashing. Some devices flash wirelessly in two minutes; others need you to open the case and solder to test pads. The flashing Tasmota firmware spoke covers which devices flash easily, the wiring for serial flashing, and how to back up the stock firmware first so you can recover a bricked board. When a flash succeeds, that cloud-only device you were about to throw out becomes a permanent, local, subscription-free part of your system. Pair it with the best smart plugs roundup — several of the ones I recommend are flashable, which is exactly why they’re on the list.
Presence detection done right (not “phone joined the Wi-Fi”)
The automation everyone wants and almost nobody gets right is presence — lights and climate that respond to a room actually being occupied. The lazy version keys off whether your phone is connected to Wi-Fi, which tells you someone is home, not which room they’re in, and it fails the moment a phone sleeps its radio. Real presence detection uses sensors and room logic, and the best DIY sensor for it is an mmWave radar module on an ESP32.
mmWave is the upgrade that changes how a smart home feels. A PIR motion sensor only sees movement, so it turns the lights off on you while you’re reading still on the couch. An mmWave sensor detects the micro-movements of a person who’s simply present — breathing, small shifts — so the room knows you’re there even when you’re not waving your arms. Building one yourself with an ESP32 and an LD2410-class module costs a few dollars and is dramatically better than the PIR-based commercial options. The DIY presence detection spoke is the full build, including the room-logic templates that combine mmWave with door sensors so a room only ever reports occupied when it genuinely is.
Build your own doorbell — and own the footage
A DIY smart doorbell is the project that converts skeptics, because the commercial ones are exactly the wrong shape: cloud-locked, subscription-gated, and they ship your front-door video to someone else’s server. Build your own around an ESP32-CAM or a Raspberry Pi and the video never leaves your house. It rings through your hub, records to your local NVR, and runs whatever notification logic you want — no monthly fee, no third party watching your porch.
It’s a more involved build than a sensor — you’re dealing with a camera, a button, a chime, and weatherproofing — but it’s well-trodden ground. The DIY smart doorbell spoke covers the ESP32-CAM route and the Pi route, the trade-offs, and how to wire it into a local-recording pipeline. If you’d rather buy and just keep it local, my Nest vs Ring doorbell comparison weighs the commercial options — but neither truly de-clouds, which is the whole reason to build.
Hold it all together: 3D-printed mounts
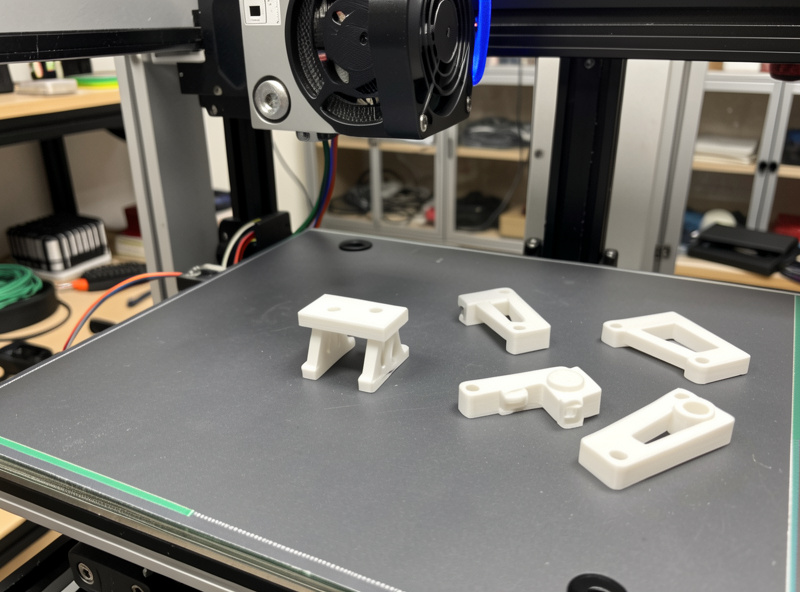
Half the sensors in my house sit in 3D-printed mounts I designed for the exact spot they live in — a corner bracket for an mmWave sensor angled down a hallway, a vented enclosure for an ESP32 that runs warm, a flush wall mount for a tablet dashboard. Off-the-shelf mounts never fit the odd corner or the specific sensor, and a printed part takes an hour and costs pennies. If you have a printer, mounts are the glue that makes every other DIY project look intentional instead of taped-up.
The 3D-printed smart-device mounts spoke walks through the designs I use, the right filament for parts that live near warm electronics, and where to find ready-to-print models. If you’re new to 3D printing itself, the maker side of that is a whole craft on its own — the team over at PrintForge HQ covers printer setup, materials, and tuning in the depth a smart-home guide can’t, and it’s the resource I’d point a first-time printer toward before they print a single bracket.
A DIY smart home roadmap: what to build, in what order
The mistake beginners make is buying everything at once. Build in this order and each project makes the next one easier:
| Order | Project | Difficulty | Why build it here |
|---|---|---|---|
| 1 | Home Assistant on a Raspberry Pi | Beginner | The brain — nothing else works without a hub |
| 2 | First ESP32 + ESPHome sensor | Beginner | Proves the DIY concept; the pattern you reuse forever |
| 3 | Flash a cloud device to Tasmota | Intermediate | De-clouds gear you already own; high payoff |
| 4 | mmWave presence sensor | Intermediate | The automation that makes the house feel smart |
| 5 | 3D-printed mounts | Beginner (with a printer) | Makes every earlier project fit and look finished |
| 6 | DIY doorbell / local camera | Advanced | The capstone — local video, no subscription |
Notice the ordering logic: hub first, then a cheap sensor to learn the workflow, then progressively higher-value projects once the foundation is solid. By the time you reach the doorbell you’ll have a hub, local MQTT, a sensor pattern, and the mounting know-how to do it cleanly. Trying to start with the doorbell is how people get frustrated and give up.
Tools and parts you’ll actually use
You don’t need a full electronics lab. A USB-C soldering iron, a multimeter, a set of jumper wires, a breadboard, a USB-to-serial adapter for flashing, and a small pile of ESP32 boards covers ninety percent of these projects. Buy ESP32 boards in a multi-pack — they’re cheap, you’ll want spares, and a brownout-prone bad board is easier to swap than to debug. The rest you add per project. As an Amazon Associate I earn from qualifying purchases; the gear links here are products I keep on my own bench. A reliable ESP32 development board multi-pack and a basic USB-to-serial flashing adapter are the two purchases that unlock everything else on this page.
How the projects connect into one system
The reason to build all of this rather than buy a starter kit is that the pieces compound. Your Pi hub ties the ESP32 sensors, the Tasmota-flashed plugs, the mmWave presence detection, and the DIY doorbell into a single rule engine. A motion event from a $4 sensor can trigger a flashed plug, log to your local camera, and adjust a smart thermostat — all locally, all owned by you. The same logic feeds an energy management system for monitoring, and the access side can layer onto one of the best smart locks for local-only entry logging. Once you’ve built the foundation, adding the next device is trivial, and you’re never again at the mercy of a vendor’s app or a cloud outage. That’s the payoff: not a house full of gadgets, but a system you understand and control end to end. For the broader picture of how DIY fits alongside commercial gear, the smart home for beginners guide and the best smart home devices roundup round out the off-the-shelf side.
The mistakes I made so you don’t have to
Every DIY smart home has a graveyard of early mistakes, and mine was no exception. The first was running the hub off a bare microSD card — it corrupted within months because the database writes hammer the card until it dies. Boot from an SSD or at minimum a high-endurance card, and take automatic backups; a hub you can’t restore in ten minutes is a hub that will eventually cost you a weekend. This single change is the difference between a Pi that runs for years and one that becomes a recurring headache.
The second was naming entities inconsistently. When you have a dozen devices it doesn’t matter; when you have eighty, “switch.plug_3” versus “light.living_room_lamp” versus “sensor.temp2” turns your automations into a guessing game. Pick a naming convention on day one — area, then device, then function — and stick to it. I renamed forty entities the hard way once, and I’ve never let it drift since. The taxonomy you set early is the taxonomy you live with, so set a good one.
The third was trusting a cloud device in a load-bearing automation. I once had a cloud-only sensor sitting in the trigger path for a leak shutoff, and the day its service hiccuped, the automation silently stopped evaluating. Nothing flooded — but it could have. Now the rule is absolute: anything that protects the house (leak, smoke, locks, freeze) runs on local DIY sensors only, with no cloud anywhere in the trigger or action path. A local smart water leak detector wired into the hub is the canonical example — it has to fire whether or not the internet is up. Convenience automations can tolerate a cloud dependency; protective ones cannot.
The fourth, and the one beginners hit hardest, was buying ahead of skill. A drawer of unflashed boards and unopened sensor modules is just guilt with a tracking number. Build one project end to end — hub, then one sensor, then one automation that uses it — before you buy the next thing. The momentum of a finished, working project is worth more than a parts hoard, and it’s how you avoid the half-built smart home that so many people abandon. It’s also one of the most common smart home mistakes I see beginners repeat.
The local-first philosophy that ties it together
If there’s one idea that should govern every DIY project on this page, it’s that the cloud is the exception, never the dependency. Cloud has its place — remote access when you’re traveling, a voice assistant as one input among many, an occasional integration that genuinely has no local equivalent. But the spine of the system, the part that decides when the lights come on and whether the door is locked, lives entirely on your own hardware on your own network. Build that way and your smart home gains a property most commercial setups never have: it keeps working when everything outside your walls goes dark.
This is also what makes DIY worth the effort over a polished starter kit. A kit gives you devices; building gives you a system you understand. When something breaks at 11 p.m. — and it will — the person who built the hub, flashed the sensors, and wrote the automations can diagnose it in minutes. The person who bought a sealed ecosystem is at the mercy of a support queue. Every project here is a small investment in that self-sufficiency, and they stack: each one you build makes you more capable of building and fixing the next. That compounding competence, more than any single gadget, is the real return on a DIY smart home. For the off-the-shelf decisions that still make sense alongside your builds, the best smart home accessories guide covers the gear that’s genuinely better bought than built.
Frequently Asked Questions
Do I need to know how to code to build DIY smart home projects?
No. ESPHome lets you describe sensors in short YAML config files that compile and flash automatically, with no C++ required. Home Assistant automations use a visual editor. Basic projects need configuration, not programming.
Is a Raspberry Pi powerful enough to run my whole smart home?
A Pi 4 or Pi 5 with an SSD handles fifty to a hundred entities comfortably. Past a few hundred entities or a camera pipeline with object detection, move to a mini-PC. Start on the Pi and migrate when you outgrow it.
What should I build first as a beginner?
Build the hub first, then your first ESP32 plus ESPHome sensor. Once one sensor reports temperature to your hub, the entire DIY concept clicks and every later project reuses the same pattern.
Can I de-cloud smart devices I already own?
Often yes. Many cheap Wi-Fi plugs and bulbs use an ESP chip you can flash with Tasmota or ESPHome, removing the cloud dependency. Some flash wirelessly in minutes; others need serial flashing with the case open.
Why build presence detection instead of using my phone’s Wi-Fi?
Phone-based presence only knows you are home, not which room you are in, and fails when the phone sleeps its radio. A DIY mmWave sensor detects a stationary, present person room-by-room for a few dollars.
Do DIY smart home projects keep working during an internet outage?
Yes, when built local-first. A Home Assistant hub with local ESP32 sensors and flashed devices runs entirely on your network, so automations keep firing in milliseconds even when your internet connection is down.