Home Assistant on a Raspberry Pi: The Complete Setup
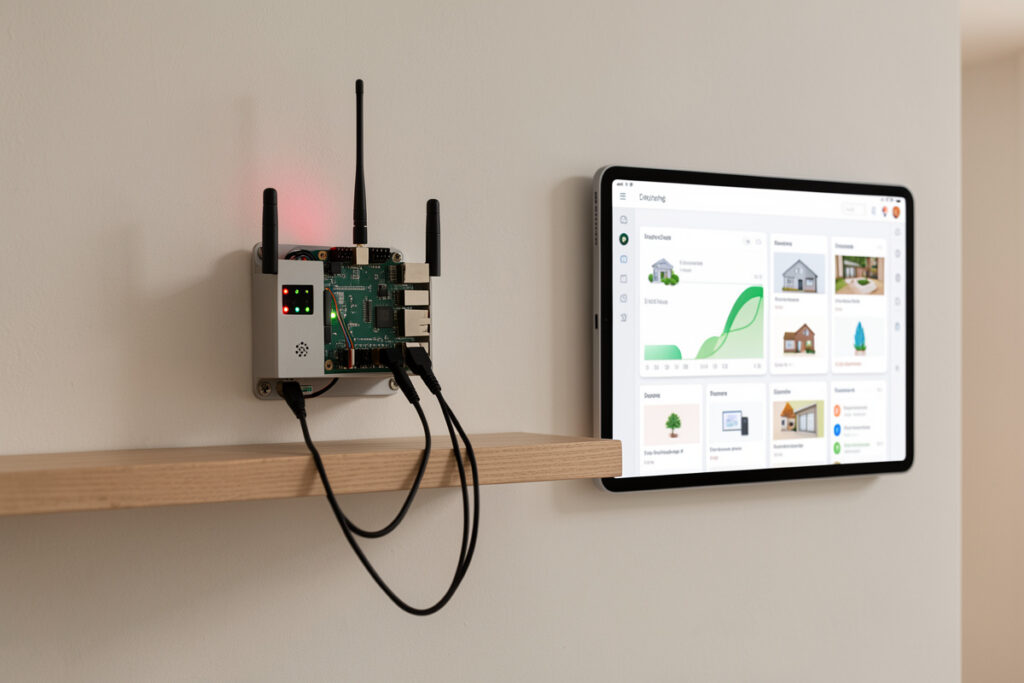
Home Assistant on a Raspberry Pi is the cheapest reliable way to run a local-first smart home brain. A Pi 4 or Pi 5 booting from an SSD will run a typical home of fifty to a hundred entities for years — as long as you avoid the two mistakes that kill most Pi hubs: running the database off a microSD card, and skipping backups. Get those right and you have a free, open-source hub that speaks Zigbee, Z-Wave, Matter, MQTT, and your own ESP32 sensors, with no cloud account and no subscription.
This is the first project I tell anyone building a DIY smart home to tackle, because nothing else works without a hub. It’s the spine of the whole DIY smart home projects map — every sensor, every flashed plug, every automation hangs off it. Here’s how I set mine up and the decisions that actually matter.
Which Raspberry Pi should you use for Home Assistant?
For a new build in 2026, a Raspberry Pi 5 is the one to buy, with the Pi 4 (4GB or 8GB) as the budget alternative. The Pi 5 is meaningfully faster, which you feel in the dashboard responsiveness and database query times once you have a few hundred entities and a couple of months of history. The 4GB models are fine for most homes; spring for 8GB only if you plan to run heavy add-ons like a local voice pipeline or a camera object-detection stack on the same box.
Skip the Pi Zero and the older Pi 3 for anything beyond a toy install — they’ll run Home Assistant, but they crawl the moment you add integrations, and the recorder database will choke them. The whole point of a hub is that it’s reliable and responsive; underpowering it defeats the purpose. If you already own a Pi 4, start there and upgrade later. If you’re buying fresh, the Pi 5 is the right call.
The SSD rule: never run the database off a microSD card
This is the single most important decision and the one beginners get wrong. Home Assistant’s recorder writes to its database constantly — every state change, every sensor reading, logged to disk. A microSD card has limited write endurance, and the relentless small writes wear it out. I’ve seen Pi hubs corrupt their card within a few months of heavy use, and a corrupted card means a hub that won’t boot, usually at the worst possible time.
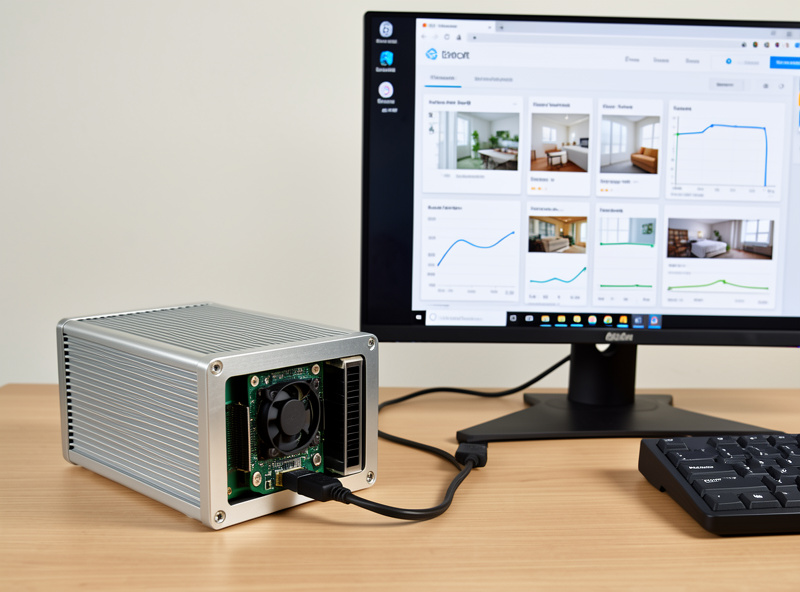
Boot from an SSD instead. A small SATA SSD in a USB 3 enclosure, or an NVMe drive on a Pi 5 with an M.2 HAT, transforms the reliability of the system. The drive is faster, far more durable, and the difference between a hub that runs for years and one that becomes a recurring headache. If you absolutely must use a card for a temporary test, use a high-endurance model and move to an SSD before you depend on the system. The way I have mine wired, the OS and database both live on the SSD and the card slot stays empty.
Installing Home Assistant OS
The cleanest install is Home Assistant Operating System (HA OS) — a dedicated appliance image that runs the supervisor, add-ons, and the core all together, with one-click backups built in. Flash it to your SSD with the Raspberry Pi Imager, boot the Pi, and let it run the onboarding wizard from a browser on the same network. Twenty minutes later you have a working hub waiting for devices.
Avoid the temptation to install Home Assistant Core in a Python virtual environment or a bare Docker container as your first build. Those routes are for people who want a specific custom setup and are comfortable maintaining it by hand; they don’t get the supervisor or the painless backup/restore that makes HA OS so forgiving. Start with HA OS. You can always migrate to a more custom install later once you know exactly what you want — most people never need to.
Backups: the ten-minute insurance policy
A hub you can’t restore in ten minutes is a hub that will eventually cost you a weekend. HA OS makes full backups trivial — they capture your entire configuration, add-ons, and history into a single archive. Set automatic backups to run nightly and, critically, copy them off the Pi to a NAS, a cloud storage add-on, or even a folder on your laptop. A backup that lives only on the drive that just died is no backup at all.
I run a nightly backup that drops onto my local NAS, with the last few kept on the Pi for quick rollback. The day I fat-finger an automation or an add-on update goes sideways, I restore the previous night’s snapshot and I’m running again in minutes. This habit, more than any hardware choice, is what makes a Pi hub trustworthy enough to put protective automations on. A reliable Raspberry Pi SSD boot kit is the one purchase that does the most to keep all this stable. As an Amazon Associate I earn from qualifying purchases.
Adding radios: the Zigbee and Z-Wave coordinators
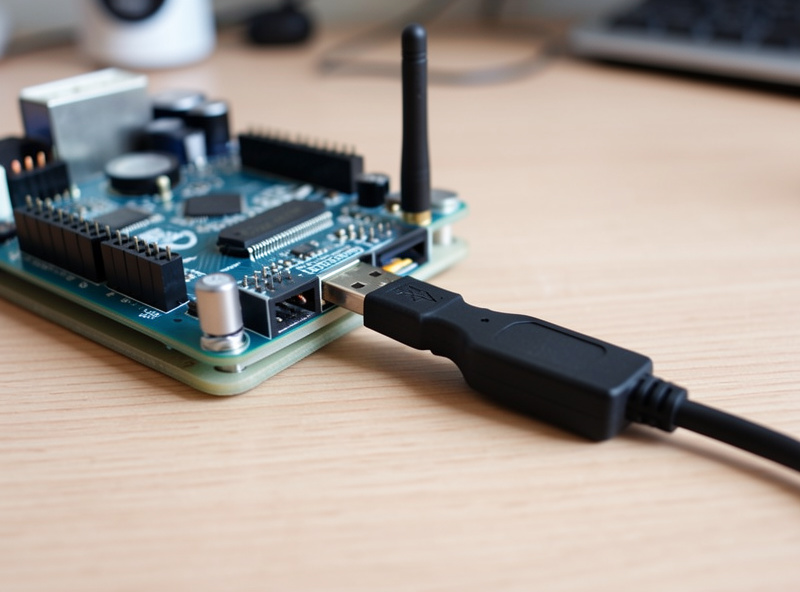
A bare Pi only does Wi-Fi and the things on your network. To talk to the battery-powered sensors, locks, and bulbs that make a smart home actually smart, you add radio coordinators — a Zigbee stick and, if you run Z-Wave locks or long-range devices, a Z-Wave stick. Plug them into the Pi’s USB ports and Home Assistant discovers them through the ZHA or Zigbee2MQTT integration.
One hard-won detail: use a short USB extension cable to move the Zigbee stick away from the Pi. The Pi’s USB 3 controller and the SSD enclosure both throw off radio noise right in the 2.4 GHz band that Zigbee uses, and a coordinator plugged directly into the board next to an SSD will have a mysteriously weak, flaky mesh. Move it six inches away on a cheap extension and the network steadies. This single gotcha causes more “my Zigbee keeps dropping” complaints than anything else.
Pi vs mini-PC: when to graduate
The Pi is the right starting point, but it isn’t the end state for everyone. Here’s the honest comparison of where the Pi shines and where you’ll outgrow it:
| Factor | Raspberry Pi 5 + SSD | Mini-PC (Intel N100) |
|---|---|---|
| Cost | Lower | Higher |
| Power draw | Very low | Low |
| Entity count (comfortable) | Up to ~150 | Several hundred+ |
| Camera object detection | Struggles | Handles it |
| Local voice pipeline | Limited | Comfortable |
| Best for | Most homes, learning | Large installs, NVR + AI |
Start on the Pi. It teaches you the system at low cost and low risk, and for the majority of homes it’s all you’ll ever need. The day you add a local camera pipeline with object detection, or push past a few hundred entities, migrate the same configuration to a mini-PC — HA OS makes that a restore-from-backup operation, not a rebuild. Knowing the migration path exists is what lets you start small without painting yourself into a corner.
Segment your IoT network from day one
Before you connect a single DIY device, put your IoT gear on its own network segment. Dozens of chatty nodes on the same flat network as your laptops and phones is both a reliability problem and a security one — one compromised cheap device shouldn’t have a line of sight to your personal machines. I run my IoT on a dedicated VLAN, and the smart home VLAN guide walks through the setup. If you don’t have a managed switch yet, the separate Wi-Fi network for IoT approach gets most of the benefit with just a guest SSID.
With the hub running, the radios added, backups flowing, and the network segmented, you have a foundation that everything else builds on. The next project is your first DIY sensor — and the broader smart home automation guide shows how to turn this hub into automations that actually run your house. For the off-the-shelf side that coexists with all this, the best smart home sensors roundup covers the buy-it options.
Frequently Asked Questions
Can a Raspberry Pi really run my whole smart home?
Yes, for most homes. A Pi 4 or Pi 5 with an SSD comfortably handles fifty to a hundred fifty entities. You only need a mini-PC for several hundred entities or a camera object-detection pipeline.
Why can’t I just use a microSD card?
Home Assistant’s database writes constantly, and microSD cards have limited write endurance. They often corrupt within months of heavy use, leaving a hub that won’t boot. Boot from an SSD instead for years of reliable operation.
Should I install HA OS or Home Assistant in Docker?
Install Home Assistant OS for your first build. It includes the supervisor, add-ons, and one-click backups. Docker and Core installs are for advanced custom setups you maintain by hand, and most people never need them.
Do I need a Zigbee stick to start?
Not immediately, but you will want one soon. A Zigbee coordinator lets the Pi talk to battery sensors, bulbs, and contacts. Use a short USB extension to keep it away from the Pi’s USB 3 interference.
How hard is it to move from a Pi to a mini-PC later?
It is easy with HA OS. Take a full backup, flash HA OS to the new machine, and restore the backup. Your entire configuration, add-ons, and history transfer over without a manual rebuild.