Smart Home Quick Start: Get Automated in One Weekend
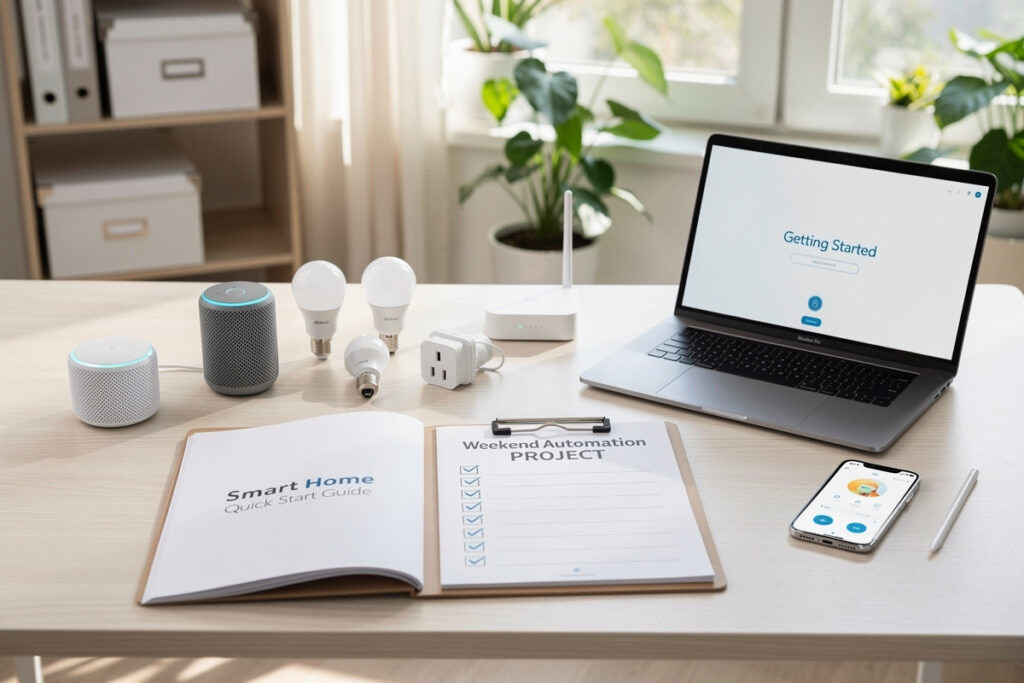
I set up my first smart home in a single apartment on a $65 Saturday afternoon — two smart plugs, one Echo Dot, and a single bulb — and had voice-controlled lights before dinner. Here is the exact 5-step plan I still recommend to anyone starting today, refined from setting up dozens of friends’ and family members’ homes since. No fluff, no overwhelming options.
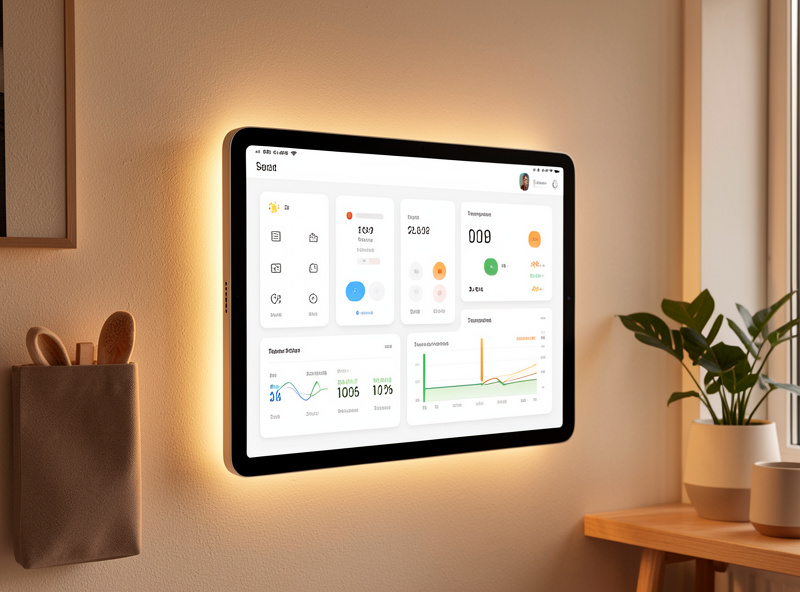
For a deeper dive into ecosystems, device options, and advanced automation, check out the complete beginner guide. But if you just want something working by Sunday evening, keep reading.
As an Amazon Associate I earn from qualifying purchases.
What You Will Achieve This Weekend
By Sunday evening, you will have voice control for your lights, a smart speaker answering questions and playing music, at least one automated routine running, and the foundation to expand whenever you want. Total budget needed: $50-150 depending on your choices.
Step 1: Pick Your Voice Assistant (15 Minutes)
Choose ONE ecosystem to start with. In my own setup I started with Alexa because the Echo Dot was $25 on sale and every random smart plug I bought worked first try — years later I run Home Assistant as the brain, but Alexa still handles voice input, and the two coexist fine. Here is how the three main ecosystems compare for a beginner:
- Amazon Alexa — Best if you want maximum device compatibility and frequent sales. The Echo Dot routinely drops to $25, and there are thousands of “Works with Alexa” devices.
- Google Assistant — Best if you use Android and Google services daily. Voice recognition is sharper for natural-language questions and follow-ups.
- Apple Siri/HomeKit — Best if everyone in your home uses iPhones. Local processing means faster response and no recording sent to the cloud for basic commands.
Quick decision: If unsure, pick Alexa. It works with the most devices, Echo speakers are often on sale, and you will not hit a compatibility wall when you add your third or fourth device.
Step 2: Buy Your Starter Kit (30 Minutes)
Order these three items — nothing more. I still keep a pack of TP-Link Kasa smart plugs in my workshop drawer because the pairing takes 30 seconds and they do not drop off the network, which is exactly what you need on a weekend build:
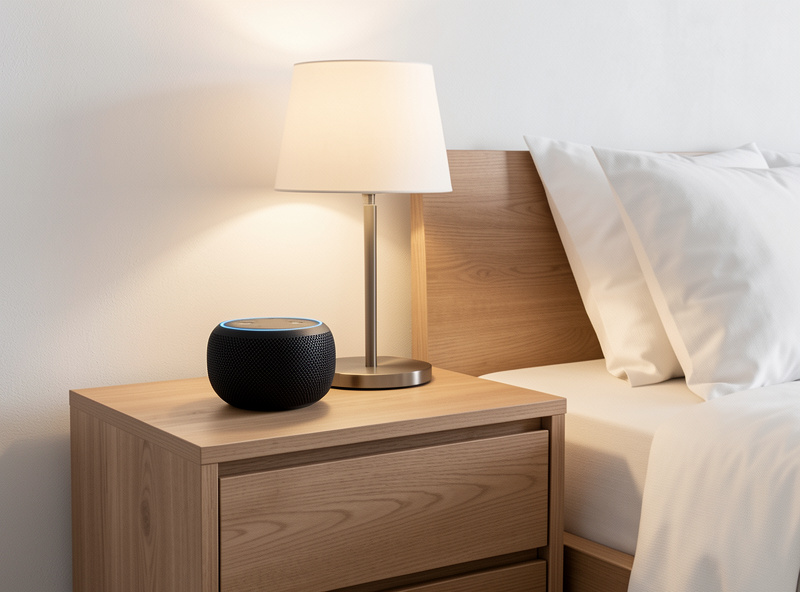
- Smart speaker: Echo Dot ($25-50), Nest Mini ($30), or HomePod Mini ($100)
- Smart bulb 2-pack: Wyze Bulb Color ($15), Philips Hue White starter ($60), or LIFX Mini ($45)
- Smart plug 2-pack: TP-Link Kasa or similar ($15-25)
Total cost: $55-150 depending on your choices. Pro tip: search “Works with Alexa” or “Works with Google Home” on Amazon before buying — the certification logo on the box means the pairing flow is tested, not guessed.
Step 3: Set Up Your Smart Speaker (Saturday Morning — 20 Minutes)
When your devices arrive, download the app for your chosen ecosystem (Alexa, Google Home, or Apple Home). Create an account if you do not have one, plug in your smart speaker, and follow the in-app setup wizard — it walks you through Wi-Fi connection in under 5 minutes. I have done this step on four different router brands and the wizard catches basically everything.
Test it by asking for the weather or to play music. If that works, you are ready for step 4.
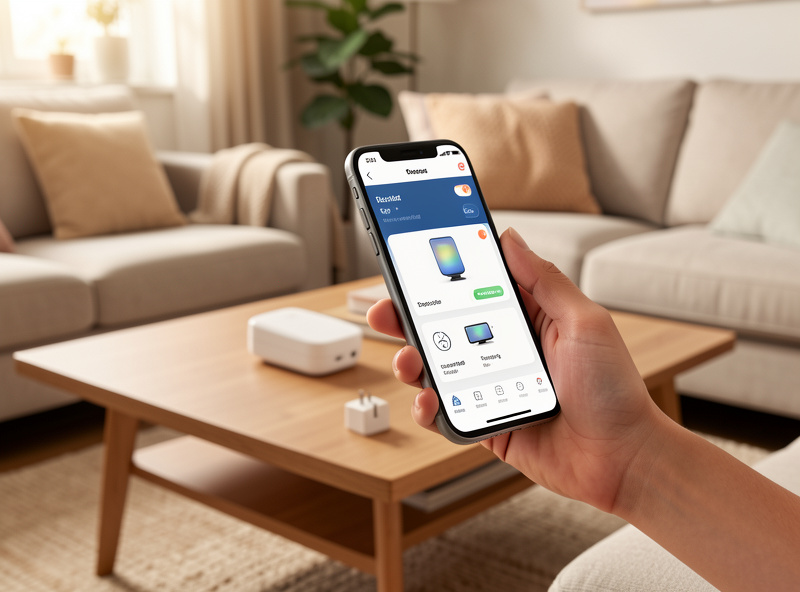
Step 4: Add Your Smart Lights and Plugs (Saturday Afternoon — 30 Minutes)
Open your ecosystem app, tap “Add Device” or the plus icon, select your device brand, and follow the pairing instructions. Assign each device to a room (Living Room, Bedroom, etc.) and give devices clear names — “Bedroom Lamp,” not “Smart Bulb 1.” Naming devices specifically from day one is the single most important habit I teach: clear names fix more problems than any troubleshooting guide.
Test voice control: try “Alexa, turn on the bedroom lamp,” “Hey Google, dim the living room lights to 50 percent,” or “Hey Siri, turn off all lights.” If voice commands work, you already have a functional smart home — the rest is refinement.
Step 5: Create Your First Automation (Sunday — 15 Minutes)
Now make it actually smart with an automation. The first routine I ever built was a “goodnight” trigger that turned off every light and smart plug in the apartment with one command, and I still run a version of it today on Home Assistant. Try one of these beginner-friendly routines:
Option A: Good Morning Routine — Trigger: “Alexa, good morning” or a set time. Actions: turn on lights, read weather, start coffee maker via smart plug. Option B: Goodnight Routine — Trigger: “Alexa, goodnight” or a set time. Actions: turn off all lights, lock doors (if you add smart locks later). Option C: Away Mode — Trigger: “Alexa, I am leaving.” Actions: turn off all lights and smart plugs.
To create a routine, open your app, find Routines or Automations, tap create, choose your trigger, add your actions, and save.
The Mistake I Made My First Weekend (So You Do Not Have To)
I named my first two smart bulbs “Light 1” and “Light 2.” A week later I could not remember which was which, and voice commands failed constantly — “turn on the kitchen light” hit nothing because no device had “kitchen” in its name. I spent 20 minutes factory-resetting and renaming everything, and now I follow one rule: name every device as if you are shouting it across the room at midnight. “Living room floor lamp” works every time. “Lamp 3” works zero percent of the time. The naming convention scales — by the time you have 30 devices, descriptive names are the only thing keeping voice control usable.
You Are Done — What Is Next?
Live with your setup for a few weeks before adding more devices. You will discover which automations actually help your daily life — for me it was the “goodnight” routine and a motion-sensor bathroom light that comes on at 5% brightness so you do not blind yourself at 3 a.m.
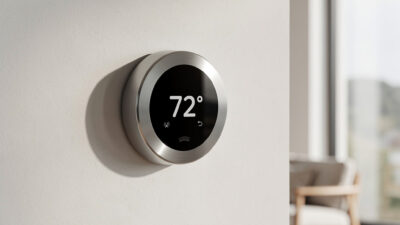
When you are ready to expand, consider adding: a smart thermostat (saves 10-15% on heating and cooling), a video doorbell, motion sensors that trigger lights automatically, and more smart bulbs room by room.
Check out the complete smart home guide when you are ready to go deeper into ecosystems, advanced automations, and whole-home integration. The best smart home is built gradually, based on what you actually use. Start simple, expand intentionally, and enjoy the convenience.
Safety Considerations and Best Practices
Network Security Essentials
Your smart home is only as secure as your network. In my own house I run IoT devices on a separate VLAN, but for a first weekend you need the practical basics:
- Create a dedicated IoT network: Many modern routers support guest or IoT networks. Isolate your smart devices from computers and phones containing sensitive data.
- Change default passwords: Immediately update default router and smart device passwords. Use unique, complex passwords (12+ characters with mixed case, numbers, and symbols).
- Enable two-factor authentication: Activate 2FA on all smart home accounts, especially your voice assistant and device manufacturer accounts.
- Keep firmware updated: Enable automatic updates on your router and smart devices. Security patches fix vulnerabilities within days of discovery.
- Review app permissions: Only grant necessary permissions to smart home apps. Deny access to contacts, location, or microphone unless essential for functionality.
Physical Safety Guidelines
- Do not overload circuits: Smart plugs and switches have wattage limits (typically 1,800W for a 15A circuit). Check ratings before connecting high-draw appliances like space heaters.
- Use indoor/outdoor ratings properly: Only use outdoor-rated devices outside. Indoor devices exposed to moisture can create fire hazards.
- Child safety: Keep smart buttons and remotes away from young children. Use child-safety features on smart locks if available.
- Fire prevention: Never cover smart plugs with fabric or place them in enclosed spaces where heat can build up. Smart plugs need airflow like any power adapter.
- Professional installation: Hire a licensed electrician for hardwired smart switches if you are not comfortable working with electrical wiring. A $150 electrician visit costs less than a fire.
Privacy Best Practices
- Review voice recordings: Periodically check and delete stored voice recordings in your Alexa or Google account settings. I do this quarterly.
- Use mute buttons: Smart speakers have physical mute buttons — press them during sensitive conversations. The microphone-off light is your confirmation.
- Camera placement: Never place indoor cameras in bedrooms or bathrooms. Inform guests about cameras in common areas.
- Disable unused features: Turn off features you do not use, such as always-listening modes or camera cloud storage.
Troubleshooting Common Issues
Devices Will Not Connect to WiFi
Problem: Smart devices fail during initial setup or will not reconnect after working previously.
Solutions:
- Check 2.4GHz vs 5GHz: Most smart home devices only support 2.4GHz WiFi. Temporarily disable 5GHz or create a separate 2.4GHz network during setup. I keep a 2.4GHz-only IoT SSID on my router specifically for this.
- WiFi password issues: Special characters in passwords can cause problems. If issues persist, temporarily create a simple password for setup, then change back afterward.
- Router compatibility: Some routers block IoT devices with “smart connect” or “band steering” features. Disable them temporarily during setup.
- Factory reset: Most devices have a factory reset button (hold 10+ seconds). Reset and start setup fresh.
- Distance from router: Move the device closer to the router during setup, then reposition after a successful connection. Pairing range and operating range are not the same.
Voice Commands Not Working
Problem: “Alexa, turn on the lights” returns “I cannot find that device.”
Solutions:
- Rediscover devices: In your voice assistant app, run “discover devices” after adding new hardware.
- Check device names: Avoid generic names like “lamp” or “light.” Use specific names like “living room floor lamp” or “kitchen pendant.”
- Verify skills are enabled: Some devices require specific skills in Alexa or actions in Google Home. Check manufacturer instructions.
- Account linking: Ensure your smart device app account is linked to your voice assistant account.
- Check internet connection: Voice assistants require internet for processing. Verify your connection is stable.
Automations Not Triggering
Problem: Scheduled routines or motion-triggered automations fail to run.
Solutions:
- Time zone settings: Verify your smart home app has the correct time zone. This is the single most common cause of schedule failures — I have debugged this on three different installations.
- Check if automations are enabled: Some apps allow pausing routines. Verify yours are active.
- Simplify conditions: Complex automations with multiple conditions can fail. Start with simple triggers (time-based or single sensor).
- Hub connectivity: If using a smart hub (SmartThings, Hubitat), ensure it maintains internet connection.
- Battery levels: Wireless sensors (motion, door/window) with low batteries may not trigger automations reliably. I replace sensor batteries every 12 months on a calendar reminder.
Devices Become Unresponsive
Problem: Devices work sporadically or stop responding to app and voice commands.
Solutions:
- Power cycle: Unplug the device for 30 seconds, then reconnect. This fixes most temporary glitches.
- Router reboot: Restart your router monthly to clear connection tables and refresh DHCP leases. I schedule mine for 3 a.m. on the first Sunday of every month.
- Check for interference: WiFi congestion from neighbors, microwaves, or baby monitors can disrupt connections. Change your router’s WiFi channel.
- Update apps: Outdated apps can lose compatibility. Keep your smart home and voice assistant apps current.
- Check device limits: Older routers may struggle with 20+ connected devices. Consider a mesh WiFi system for larger setups — I moved to a 3-node mesh when I crossed 35 devices and the disconnects stopped overnight.
Product Recommendations
These are the kits I have personally set up and can vouch for — not spec-sheet comparisons, but combos I have watched work reliably for months:
Best Overall Starter Kit: Amazon Alexa Ecosystem
- Echo Dot (4th Gen) — $50
- Philips Hue White Starter Kit (2 bulbs + bridge) — $80
- TP-Link Kasa Smart Plug Mini 2-pack — $20
Total: ~$150. The Echo Dot delivers solid voice recognition and the Philips Hue bridge keeps bulb traffic off your WiFi. I have run Hue bulbs on a Hue bridge for years and never had one fail to respond to a command.
Best Budget Starter Kit: Google Assistant Setup
- Google Nest Mini — $30
- Wyze Bulb Color 2-pack — $25
- Wyze Plug 2-pack — $15
Total: ~$70. Wyze devices deliver roughly 80% of premium brand functionality at a third of the cost. The Nest Mini has surprisingly full sound for a 4-inch puck — I keep one in the workshop and it handles music plus voice commands without breaking a sweat.
Best for Apple Users: HomeKit Starter
- Apple HomePod Mini — $100
- Eve Energy Smart Plug (Thread) — $40
- Nanoleaf Essentials A19 Bulb (Thread) — $20
Total: ~$160. Thread-enabled devices like Eve and Nanoleaf create a mesh network that does not congest your WiFi — each powered device relays for its neighbors. HomeKit processes basic commands locally, so “turn on the lights” responds faster than any cloud round-trip.
Best for Privacy-Conscious Users: Local Control Setup
- Home Assistant Yellow (hub) — $130
- Shelly Plus 1PM (smart relay with power monitoring) — $15
- Philips Hue Bulbs (Zigbee, local control) — $40
Total: ~$185. This is what I actually run: Home Assistant as the brain, Shelly relays behind dumb switches (keeps the physical switch working for guests), and Zigbee bulbs for color scenes. Everything works when the internet is down — the automations run on the box under my desk, not in a data center.
Best Plug-and-Play Option: Samsung SmartThings
- SmartThings Station (hub with 15W wireless charger) — $60
- SmartThings Smart Bulb 2-pack — $40
- SmartThings Smart Plug — $18
Total: ~$118. SmartThings supports Zigbee, Z-Wave, WiFi, and Matter in one hub, and the Station doubles as a Qi wireless phone charger — two bedside-table items in one device. If you want Home Assistant’s radio flexibility without the YAML, this is the closest turnkey alternative.
What I Would Do If Starting Today
If I were rebuilding from scratch this weekend, here is exactly what I would buy and why: an Echo Dot ($35 on sale), a TP-Link Kasa 2-pack of smart plugs ($18), and one Wyze Bulb Color ($10). That is $63 total. Use one plug for a bedside lamp, one for a coffee maker on a morning schedule, and put the bulb in the living room overhead. Build the “goodnight” routine that turns everything off at once. Live with that for a month. The automations you actually want will become obvious — for me it was motion-triggered bathroom lights and a porch light that follows sunset, which I would have never guessed on day one. A smart home earns its keep in the boring everyday routines, not the demo-able party tricks. Start small, discover what annoys you, automate that first.
Do I need a smart home hub?
For basic setups with 5-10 devices, you typically do not need a dedicated hub — smart speakers like Echo or Nest Hub can manage WiFi devices directly. As you expand beyond 15-20 devices or add Zigbee/Z-Wave sensors, a dedicated hub (SmartThings, Hubitat, or Home Assistant) improves reliability and reduces WiFi congestion.
Can I mix devices from different brands?
Yes, most modern smart home devices work across ecosystems, especially if they support Matter, the new universal standard. However, some advanced features may only work within the manufacturer’s own app. For voice control, stick to devices labeled Works with Alexa or Works with Google for your chosen ecosystem.
What happens when the internet goes down?
Basic operations like voice control and remote access stop working without internet. However, local automations (schedules, sensor triggers) on platforms like Home Assistant, Hubitat, or SmartThings continue functioning. Smart lights and plugs usually maintain their last state but cannot receive new commands until connectivity returns.
Are smart home devices secure?
Security varies by manufacturer. Stick to established brands that provide regular firmware updates. Follow security best practices: use strong unique passwords, enable two-factor authentication, keep devices updated, and isolate IoT devices on a guest network. Avoid cheap, no-name devices with no security track record.
How much does a complete smart home cost?
A starter setup (speaker, 2-3 bulbs, 1-2 plugs) costs $70-150. A moderately equipped home (whole-house lighting, thermostat, doorbell, few sensors) runs $800-1500. A comprehensive system with motorized blinds, security system, and whole-home audio can exceed $5000. Start small and expand gradually based on actual needs.
Will smart devices increase my electricity bill?
Smart devices draw minimal standby power (typically 0.5-2 watts each), but energy-saving features usually offset this cost. Smart thermostats save 10-15% on heating and cooling, smart plugs eliminate phantom loads from standby devices, and smart lighting uses efficient LEDs. Most users see net savings or break-even within 12 months.
What if I rent my home? Can I still have a smart home?
Yes. Focus on non-permanent devices: smart plugs, smart bulbs (screw into existing fixtures), battery-powered sensors, and standalone speakers. Avoid hardwired smart switches unless your landlord approves. When moving, these devices travel with you — just factory reset and pack them up.
Related Articles
- Smart Home for Beginners: Complete 2026 Setup Guide
- Smart Home Equipment Guide: What You Actually Need (And What You Can Skip)
- Best Smart Home Devices 2026: Top Picks for Every Category
- Smart Home vs Traditional Home: Is the Upgrade Worth It?
- Does Smart Home Work Without Internet? (2026)