Best Tablet for a Home Assistant Wall Dashboard (2026)
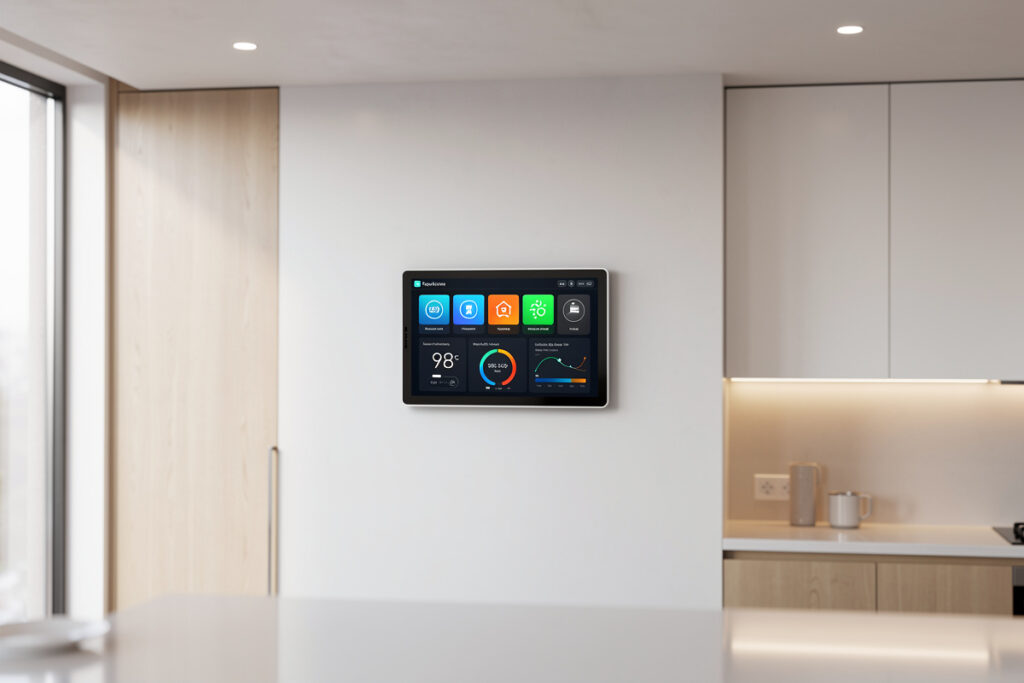
A wall-mounted tablet running my Home Assistant dashboard is the single best upgrade I have made to the smart home — no phone unlocking, no “where is my phone,” no app hunting. Mounting an iPad or Android tablet on your wall costs $200-600 total (tablet plus mount) and transforms scattered device control into a command center that every family member and guest can use without a tutorial. I run an older Samsung Galaxy Tab A8 flush-mounted in the hallway between the kitchen and living room, and after two years it is the most-used interface in the house.
The mistake I made on my first attempt: I mounted it at eye level while standing, which meant my partner — a foot shorter — had to reach up. The second attempt at 50 inches from the floor works for everyone. Every tablet mount I have done since starts with a cardboard cutout taped to the wall for a week of real-world reach testing before I drill a single hole. The key to a wall tablet that actually gets used is mounting height, power routing, and dashboard configuration — in that order.
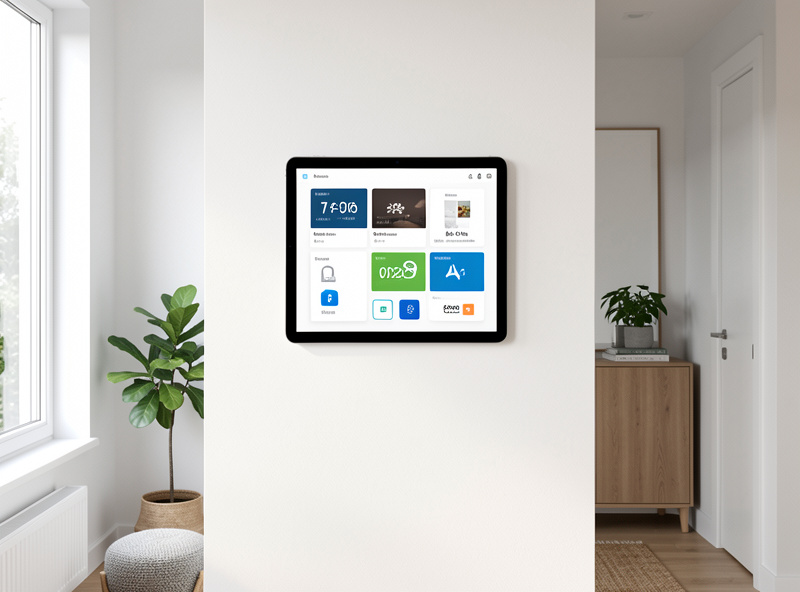
Why Wall-Mounted Tablets Transform Smart Homes
Wall-mounted tablets replace the need to unlock your phone, find the right app, and navigate menus every time you want to control your smart home. They provide a permanent, always-visible dashboard that family members and guests can use without any setup. The $200-600 investment transforms scattered device control into a unified command center that feels like a luxury home upgrade.
While voice assistants handle quick commands, tablets excel at visual smart home management. For a complete overview of smart home accessories including wall tablets, energy monitors, and pet feeders, see the best smart home accessories guide.
At-a-Glance Status Visibility: Wall-mounted tablets display camera feeds (including smart pet feeder cameras), thermostat status, door lock states, and lighting scenes without unlocking phones or opening apps. I glance at my hallway tablet every time I leave the house and can confirm the back door is locked, the thermostat is in away mode, and the garage camera is online in under three seconds.
Intuitive Guest Control: Visitors control lights, temperature, and music through touch interfaces without learning voice commands or downloading apps. Touchscreen interfaces feel familiar to everyone.
Dedicated Dashboard Apps: Unlike phones juggling dozens of apps, mounted tablets run single-purpose dashboard interfaces optimized for wall display: Home Assistant, ActionTiles, SharpTools, or native HomeKit.
Eliminates Phone Dependency: No more “Where is my phone?” when you need to adjust the thermostat. The wall tablet is always there, always charged, always ready.
Disclosure: HomeAutoCentral is reader-supported. As an Amazon Associate I earn from qualifying purchases, at no extra cost to you. I only recommend gear I have tested or would run on my own wall.
Choosing the Right Tablet
The best wall-mounted tablet depends on your smart home ecosystem. I run a Galaxy Tab A8 in my hallway and have tested the iPad 10th Gen and Fire HD 10 Plus in secondary mounting locations. iPad 10th Gen ($350-450) leads for HomeKit users with its excellent screen and long software support. Samsung Galaxy Tab A8 ($180-230) offers the best Android value with ActionTiles compatibility and is what I use daily. Amazon Fire HD 10 Plus ($150) is the budget pick with built-in Alexa integration and wireless charging dock support.
Select your wall tablet based on ecosystem preference and budget:
iPad 10th Gen — Best Overall
Pros: Excellent screen quality, reliable performance, strong HomeKit support, long software updates
Cons: Higher cost ($350-450), requires 3rd party dashboard apps for advanced control
Best For: Apple ecosystem users, premium dashboard experiences
Samsung Galaxy Tab A8 — Best Android Value
Pros: Affordable ($180-230), good screen size (10.5 inches), ActionTiles compatible. I have had mine running Fully Kiosk Browser pointed at my HA dashboard for over two years without a single crash or restart needed.
Cons: Slower than iPad, shorter software support lifecycle
Best For: Budget installations, SmartThings and ActionTiles users
Amazon Fire HD 10 Plus — Best Budget
Pros: Very affordable ($150), Alexa integration, wireless charging dock available
Cons: Limited app ecosystem, requires sideloading for some dashboard apps
Best For: Alexa-focused smart homes, basic dashboard needs
Lenovo Smart Tab M10 Plus — Alternative Option
Pros: Mid-range pricing ($200), included dock, Google Assistant integration
Cons: Limited availability, average screen quality
Best For: Google Home users wanting basic wall mount solution
| Tablet | Screen | Price | Best Dashboard | Power |
|---|---|---|---|---|
| iPad 10th Gen | 10.9 inches | $350-450 | HomeKit, Home Assistant | Hardwired or dock |
| Galaxy Tab A8 | 10.5 inches | $180-230 | ActionTiles, SmartThings | Hardwired or dock |
| Fire HD 10 Plus | 10.1 inches | $150 | WallPanel, Fully Kiosk | Wireless charging dock |
| Lenovo M10 Plus | 10.3 inches | $200 | Google Home app | Included dock |
Best Budget Tablet for a Home Assistant Dashboard
If the question is purely “what is the cheapest tablet that runs a Home Assistant dashboard well in 2026,” my answer has two branches. Buying new: the Fire HD 10 Plus at around $150 is the one to beat. The screen is good enough, the wireless charging dock solves the power question without drilling, and once you sideload Fully Kiosk Browser — a ten-minute job — it boots straight into your dashboard like any other Android tablet. The trade-off is that you are living in Amazon’s ecosystem on a device whose whole purpose here is local control, which is why it runs a browser pointed at my hub and nothing else.
Buying used is the branch I actually recommend more often: a used or renewed Galaxy Tab A8 typically lands at $80-120, and a wall tablet is the perfect retirement job for aging hardware. Battery health — the thing that kills used tablet value — is irrelevant on a device that lives on wall power. My own hallway A8 would sell for almost nothing, yet it has been the most reliable screen in the house for two years. Check that the used tablet runs Android 8 or newer for dashboard app compatibility, and skip anything with a cracked digitizer; a wall tablet gets tapped thousands of times a year.
Wall tablet mounts fall into three categories: in-wall recessed mounts for the cleanest look ($40-200), surface mounts for easy 15-minute installation ($25-70), and dock-based solutions for flexible grab-and-go use ($40-80). Choose based on whether you prioritize aesthetics, ease of installation, or flexibility.
In-Wall Mounts (Cleanest Look)
Recessed mounts sit flush with drywall, resembling built-in control panels. Top options include the VidaMount On-Wall Mount (surface mount), Mount Genie recessed option, and IPORT Surface Mount (premium tilt/swivel). Requires drywall cutting for recessed options. Professional installation recommended unless experienced with electrical and wall work.
Surface Mounts (Easiest Installation)
Attach to wall surface without cutting. Visible but functional. Options include the Koala Tablet Wall Mount (magnetic attachment), TabDock Wall Mount (adjustable angle), and Heckler Design Wall Mount (minimalist with cable management). My Galaxy Tab lives in a VidaMount surface mount — it took 15 minutes to install and has held solid through two years of daily tapping.
Dock-Based Solutions (Flexible)
Tablets dock into charging stations that attach to walls. Easy to grab and go when needed. Less permanent than fixed mounts. Best for Fire HD 10 Plus with its purpose-built wireless dock, Samsung with POGO charging dock, or universal Qi charging stands.
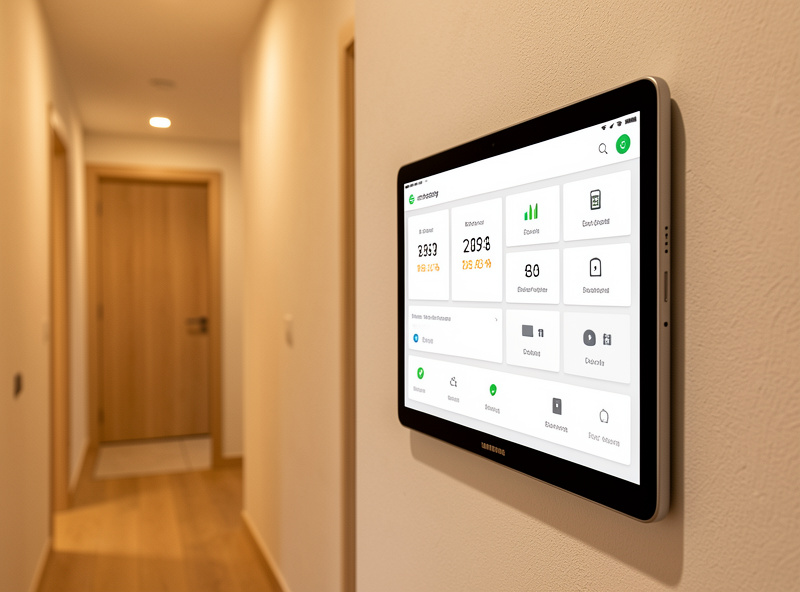
Power Solutions
Every wall-mounted tablet needs constant power — the battery will be dead within hours if you rely on an unplugged tablet. I run a concealed USB cable through the wall to a nearby outlet, which took 20 minutes with a $15 cable routing kit and left zero visible wires. Hardwired installations ($150-300) look cleanest but require an electrician. Concealed cable routing ($10-30) is the easiest DIY option. Wireless charging docks ($40-80) offer flexibility but work only with compatible tablets like the Fire HD 10 Plus.
Wall tablets require constant power. Choose your approach:
Hardwired Power (Best Long-term): Install recessed electrical box behind mount location. Tablet connects to permanent power through a modified cable or a PoE (Power over Ethernet) splitter. Cleanest look with no visible cables, always charged. Requires electrical work at $150-300 plus $20-50 for adapter — though PoE is the route I would take today: one Ethernet run gives the tablet both power and a rock-solid wired-backhaul-adjacent connection, and it comes from the same switch that already powers my cameras.
Concealed Cable Routing: Route charging cable through wall from nearby outlet to mount location. Use cable covers or in-wall routing kits. No electrical permits needed, reversible, but visible cable even when concealed. Cost: $10-30 for cable management.
Wireless Charging Dock: Mount wireless charging dock to wall. Tablet sits in dock for power and display. No cables visible, easy to remove tablet, but limited tablet compatibility (mainly Fire HD 10 Plus) and slower charging. Cost: $40-80 for dock.
Dashboard Apps and Interfaces
Your wall tablet needs dedicated dashboard software to control your smart home. I run Fully Kiosk Browser pointing at my Home Assistant dashboard — the tablet boots directly into the dashboard, stays on 24/7, and the screen wakes on touch. Home Assistant (free) offers the most power and flexibility but requires technical setup. ActionTiles ($30) is the easiest option for SmartThings users. Apple Home App comes pre-installed on iPads for HomeKit homes. SharpTools ($30/year) bridges Hubitat and SmartThings ecosystems.
Your tablet needs software to control smart home devices:
Home Assistant (Most Powerful): Open-source home automation platform with customizable dashboards. Control any device from any protocol (WiFi, Zigbee, Z-Wave, Matter). Customizable layouts, automation creation, camera feeds, and energy monitoring displays. Setup difficulty: Advanced. Best for power users with mixed protocol homes. This is what I use — my dashboard shows every room’s temperature, all door lock states, camera thumbnails, and a one-tap “Goodnight” button.
ActionTiles (SmartThings Users): Web-based dashboard designed for SmartThings ecosystems. Drag-and-drop interface builder, native device integration, customizable tiles, video camera embedding, and URL-based access. Cost: $30 one-time license. Best for SmartThings users wanting quick setup.
Apple Home App (iPad Users): Native HomeKit control center built into iOS. All HomeKit devices in one interface, scene creation, camera feeds with live view, intercom functionality, and secure video history. Pre-installed on all iPads. Best for HomeKit-focused smart homes.
SharpTools (Hubitat/SmartThings): Dashboard platform supporting multiple hubs. Rule engine for automations, customizable widgets, Hubitat and SmartThings integration, media tile support. Free basic tier, $30/year premium. Best for Hubitat users and intermediate setups.
Optimal Mounting Locations
The best location for a wall-mounted tablet depends on your daily routine. Entryways provide quick status checks when leaving or arriving. Kitchens serve as the family command center for cooking, calendars, and music. Bedrooms enable bedtime scene control without reaching for your phone. Mount at 48-54 inches from floor for comfortable viewing.
Choose locations for maximum utility and accessibility:
Entryway or Foyer (Highest Traffic): See home status immediately upon entering. Check locks, thermostat, and security before leaving. My hallway tablet sits between the front door and the kitchen — I pass it every time I leave or return, which means it actually gets used.
Kitchen (Command Center): Central family location. Control lighting, music, and check cameras while cooking. Display family calendar and shopping lists.
Master Bedroom (Nighttime Control): Bedside location for scene activation (reading, sleep), thermostat adjustment, and security arming without getting up.
Living Room (Entertainment Hub): Control entertainment systems, adjust lighting for movie mode, display art or photos when idle.
Mounting Height: 48-54 inches from floor (accessible for adults and children). Tilt slightly downward for comfortable viewing angle.
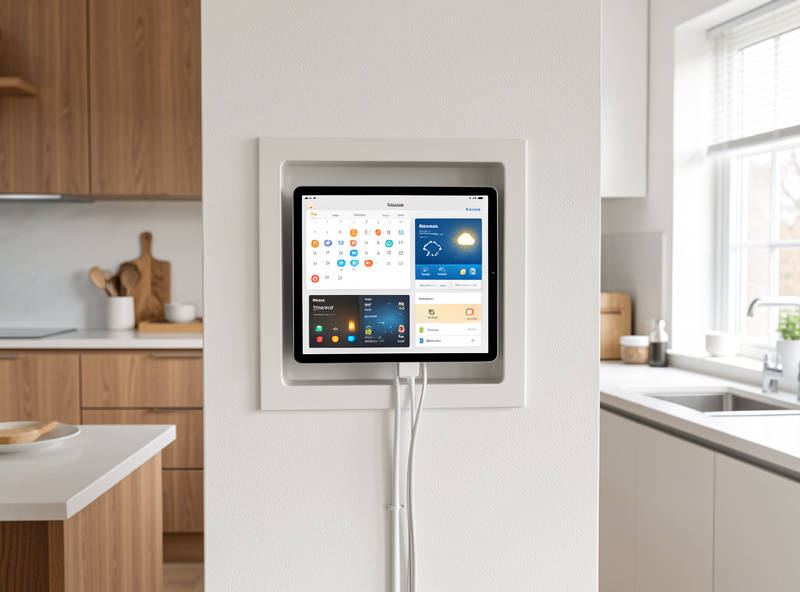
Budget Breakdown
A complete wall tablet setup ranges from $230 for a budget Fire HD 10 Plus with surface mount to $840 for a premium iPad with recessed mount and hardwired power. Most users find the $320-360 mid-range sweet spot with a Galaxy Tab A8 and VidaMount — which is exactly what I run.
| Component | Budget Option | Mid-Range | Premium |
|---|---|---|---|
| Tablet | Fire HD 10 Plus ($150) | Galaxy Tab A8 ($200) | iPad 10th Gen ($400) |
| Mount | Koala Surface ($30) | VidaMount ($60) | IPORT Recessed ($180) |
| Power | Wireless Dock ($50) | Cable Concealment ($30) | Hardwired Install ($200) |
| Dashboard | Home Assistant (Free) | ActionTiles ($30) | SharpTools Premium ($30/yr) |
| Total | $230-260 | $320-360 | $810-840 |
Pro Tips for Success
The most common wall tablet mistake is mounting before testing. Always configure your dashboard, add all devices, and verify everything works on a table first. Enable Guided Access (iPad) or App Pinning (Android) to lock the tablet to your dashboard app. Test WiFi signal strength at your chosen location before committing to the mount. I once mounted a tablet in a hallway only to discover the WiFi RSSI was -78 dBm — solidly in the “poor” range on any standard RSSI reference — and had to relocate it six feet closer to the access point. A two-minute signal check before drilling would have saved the patch-and-paint work.
Test Before Mounting: Configure your dashboard and control all devices BEFORE mounting the tablet. It is easier to troubleshoot on a table than on a wall.
Enable Guided Access or App Pinning: Lock tablet to dashboard app so family members cannot accidentally exit to home screen or access other apps. iPad uses Guided Access, Android uses Screen Pinning.
Set Screen Always-On: Configure display to never sleep when plugged in. The tablet should always show dashboard, not lock screen.
Plan for WiFi Reliability: Wall locations sometimes have weaker signals. Test WiFi strength at mounting location before committing. Add WiFi extender if needed.
Consider Privacy: Kitchen and living room tablets are visible to guests. Do not display bedroom cameras or private automation on public-facing dashboards.
Frequently Asked Questions
Can I use an old tablet instead of buying new?
Absolutely. Older iPads (6th gen and newer) and Android tablets work well as dashboards. Just ensure they run iOS 12+ or Android 8+ for dashboard app compatibility. Battery health matters less since they will stay plugged in continuously.
Will the tablet overheat being on 24/7?
Tablets designed for continuous operation handle always-on display fine. Enable optimized battery charging to reduce heat. If using a direct sunlight location, choose a mount with heat dissipation or avoid direct sun exposure.
Can guests use the tablet without seeing my other apps?
Yes. Use Guided Access on iPad or Screen Pinning on Android to lock the tablet to your dashboard app. Guests see only the smart home interface, not emails, photos, or personal apps.
What is the best tablet size for wall mounting?
10 to 11 inch tablets offer the best balance of screen real estate and wall footprint. Smaller tablets (7-8 inches) are harder to read from a distance. Larger tablets (12+ inches) dominate the wall and require more expensive mounts.
Do I need an electrician to hardwire a wall tablet?
For hardwired installations involving new electrical boxes or recessed wiring, yes — hire a licensed electrician ($150-300). Surface-mounted tablets with concealed cable routing to existing outlets can be DIY projects with no electrical permits needed.