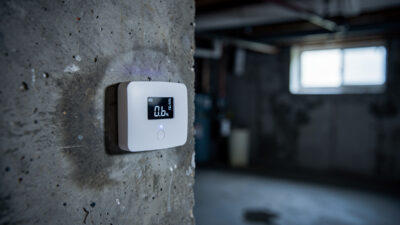
Sump Pump Smart Alert Setup: Never Miss a Failure
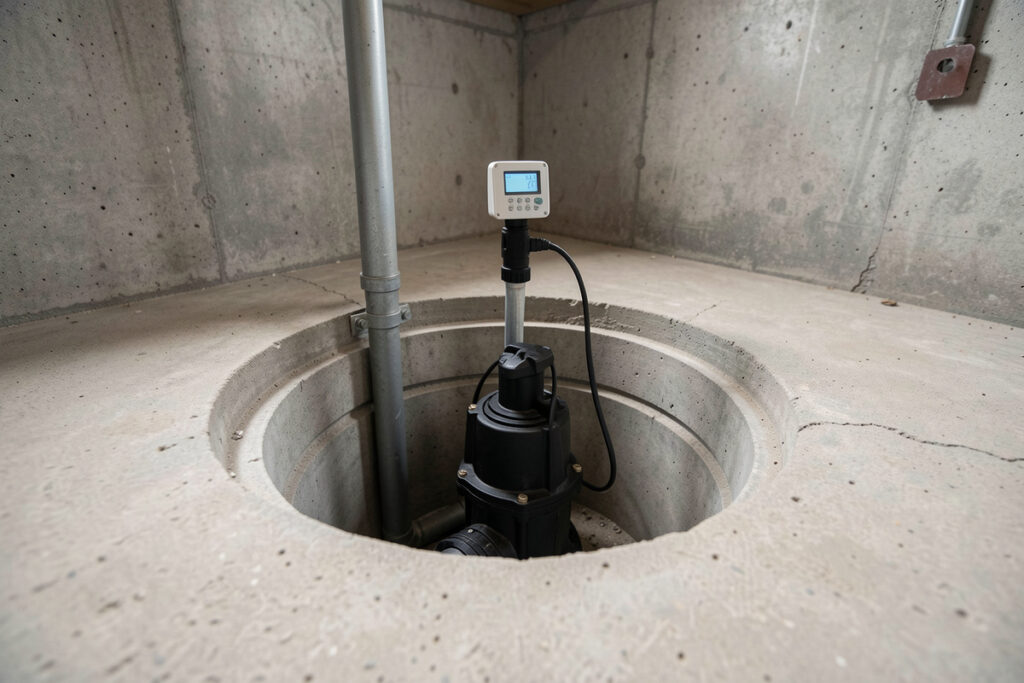
A sump pump fails silently, and you usually find out by stepping into a flooded basement. A sump pump smart alert setup fixes that by watching two things at once — the water level in the pit and whether the pump actually ran — so your hub warns you the moment the pit is filling and the pump is silent. The whole thing costs $40 to $80 in sensors and an afternoon to wire, and it is the cheapest insurance a basement can have.
I treat the sump pit as its own monitored zone, separate from the floor pucks elsewhere in the house, because the failure mode is different: it is not “water appeared where it should not be,” it is “the machine whose entire job is removing water has stopped doing it during the exact storm that needs it.” This is a spoke off my smart water leak management system, focused on the one piece of equipment most likely to fail when it matters most.
Why a Float Switch Alone Is Not Enough
A basic water alarm — a battery box with a probe that beeps when the pit overflows — is better than nothing, but it only tells you after the pump has already lost the fight. By the time the high-water probe is wet, the pit is full and the water is about to come over the rim. What I want is earlier warning and more context, and that takes two signals working together.
The first signal is water level: a high-water float or probe mounted above the pump’s normal cut-off but below the pit rim, so it trips when the level climbs higher than a healthy pump would ever allow. The second, and the one most setups skip, is did the pump run: a way to know whether the motor actually cycled. Together they tell the real story. Rising level plus a running pump means a heavy storm the pump is keeping up with — fine. Rising level plus a silent pump means failure, right now — alarm.
The Two Signals, and the Hardware for Each
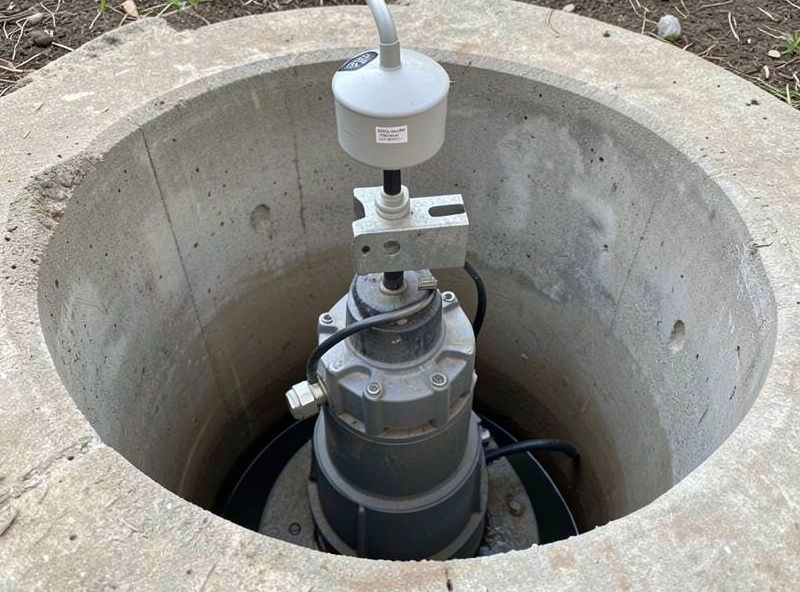
For water level, the simplest reliable option is a Zigbee or Z-Wave leak sensor mounted at the high-water mark — either a puck on a small shelf bracket at that height, or a probe-on-a-lead sensor with the probe set at the level you want to defend. When the rising water reaches it, it reports wet to your hub exactly like any other leak sensor, and the same notification automation fires.
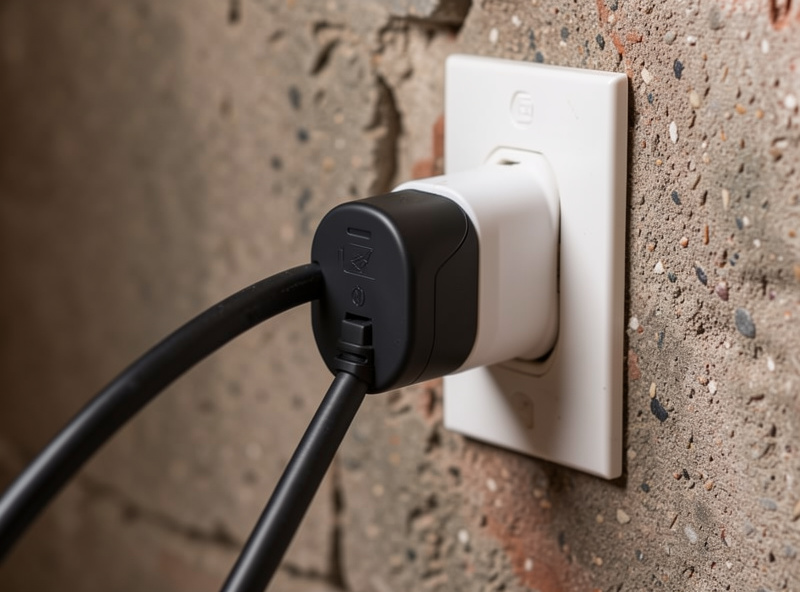
For did the pump run, my favorite trick is an energy-monitoring smart plug between the pump and the outlet. The pump’s motor draws a clear, large current spike every time it cycles, so the plug’s power reading is a perfect proxy for “the pump just ran.” Your hub can watch that power sensor and learn the normal cycle rhythm. If the level sensor trips while the plug has reported zero power for too long, you know the pump is dead, jammed, or unplugged — not merely busy. That energy-as-a-signal approach is the same one I lean on in my smart home energy dashboard build, just pointed at a single critical motor.
Wiring the Alert in Your Hub
The automation is short and worth getting exactly right. The trigger is the high-water sensor going wet. The first thing the automation checks is the pump plug’s recent power: has the pump drawn current in the last several minutes? If yes, send an informational notice — heavy inflow, keep an eye on it. If no, escalate hard: a critical, sound-overriding push to every phone, because a full pit with a dead pump floods a basement fast and every minute counts.
I add two refinements. First, a heartbeat check: if the pump plug reports no power for an unusually long stretch during a wet season, flag it even before the water rises, because a pump that should have cycled and did not is already suspect. Second, a battery and connectivity watch on the level sensor itself — a dead coin cell or a sensor that has dropped off the mesh is a silent failure of the alarm, so I have my hub flag any sensor whose battery drops low or whose last-seen timestamp goes stale. If you have not built automations like this before, my Home Assistant setup guide covers getting the hub and notifications working first.
Add a Backup Before You Trust the Alert
An alert tells you the pump died; it does not pump the water. If your basement is finished or your area floods often, pair the smart alert with a real backup — either a battery-backup secondary pump that kicks in when the primary fails, or a water-powered backup for homes with reliable municipal pressure. The smart alert and the backup pump are complementary: the backup buys you hours, and the alert tells you to get home and fix the primary before those hours run out. A power-monitoring plug on the backup pump, too, lets your hub tell you the dreaded “both pumps are now running” state — the moment you stop reading the alert and start driving home.
The basement is also where damp lives even when the pump is healthy, so it is worth tying this into the rest of your moisture defense: a basement humidity sensor and a smart dehumidifier handle the slow problem while the sump alert handles the acute one. One hub, one dashboard, the whole basement covered.
The Failures This Catches That a Beep Does Not
A standalone water alarm catches exactly one thing: the pit overflowing. A smart setup catches the chain of failures that lead there, earlier and with context. A stuck float on the pump itself — debris or a tilted switch keeping it from triggering — shows up as a rising level with no power draw, and your hub flags it before the rim. A tripped breaker or a pulled plug reads as zero power where a cycle was due, so you learn the pump is offline on a dry day instead of during the storm. A seized or burned-out motor looks the same to the energy plug: the cycle that should have happened did not.
Even a frozen or blocked discharge line reveals itself indirectly — the pump draws power and runs, but the level never drops, which a slightly smarter automation watching “power drawn but level not falling” can surface. None of these are visible to a probe that only beeps at overflow. Watching power and level together turns a single late alarm into a set of early, specific warnings, each pointing at what to actually fix.
Test It Before the Season You Need It
An untested alarm is a guess. Before every wet season I pour a bucket of water into the pit and watch the whole chain fire: the pump should cycle and show a power spike on the plug, the level should rise and fall, and if I lift the float by hand to simulate a failure, the high-water sensor should trip and the critical notification should land on my phone within seconds. I also pull the pump’s plug briefly to confirm the “no power when due” path alerts correctly. It takes five minutes and it is the only way to know the system works while it is still cheap to find out it does not. I keep a scheduled reminder in the hub so the test never gets forgotten, the same way I exercise the main shutoff valve quarterly.
A Sensible Build Order for the Pit
If you are starting from a bare sump, build it in this order. First, put a high-water leak sensor at the level you want to defend and wire a basic notification — that alone beats discovering the flood with your socks. Second, add the energy-monitoring plug on the pump so your hub knows whether the motor is cycling, and upgrade the automation to distinguish “busy” from “dead.” Third, add the battery and connectivity watch so the alarm cannot fail silently. Fourth, if the stakes justify it, install a backup pump and monitor it too. Each step stands on its own, and by the end you have a pit that tells you the truth in time to act — which is the entire point. Spot leak detectors elsewhere in the house and a smart shutoff valve on the main round out the system, but for a basement with a pit, the sump alert is where the money does the most good.
As an Amazon Associate I earn from qualifying purchases. The two pieces to start with are a high-water sensor and an energy-monitoring plug — browse sump pump alarm sensors on Amazon and pair one with a plug that reports power to your hub.
Related Guides
- Smart Water Leak Management — the full water-defense system
- Best Smart Water Leak Detectors — the sensors this setup reuses
- Smart Water Shutoff Valve Guide — stop a supply-side flood too
- Basement Humidity Sensor — handle the slow damp problem
- Smart Dehumidifier — keep the basement dry between storms
- Smart Home Energy Dashboard — the power-monitoring approach behind the pump check