How to Set Up a Smart Home Energy Dashboard (2026)
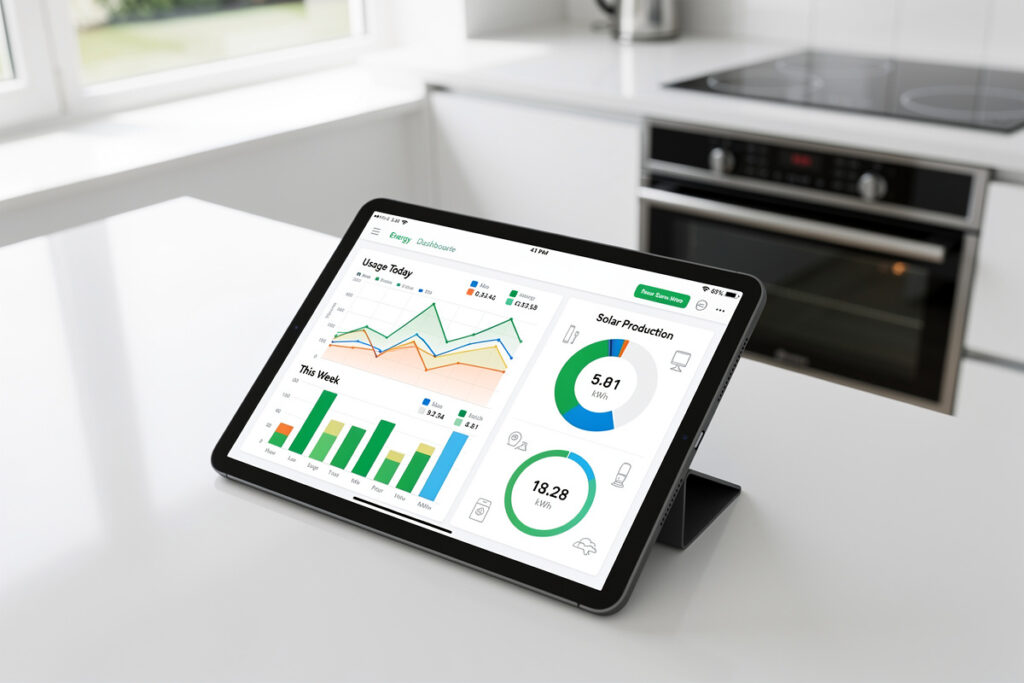
A smart home energy dashboard is only worth building if it updates in real time and lives locally — so your power data is not trapped behind a cloud you cannot automate against. A pretty app-only graph you glance at changes nothing about your bill.
I run mine in Home Assistant alongside everything else in the house, because the whole point is to act on the numbers — the same rule engine that runs my lights shifts a load off-peak the moment it sees the price climb.
There are exactly three ways to get real power data into a dashboard, and which you pick comes down to one question: are you allowed to open your breaker panel, and do you want to? Below is the honest comparison, then exactly how to set each one up, what it costs, and — the part most guides skip — what to actually do with the data once it’s flowing. This is the setup I’ve run and rebuilt over several years, so the order of operations here is the one I’d give a friend starting from zero.
The three ways to measure your home’s energy
| Method | What it sees | Install | Rough cost | Best for |
|---|---|---|---|---|
| Whole-home CT clamps (Shelly Pro 3EM, IoTaWatt, Emporia) | Total + per-circuit watts, real time | Inside the panel — electrician job | $100–$170 device + fitting | Owners who want circuit-level detail |
| Utility meter readout (HAN / P1 port) | Whole-home total, real time, from the meter itself | Non-invasive — plug a reader into the meter port | $30–$100 | Renters, anyone avoiding panel work |
| Energy-reporting smart plugs (Zigbee / Shelly) | Per-device watts and kWh | Plug in — no wiring | $10–$25 each | Hunting phantom loads, per-appliance detail |
You can mix all three, and I do: clamps for the big circuits, the meter readout for the true whole-home total, and plugs on the handful of devices I actually want to interrogate. They all feed one dashboard, which is the entire advantage of building this in Home Assistant instead of juggling three vendor apps. If you only want the short version of that trade-off, I broke it down separately in whole-home energy monitor vs smart plugs — but the honest answer is that they measure different things and the best setups use both.
As an Amazon Associate I earn from qualifying purchases. The gear I name below is what I run or would buy again; the links go to current listings so you can check specs and price yourself.
Option 1: Whole-home CT clamps (the most detail)
A current transformer (CT) clamp measures the current flowing through a wire without cutting it — you clamp it around the mains feed and the individual circuit conductors inside your breaker panel. This is the gold standard for detail: you get total consumption and a per-circuit breakdown, so the heat pump, the oven, and the EV charger each show up as their own line on the graph instead of vanishing into one whole-home number.
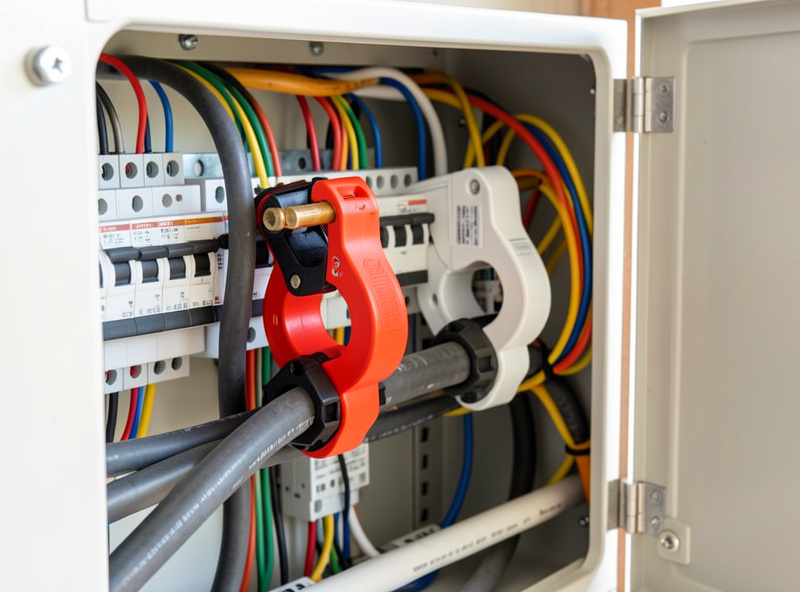
The honest part nobody puts up front: this is work inside a live electrical panel, which is a licensed-electrician job. The clamps themselves are non-contact, but opening the panel and routing them is lethal territory if you don’t know exactly what you’re doing. Have an electrician fit them — the device cost is the small part. What you choose to fit matters enormously for local control:
- Shelly Pro 3EM — a three-phase CT energy meter, which is the right shape for European and Nordic homes like mine, with a local HTTP API and MQTT. It talks straight to Home Assistant with no cloud in the loop, and it’s DIN-rail mounted so an electrician can fit it cleanly. This is the one in my panel. (check the Shelly Pro 3EM)
- IoTaWatt — open, local-first, up to 14 inputs, designed to run with no cloud at all and integrate cleanly with HA. My pick if you want maximum channels and zero vendor dependency, and the project documentation is genuinely excellent. (look up IoTaWatt)
- Emporia Vue — cheap and high-channel-count for monitoring a whole panel circuit by circuit; cloud by default, but the community has ESPHome/local firmware paths if you want to cut it loose. Good value if budget is the constraint and you’re willing to do the de-clouding work. (see the Emporia Vue)
If you go this route, it pairs naturally with the broader picture in my smart home energy management systems guide, and the dedicated roundup of best smart electricity monitors covers more models head to head.
Option 2: Read the utility meter directly (no electrician)
This is the option most people miss, and it’s the one I’d start with if you can’t or won’t touch the panel. Modern utility meters expose a customer data port — a HAN port here in the Nordics, a P1 port on Dutch and Belgian DSMR meters, and equivalents elsewhere — that streams your real-time consumption straight from the meter. A small reader (a HomeWizard P1, or a DIY ESPHome reader you build for the HAN/P1 port) plugs in non-invasively and pushes the data to Home Assistant.
You don’t get per-circuit detail this way, but you get the true, utility-accurate whole-home total in real time — including import and export if you have solar — with zero panel work and nothing a landlord can object to. For a renter who wants a genuine energy dashboard, this is the answer, and it reads the exact same figures your utility bills you on, which the clamp-based methods only approximate. (a plug-in P1 meter reader is the no-solder path.)
If you rent and want the wider renter-focused picture, I keep a separate playbook for monitoring energy without modifying anything you don’t own; the meter readout is its cornerstone for exactly this reason.
Option 3: Energy-reporting smart plugs (per-device truth)
For granularity without any wiring, energy-reporting smart plugs are the building block — the same plugs I use as actuators also report watts and kWh. Zigbee plugs with power metering (into Zigbee2MQTT) or Shelly plugs with their local API drop straight onto the dashboard. Put one on the fridge, the entertainment center, the always-on networking gear, the dehumidifier, and you stop guessing which devices are quietly costing you money.
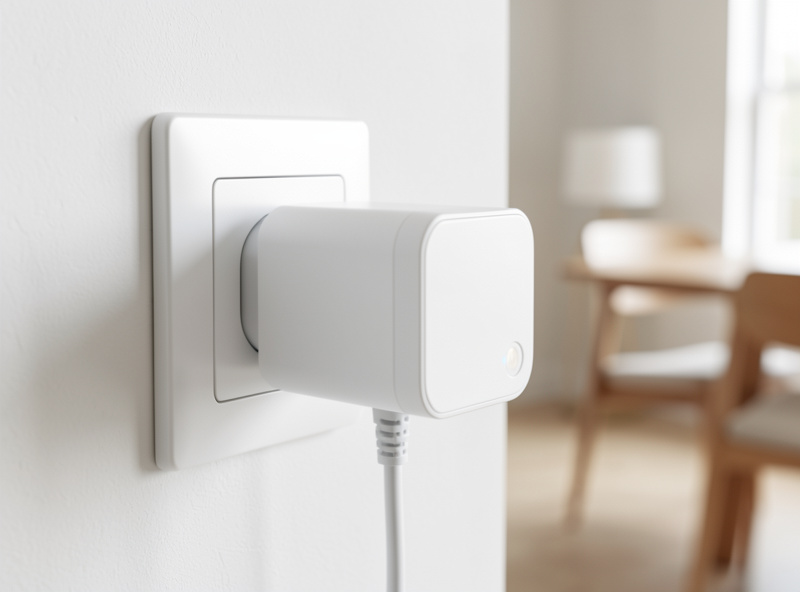
This is how you find phantom loads — the gear drawing power 24/7 doing nothing useful. In my own setup the worst offenders were never the obvious ones; it was a media console and an old set-top box idling at a steady draw around the clock that added up over a year. You only catch that if you’re measuring it per device. Pick plugs with local reporting so the data stays in HA — I keep notes on the ones worth buying in my best smart plugs guide, and for whole power strips there’s a metered smart power strip roundup too. (Browse energy-monitoring Zigbee smart plugs.)
Building the dashboard in Home Assistant
Home Assistant ships with a dedicated Energy dashboard built in, and it’s the reason to centralize here rather than in three vendor apps. Once any of the sources above is feeding HA a sensor in kilowatt-hours, you configure the Energy dashboard to pull it in:
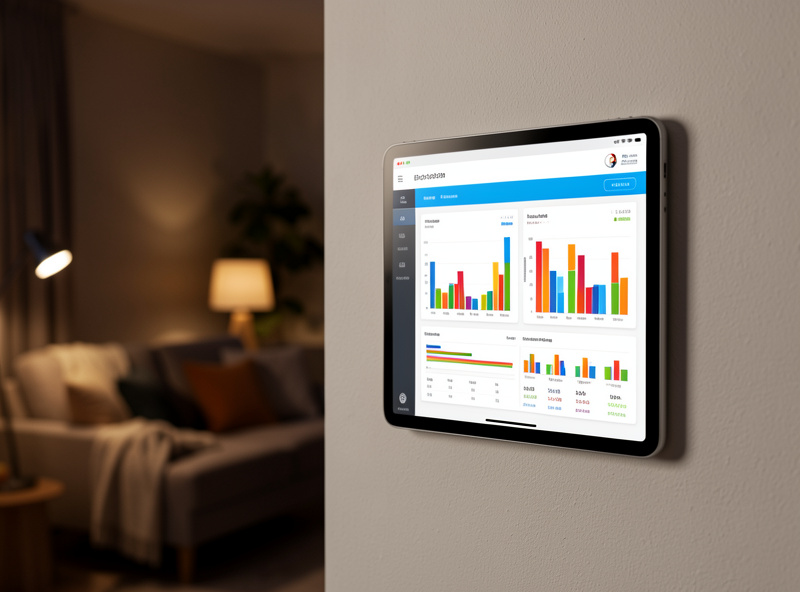
- Grid consumption (and return, if you export solar) — from the meter readout or the whole-home clamp.
- Individual devices — from the smart plugs and per-circuit clamps, so the big consumers show up as their own slices.
- Solar production and battery, if you have them, for the full picture of what you make, store, use, and sell. (If that’s your direction, my solar battery storage integration guide picks up there.)
The one gotcha that trips everyone up: the Energy dashboard wants an energy sensor (kWh, cumulative), not just a power sensor (instantaneous watts). Most of these devices report both; if one only gives you watts, HA’s Riemann-sum integration (an integral helper, two lines of YAML) converts power to energy for you. Get that right and the dashboard populates with hourly, daily, and monthly breakdowns you can actually read — and, more importantly, automate against.
One practical note from running this for years: put your IoT gear on its own network segment before you scale up to dozens of reporting devices. A flat network full of chatty plugs and sensors gets unreliable fast. I walk through how I do it in the smart home VLAN setup guide — it’s the boring infrastructure that keeps an energy dashboard trustworthy.
What the dashboard actually buys you
Measurement is pointless without action — this is where local control earns its place, and where the bill actually moves:
- Kill phantom loads. The plug data shows you the always-on draw; some of it you automate off when you’re away, some you just unplug. It’s almost always more than you’d guess.
- Shift load off peak. If you’re on time-of-use or spot pricing — increasingly the norm here — an automation that watches the price and runs the dishwasher, the EV charge, or the water heater in the cheap window is the single biggest money move available. The dashboard is how you confirm it’s actually working. I went deep on this in time-of-use pricing optimization.
- Catch a failing appliance. A fridge or heat pump that starts drawing more than its baseline is telling you something before it dies. You only see it if you’re logging it.
- Validate solar and battery. Production, self-consumption, and export in one place — so you know what the panels are actually returning, not what the brochure promised.
That last layer — automations that respond to power and price — is the difference between a dashboard you look at and a dashboard that pays for itself. It’s the same rule engine that runs my grow lights and sauna pre-heat; energy is just another input it reacts to. If you want the structured version of turning data into savings, the smart home energy audit guide and the practical reduce your electric bill walkthrough are the natural next reads.
A realistic order to build it in
You don’t do all of this in a weekend, and you shouldn’t. Here’s the sequence I’d actually follow:
- Week one: if your meter has a HAN/P1 port, fit a reader and get the true whole-home total into HA. Real data, no electrician, today.
- Week two: add energy-reporting smart plugs on three or four suspect devices — fridge, media gear, anything always-on. Let them log for a few days before judging.
- Later, if you own the home: have an electrician fit a local-first CT meter (a Shelly Pro 3EM or IoTaWatt) for true circuit-level detail.
- Then, and only then: write the one automation that acts on your cheapest hour. That single rule is where the dashboard stops being a hobby and starts being a tool.
Build it in that order and every step pays for itself before you spend on the next one. That’s a dashboard that does something — which is the only kind worth building.
Frequently asked questions
Do I need an electrician to set up a home energy monitor?
Only for whole-home CT clamps, which install inside the breaker panel — that is a licensed-electrician job. The non-invasive routes need no electrician: reading your utility meter’s HAN/P1 port with a small reader, or using energy-reporting smart plugs that simply plug in.
What’s the best smart home energy monitor for Home Assistant?
For local-first circuit detail, a Shelly Pro 3EM (three-phase, local API and MQTT) or IoTaWatt (open, cloud-free). For non-invasive whole-home data, a HAN/P1 meter reader. For per-device, energy-reporting Zigbee or Shelly plugs. The best choice depends on whether you can access the panel and how granular you want to go.
Can I monitor energy without touching the breaker panel?
Yes. Read your utility meter’s customer data port (HAN in the Nordics, P1 on DSMR meters) with a plug-in reader for a real whole-home total, and add energy-reporting smart plugs for per-device detail. Neither requires opening the panel, so both work for renters.
What’s the difference between a power sensor and an energy sensor?
Power (watts) is the instantaneous draw; energy (kilowatt-hours) is consumption accumulated over time. Home Assistant’s Energy dashboard needs an energy (kWh) sensor. If a device only reports watts, HA’s Riemann-sum integration converts power into energy for you.
Is a home energy dashboard actually worth it?
Only if you act on it. The savings come from killing phantom loads and shifting big loads to cheap hours on time-of-use or spot pricing — automations the dashboard verifies. As a graph you glance at occasionally it changes little; as an input your automations respond to, it pays for itself.
Related guides
- Whole-Home Energy Monitor vs Smart Plugs: Which Should You Choose?
- Time-of-Use Pricing Optimization With Smart Devices
- Complete Smart Home Energy Audit Guide
- Best Smart Home Energy Management Systems 2026
- How to Reduce Your Electric Bill With Smart Home Devices