Smart Water Leak Management: A Local-First Guide
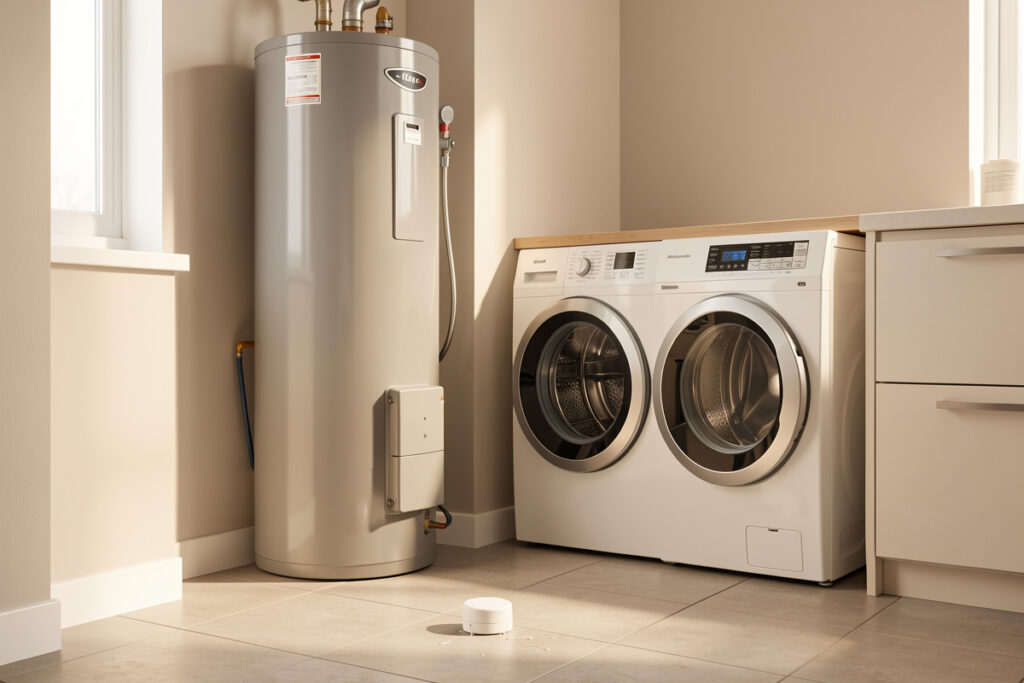
A water leak is the one home emergency where the smart-home payoff is brutally obvious: a $20 sensor on the floor under the water heater catches a slow drip before it rots the subfloor, and a shutoff valve closes the main before a burst line floods a finished basement. This smart water leak guide is the local-control playbook I run in my own house — leak sensors on my Zigbee mesh, a motorized valve on the main, and automations that fire whether or not the internet is up.
I have been running a local-first Home Assistant setup for years, and water is where I trust automation the most, because the failure is so expensive and the detection is so cheap. Water damage is one of the most frequent and costly sources of home insurance claims, according to the Insurance Information Institute — which is exactly why a $20 sensor is such an asymmetric bet. The trick is not buying one clever gadget. It is wiring detection, alerting, and shutoff into a layered system where each part still does its job when a cloud account expires, a Wi-Fi router reboots, or a manufacturer decides to sunset an app.
What “Smart Water Management” Actually Means
Smart water management is three jobs working together: detection (sensors that know water is where it should not be, or that flow is abnormal), notification (a local alert that reaches you in seconds), and action (a valve or pump that responds without waiting for you to read the message). A single leak puck handles the first job for one spot. A real system covers every wet zone and closes the main automatically.
The way I have it wired, each layer is independent. My leak pucks scream locally on their own buzzer the instant they get wet — no hub required for that part. My hub turns those events into push notifications and, for the worst cases, commands the motorized valve shut. If the hub were offline, the sensors still buzz and the standalone valve controller still has its own logic. Layering like that is what separates a system that survives an outage from a pile of apps that all fail together.
The Four Layers of a Leak-Proof Home
I think about water defense in four layers, cheapest and most local first. You do not need all four on day one, but knowing the stack tells you where your money does the most good. Most homes get the bulk of their protection from the first two layers for under $150.
Layer 1 — Spot detection. Battery leak sensors under every appliance that holds or moves water: water heater, washing machine, dishwasher, sinks, toilets, the boiler, the sump pit. These are cheap, run for years on a coin cell, and report to the hub over Zigbee or Z-Wave. Layer 2 — Freeze and humidity sensing. Temperature sensors on vulnerable pipe runs catch the freeze before the burst. Layer 3 — Flow monitoring. A whole-home water monitor on the main line learns your normal usage and flags the toilet that never stops running or the slab leak you cannot see. Layer 4 — Automatic shutoff. A motorized valve that closes the main when any layer above it screams. That is the layer that turns a catastrophe into a mop job.
Detection Hardware: Sensors, Monitors, and Shutoff Valves
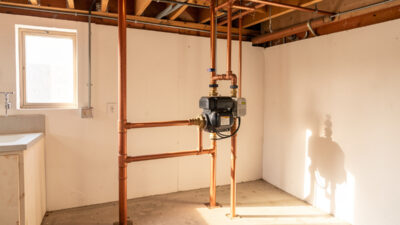
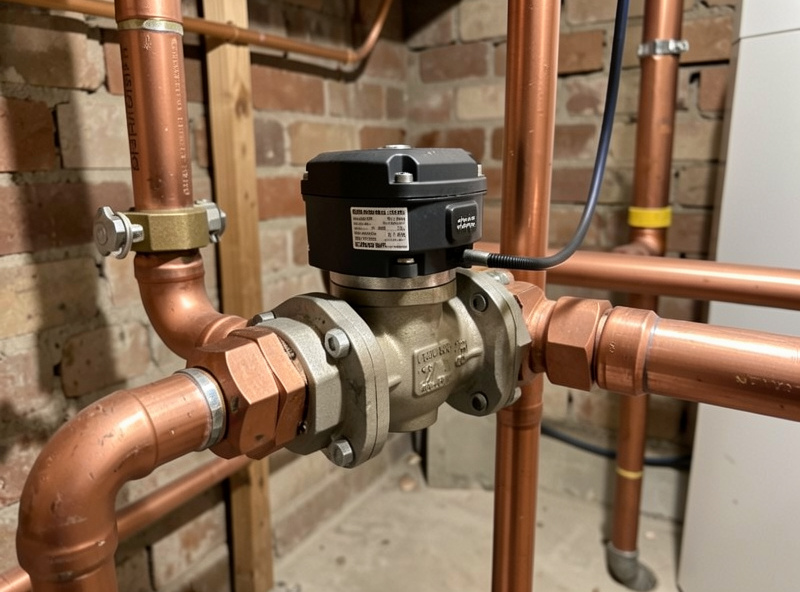
The hardware splits into three families, and I run all three. Spot leak sensors are the workhorses — small battery pucks or probes that detect water bridging two contacts. I keep mine on Zigbee because the coin-cell battery life is excellent and they join my existing mesh without another bridge. Whole-home water monitors clamp onto or splice into the main and watch flow, pressure, and temperature; they catch the leaks no floor puck ever will, like a pinhole inside a wall. Smart shutoff valves are the muscle — either a motorized ball valve plumbed into the main or a clamp-on actuator that turns your existing valve.
For a full teardown of each device class, I split this guide into focused builds: the best smart water leak detectors for spot coverage, the smart water shutoff valve guide for the muscle, and the whole-home water monitor guide for flow-based detection. If you are starting from zero, read the detector guide first — that is the cheapest, highest-impact layer.
How the Device Classes Compare
| Device class | What it catches | Typical cost | Local control? | Where it lives |
|---|---|---|---|---|
| Spot leak sensor (puck) | Visible pooling at one appliance | $15–$30 each | Yes (Zigbee/Z-Wave) | On the floor, under each fixture |
| Whole-home flow monitor | Hidden leaks, running toilets, slab leaks | $150–$500 | Varies — check before buying | On the main supply line |
| Motorized shutoff valve | Nothing — it acts on alerts | $150–$600 installed | Best with local valve control | On the main, after the meter |
| Freeze/temp sensor | Pipes about to burst from cold | $15–$25 each | Yes (Zigbee/Z-Wave) | On exposed pipe runs, crawlspace |
| Sump pump alert sensor | Pump failure, high water in the pit | $20–$60 | Yes, with the right sensor | In and above the sump pit |
Why Local Control Wins for Water
Water is the use case where cloud dependence is least defensible. A leak is a time-critical event: the difference between a sensor that alerts in two seconds over a local mesh and one that round-trips through a manufacturer’s server is the difference between a damp towel and a ruined floor. In my setup, every leak sensor talks Zigbee straight to my coordinator, the automation runs on my hub, and the valve closes — none of it leaves the house. Latency is low single-digit seconds, and there is no monthly fee gating the shutoff feature.
The cloud-only failure mode is worse than slow. A cloud leak system that requires an active subscription to trigger its own shutoff valve is a system that stops protecting you the day a payment fails or the vendor pivots. I will not put a load-bearing safety function behind someone else’s server uptime. That is the core conviction behind everything on this site: if it does not still work when the internet is down, it is a convenience, not a safeguard. If you are weighing the trade-off generally, my take on Wi-Fi vs Zigbee for smart home devices applies doubly to leak gear — battery-powered Zigbee pucks outlast and out-reliable their Wi-Fi cousins.
Building the Automation: From Alert to Shutoff
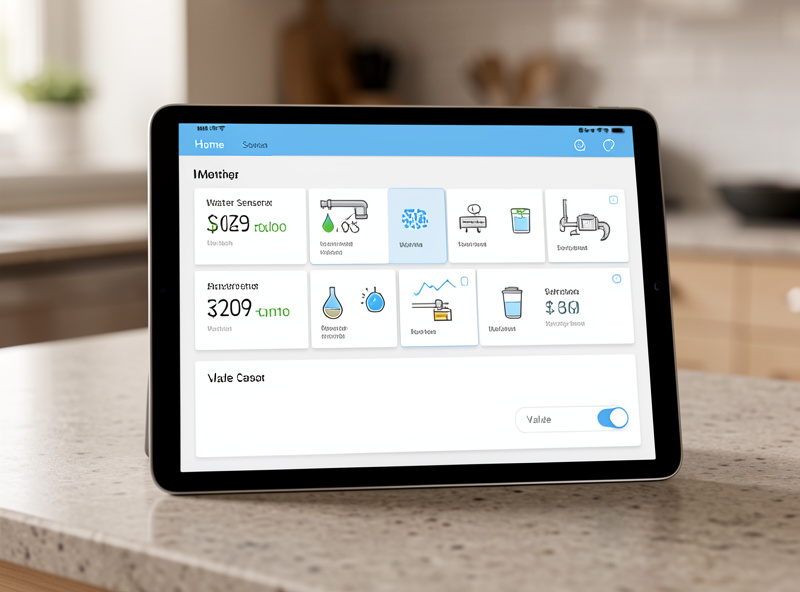
The hardware is half the system. The automation is where it earns its place. The rule I run is simple to describe and ruthless in practice: if any leak sensor reports wet, send a critical push to every phone in the house and close the main valve. For a slow drip you might want a notify-only tier; for a washing-machine hose burst you want the valve shut in seconds. I split mine by location — kitchen and bath sensors notify-and-shut, while the harmless condensation-prone spots notify-only so I am not chasing false shutoffs.
A good leak automation has four parts: a trigger (any leak entity goes wet), a condition filter (ignore the sensors I have flagged as nuisance-prone), an action stack (close valve, push notification, optionally cut power to the water heater element so it does not dry-fire), and a recovery path (a dashboard button and a physical override to reopen the valve once I have mopped up). I build mine in Home Assistant, but the same logic works in any local hub. If you are new to the platform, my Home Assistant setup guide covers getting the hub running before you wire safety automations onto it.
One detail people skip: test the shutoff quarterly. A motorized valve that has not moved in a year can seize. I have a scheduled automation that exercises the valve a quarter-turn and back every few months and logs that it completed, so I know the muscle still works before I need it.
Don’t Forget the Pipes Themselves: Freeze and Sump
Two failure modes get ignored until they flood a house: frozen pipes and dead sump pumps. Both are pure sensor-and-alert problems, and both are cheap to cover. A pipe freeze sensor is just a temperature sensor on a vulnerable run that pushes an alert — and ideally trickles a tap or kicks on heat tape — before the water inside freezes and splits the pipe. In a Swedish winter I treat freeze sensing as non-optional on any pipe near an exterior wall or in an unheated space.
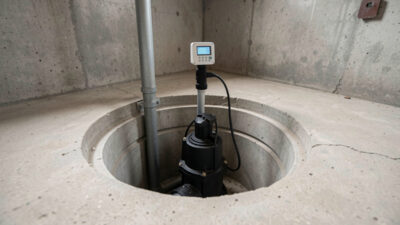
The sump pit is the other blind spot. A pump that fails during a storm floods a basement fast, and you usually find out by stepping in it. A proper sump pump smart alert setup watches both the water level and whether the pump actually ran, so you get a warning when the pit is filling and the pump is silent — the exact moment that matters. I pair a high-water float with a power-monitoring smart plug on the pump so my hub knows the difference between “pump is cycling normally” and “pit is full and nothing is running.”
Putting It All Together: A Sensible Build Order
You do not buy this all at once. Here is the order I would build it in today, each step useful on its own. First, put leak pucks under the five wettest appliances and wire a notification automation — that is a weekend and under $100. Second, add freeze sensors on any exposed pipe runs before winter. Third, add a sump alert if you have a pit. Fourth, install a whole-home flow monitor to catch the hidden leaks. Fifth and last, add the motorized shutoff valve and connect every layer above it to its trigger.
By the time you reach the valve, you have a system where detection is everywhere, alerts are instant and local, and the worst-case response is automatic. That is the whole point — not a gadget, a safeguard. For the broad strategy of tying flow data into a dashboard you actually watch, see my smart water monitoring for home overview, and for the energy side of the same hub, the smart home energy dashboard guide uses the identical local-first pattern. The same rule engine that runs my grow-light schedules and the sauna pre-heat watches the water — one hub, every system, all local.
If you are still deciding whether you even need a central hub to coordinate all this, my piece on whether you need a smart home hub walks through it, and the best smart home sensors guide covers the broader sensor ecosystem these water devices plug into.
As an Amazon Associate I earn from qualifying purchases. If you want to start with the single highest-impact buy, a three-pack of Zigbee leak sensors under your water heater, washer, and dishwasher is it — browse Zigbee water leak sensors on Amazon and pick whichever matches the radio you already run.
Sensor Placement, Room by Room
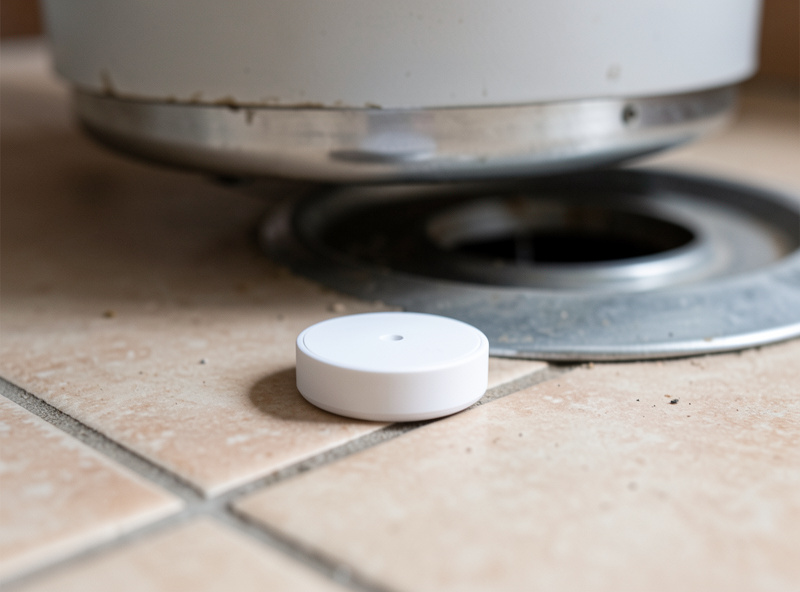
Where you put the pucks matters more than how many you own. Water runs downhill and pools at the lowest point, so a sensor placed an inch too high catches nothing. In the laundry room, I sit a sensor flat on the floor directly behind the washing machine where the supply hoses connect — that braided hose is the single most common catastrophic burst in a house, and it lets go with the machine unattended. In the kitchen, one sensor goes inside the sink cabinet under the supply valves and one behind or beside the dishwasher, because dishwasher inlet and drain leaks weep slowly and rot the cabinet base before anyone notices.
In the bathroom, place a sensor at the base of the toilet (the wax-ring failure and the supply-line drip both show up here first) and one under the vanity. The mechanical room gets the most coverage: one in the water heater’s drain pan, one at the boiler or furnace condensate line, and one near the main shutoff itself. If you have a basement or crawlspace, add a sensor at the lowest floor point and treat the sump pit as its own zone. The rule I follow: every place water enters, stores, heats, or drains gets its own sensor, and the sensor sits on the floor, not on a shelf.
Mistakes I See People Make
The first mistake is buying one cloud-only Wi-Fi leak detector, putting it under the kitchen sink, and calling the house protected. One sensor covers one square foot. Worse, a chatty Wi-Fi sensor drains batteries fast and clogs the network — this is exactly why I keep leak gear on a low-power mesh and segment all my IoT onto its own VLAN, which my Wi-Fi vs Zigbee comparison gets into. The second mistake is detection with no action: a sensor that pings your phone while you are on a flight does nothing. That is the entire argument for pairing detection with an automatic shutoff valve.
The third mistake is ignoring battery health. A leak sensor with a dead coin cell is decoration, so I have an automation that flags any sensor whose battery drops below 20% or whose last-seen timestamp goes stale — a silent sensor is as dangerous as a wet floor. The fourth is forgetting the recovery path: when the valve slams shut at 3 a.m. over a false trigger, you need a clearly labelled way to reopen it without an app login, or you will be hand-cranking a frozen ball valve in the dark. Build the “un-do” button the same day you build the automation. These are the unglamorous details that separate a system you trust from one you eventually unplug.
Frequently Asked Questions
Do smart water leak sensors work without internet or a subscription?
The good ones do. Battery Zigbee and Z-Wave leak pucks sound their own local buzzer the instant they get wet and report to a local hub with no cloud round-trip. Cloud-only Wi-Fi sensors that gate alerts behind a subscription are the ones to avoid for a safety function.
How many leak sensors do I actually need?
Start with one under each appliance that holds or moves water: water heater, washing machine, dishwasher, under sinks, behind toilets, and the boiler. Most homes land between five and ten pucks. Add freeze sensors on exposed pipe runs and a sump alert if you have a pit.
Will a smart shutoff valve close the water automatically?
Yes, if you wire it to an automation. A motorized valve on the main can be triggered by any leak sensor going wet, closing the supply in seconds without you touching anything. Run it on a local hub so the shutoff does not depend on an internet connection or a paid plan.
What is the difference between a leak sensor and a whole-home water monitor?
A spot leak sensor only detects visible pooling at one location. A whole-home water monitor clamps onto the main line and watches flow and pressure, so it catches hidden leaks inside walls, slab leaks, and toilets that never stop running. They are complementary layers, not substitutes.
Can I add water protection without a plumber?
Mostly yes. Leak pucks, freeze sensors, and sump alerts are all DIY and battery-powered. Clamp-on shutoff actuators that turn your existing valve also avoid plumbing work. Only a spliced-in motorized valve or an inline flow monitor that cuts into the main typically needs a plumber.
How do I avoid false alarms from condensation?
Place sensors where real leaks pool, not where humid air condenses, and raise sensors that sit near AC drip pans slightly off the cold surface. In your hub, sort sensors into notify-and-shutoff zones versus notify-only zones so a harmless damp spot never triggers an automatic shutoff.
Related Guides
- Best Smart Water Leak Detectors — spot-coverage pucks and probes
- Smart Water Shutoff Valve Guide — the automatic muscle
- Whole-Home Water Monitor Guide — flow-based hidden-leak detection
- Sump Pump Smart Alert Setup — never wake up to a flooded basement
- Pipe Freeze Sensor Guide — stop the burst before it happens
- Smart Water Monitoring for Home — tying it all into one dashboard